The Cake That Looks Like a Million Bucks (But You Totally Made It)
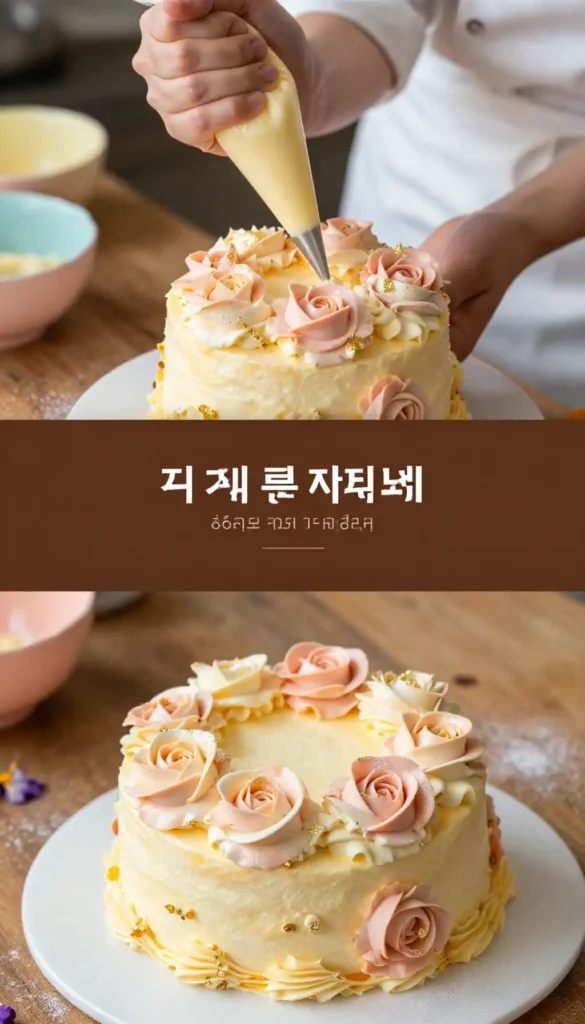
There’s a moment when you pull a cake out of the fridge that feels like pure magic. You’ve spent hours baking, whisking, and chilling, but the real showstopper happens when you take a serrated knife to the side and reveal a secret. That’s the joy of the **Fault Line Cake with Exposed Filling and Flowers**. It’s a dessert that looks like it escaped from a high-end bakery window, but the secret is, it’s a surprisingly clever illusion.
The first time I attempted this, I was expecting a mess. I thought, “Okay, so I’m just going to slice a hole in the middle of a perfectly good cake and hope for the best?” But when I peeled away that crumb coat and saw the vibrant filling peeking through the stark white buttercream, I felt like an absolute wizard. It’s the kind of dessert that makes people gasp when you bring it to the table. It’s rustic, artistic, and honestly, just a really good time to make.
Recommended Product
 -40%
-40%
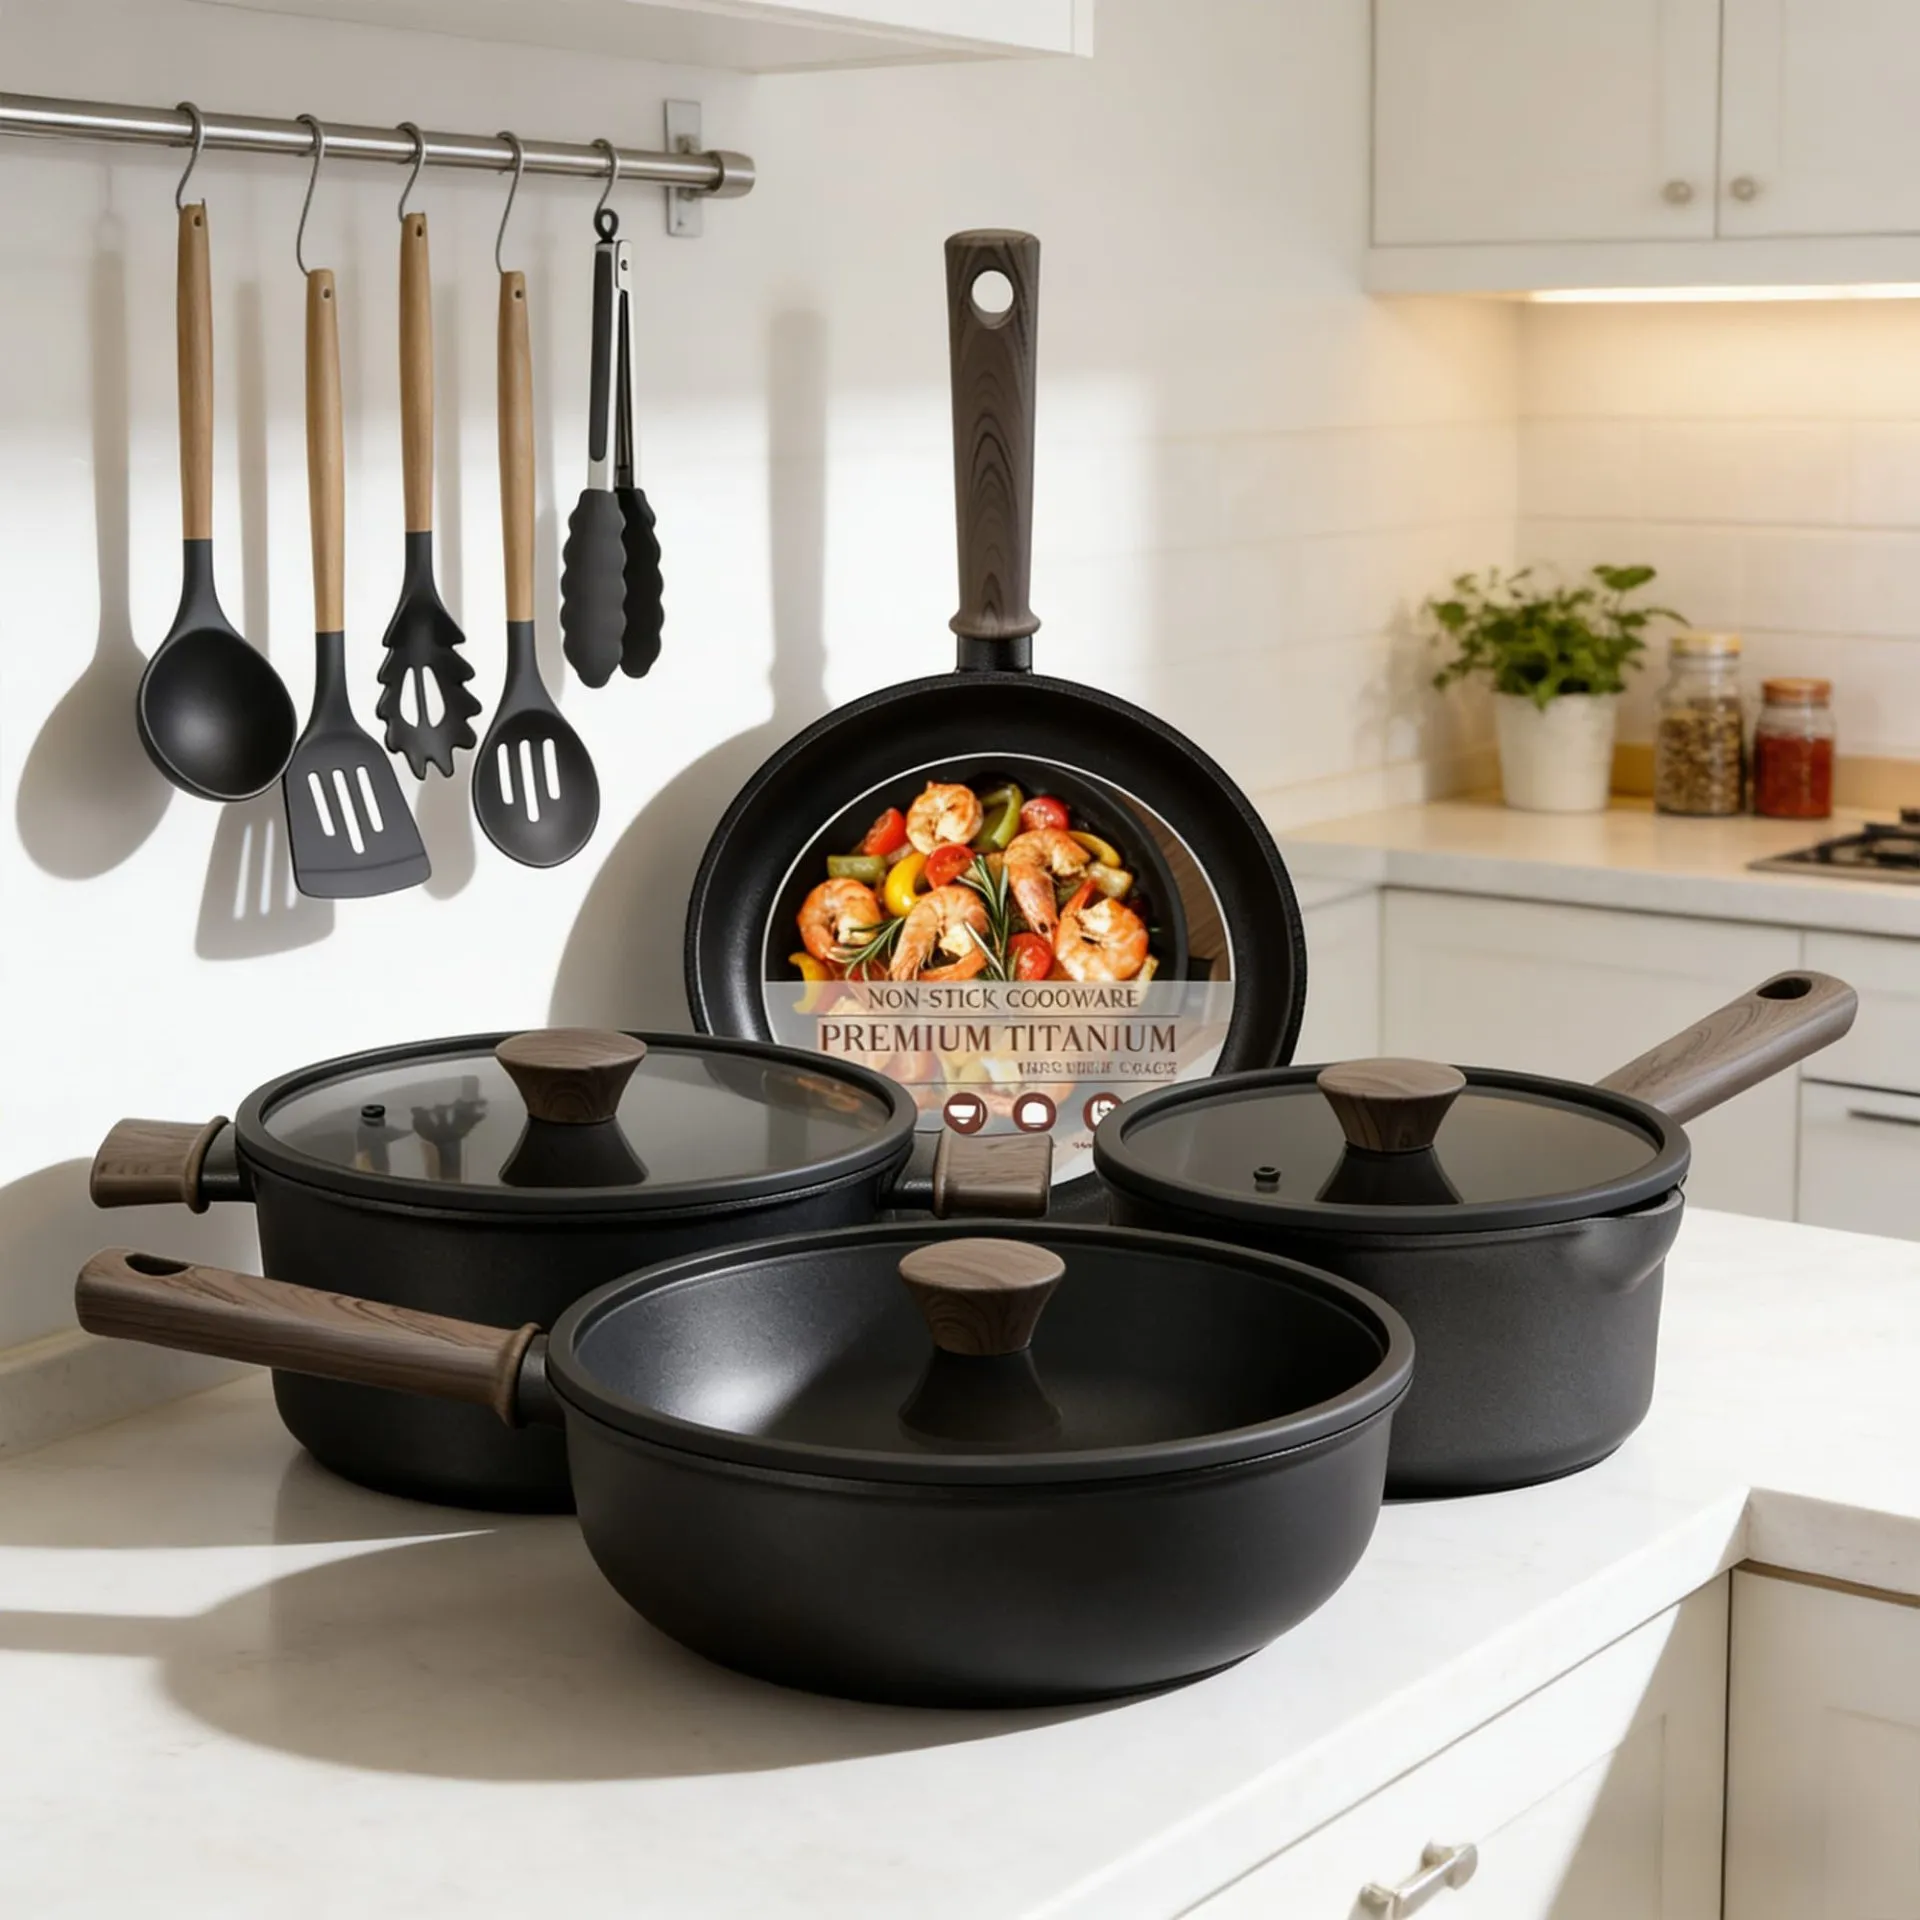
Astercook 21‑Piece Non‑Stick Ceramic Cookware Set with Detachable Handles
- Pieces →: 21‑piece set with pots, pans, lids & accessories
- Handles →: Secure removable/detachable handle system for space saving & oven use
- Non‑Stick Coating →: Premium ceramic non‑stick free of harmful PFOA chemicals for healthier cooking
- Cleanup →: Easy to clean thanks to non‑stick surface and detachable handles
Why This Is Your New Favorite Party Trick
Let’s be real: standard frosted cakes are lovely, but they don’t exactly scream “look at me!” The **Fault Line Cake with Exposed Filling and Flowers** is the opposite of shy. It has a dramatic, jagged fissure running around its circumference, exposing a core of color and texture. It’s the architectural fashion of the cake world.
🍳 Used in this recipe
Get It on Amazon Basics✔ Free Delivery | ✔ Top Rated | ✔ Budget-FriendlyWhat makes this specific method so brilliant is the contrast. You have the smooth, pristine exterior buttercream, which acts as a canvas. Then, the “fault line” itself is a textural playground. It’s where you can get creative—maybe with a bright raspberry jam filling, a crunchy crushed nut border, or a vibrant buttercream swirl. The flowers you tuck into that gap add a touch of whimsy and elegance, turning a simple cake into an edible bouquet.
Plus, it’s surprisingly forgiving. If your buttercream isn’t perfectly smooth? That’s the point! The rustic nature of the fault line covers a multitude of sins. It’s designed to look imperfectly perfect. I’ve found that this is the perfect project for anyone who wants to feel like a decorating pro without the pressure of perfect, smooth sides. It’s way more fun than a traditional fondant cake, and honestly, it tastes better too.
The Science of the ‘Fault Line’ (And How to Make it Stand Out)
The “secret” to this cake isn’t some complicated baking chemistry; it’s all about temperature and structure. Think of it as building a dam. The buttercream on the outside is your wall, and the filling is the water you’re holding back.
🍳 Used in this recipe
Get It on Amazon Basics✔ Free Delivery | ✔ Top Rated | ✔ Budget-FriendlyThe most crucial element here is the **chill factor**. Buttercream is essentially an emulsion of fat (butter or shortening) and sugar. When it’s cold, it becomes firm and stable. By creating a tall, thick ring of chilled buttercream around your cake layers, you create a solid structure. This allows you to pile in your softer filling—whether it’s a curd, a ganache, or more buttercream—without it all squishing out and creating a sliding disaster.
I once tried to rush this process. I was feeling impatient and only chilled the base buttercream for 20 minutes. Let me tell you, when I added the filling, it was like a delicious, colorful volcano erupting all over my counter. The “fault line” was more of a “fault puddle.” So, the science is simple: **Fat gets solid when it’s cold. Cold buttercream = strong walls.** Give it at least an hour in the fridge, or even a quick 20-minute blast in the freezer, before you even think about adding the inner filling. This ensures that when you slice into the side to expose the filling, the layers stay put, creating that crisp, dramatic line.
Common Pitfalls: How NOT to End Up With a Delicious Mess
Even the best of us can have a cake catastrophe. Here are a few ways this whole operation can go sideways and how to avoid them.
🍳 Used in this recipe
Get It on Amazon Basics✔ Free Delivery | ✔ Top Rated | ✔ Budget-Friendly**The Melt-Down:** Your buttercream is too soft. If your kitchen is warm, your buttercream will want to party, and that party will be a drippy mess. **Solution:** Work in batches. Keep the bowl of buttercream you aren’t using in the fridge. If things start getting greasy or shiny, pop the whole cake back in the fridge for 15 minutes.
**The Great Crumble:** Slicing the cake. This is the moment of truth. You need a hot knife! Not literally hot, but sharp and clean. Dip your long, serrated knife in hot water and wipe it dry between each slice. Sawing with a dull, crumb-covered knife will drag the cake and tear your beautiful fault line. You want a clean reveal, not a crumby excavation.
**The Leaning Tower of Buttercream:** If your cake layers are uneven, your fault line will be lopsided. Before you start, make sure your cake layers are leveled. If you stack them and they wobble, the whole structure is compromised. A little trim with a serrated knife to make them perfectly flat will make your life infinitely easier.
🍳 Used in this recipe
Get It on Amazon Basics✔ Free Delivery | ✔ Top Rated | ✔ Budget-FriendlySetting the Scene: A Cake for Milestones
This isn’t a “Tuesday night, I need dessert” cake. This is a “put on some music, pour a glass of pomegranate molasses lemonade, and celebrate” cake. The **Fault Line Cake with Exposed Filling and Flowers** shines at life’s big moments.
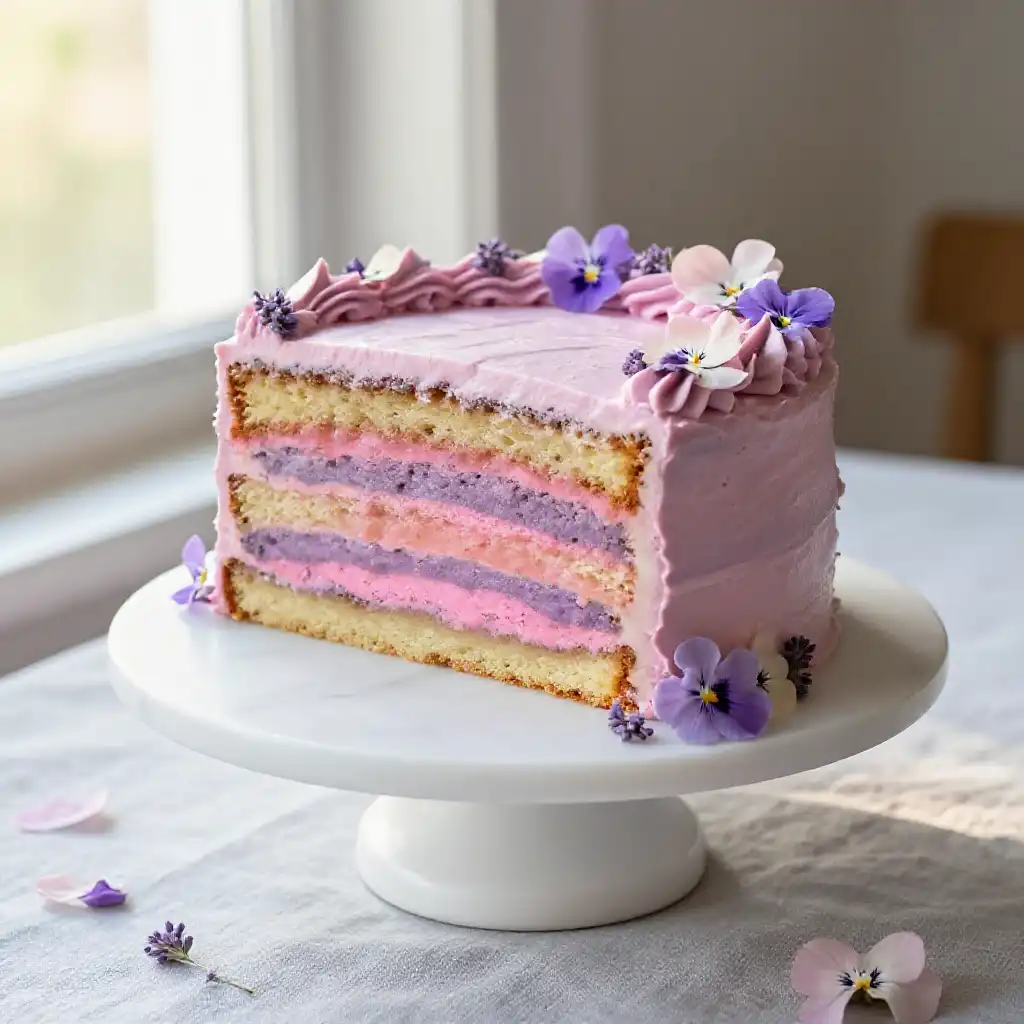
Picture this: A spring birthday party. The sun is out, you’ve got a playlist on, and this cake is the centerpiece of the table. The vibrant filling—maybe a lemony yellow or a deep berry purple—catches the light. The fresh edible flowers (pansies, violas, or chamomile blossoms) look like they’re growing right out of the side. It’s an instant conversation starter.
Or maybe it’s for an anniversary dinner at home. You want to show someone you care, but you don’t want to spend hours on something fussy. This cake looks incredibly thoughtful, yet it’s so approachable. The flavors are classic, crowd-pleasing. It pairs beautifully with a strong cup of coffee or a flowery herbal tea. It’s rustic enough for a casual gathering but elegant enough for the most important day of your life. I once brought one to a potluck, and it was the first thing to disappear, long before the savory dishes were even touched.
🍳 Used in this recipe
Get It on Amazon Basics✔ Free Delivery | ✔ Top Rated | ✔ Budget-Friendly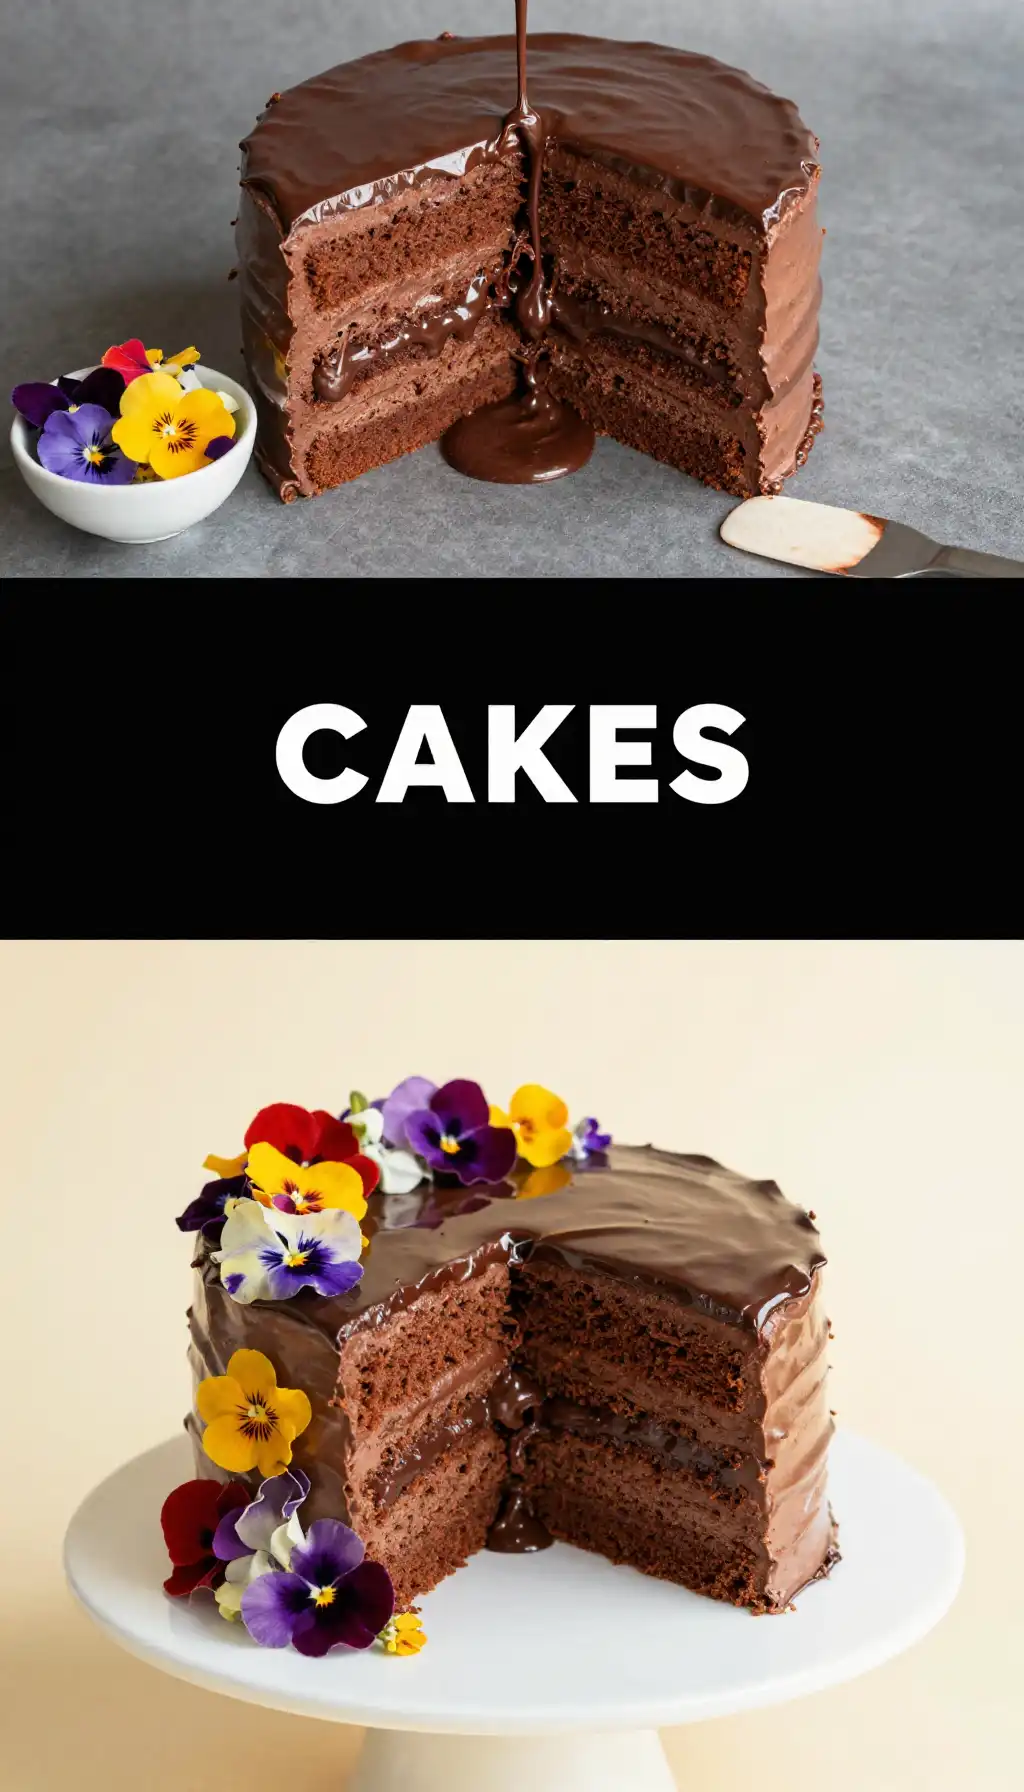
Let’s Get Cooking: The Step-by-Step
Ready to build your masterpiece? Don’t worry, we’re going to walk through this together. It’s way easier than it looks.
**Step 1: The Foundation**
Bake your favorite cake recipe—vanilla, chocolate, lemon, it’s your call! Let the layers cool completely. I mean it. If they’re even slightly warm, they will crumble and melt your buttercream. Once cool, level them off so they stack neatly.
**Step 2: The Stack & Fill**
Place your first layer on a cake stand or plate. Add a layer of buttercream (or your filling of choice) and spread it evenly. Repeat with the next layers. For the top layer, just do a very thin “crumb coat” of buttercream to seal in the crumbs. Now, pop the whole stacked cake in the fridge for at least 30 minutes. This is your foundation.
🍳 Used in this recipe
Get It on Amazon Basics✔ Free Delivery | ✔ Top Rated | ✔ Budget-Friendly**Step 3: Building the Dam**
Take your cake out of the fridge. Now, using your offset spatula, apply a thick, even layer of buttercream all over the sides of the cake. This doesn’t have to be perfectly smooth, but it should be consistent in thickness. This is your “wall.” The thickness of this wall will determine how wide your fault line is. Be generous!
**Step 4: The Chill is Real**
This is the most important step, so I’m saying it again. **Chill the cake.** For at least an hour. The buttercream walls need to be rock solid. You can even pop it in the freezer for 20-30 minutes if you’re in a hurry.
**Step 5: The Reveal**
Once the walls are firm, take a small spoon or a small offset spatula and carefully scoop out a “trench” from the middle of the cake, all the way around. Don’t go all the way through! Leave about an inch of buttercream at the top and bottom. You should now have a gap or a fault line around your cake.
🍳 Used in this recipe
Get It on Amazon Basics✔ Free Delivery | ✔ Top Rated | ✔ Budget-Friendly**Step 6: The Fill**
Now for the fun part! Fill that gap with your chosen filling. This could be a vibrant jam, a contrasting colored buttercream, a thick chocolate ganache, or even some crushed cookies. Use a small spoon or a piping bag to get it in there. Pack it in there so there are no gaps.
**Step 7: The Floral Finale**
Gently press your edible flowers into the exposed filling. Nestle them right in there. Don’t be shy. This is where the magic happens. Once you’re happy with the arrangement, give the top of the cake a final swirl of buttercream and you’re done! The contrast between the clean exterior and the wild, colorful interior is what makes this cake a true showstopper.
Leftovers? Here’s the Plan
While it’s unlikely there will be leftovers, if you do have some, you’ll want to protect your masterpiece.
🍳 Used in this recipe
Get It on Amazon Basics✔ Free Delivery | ✔ Top Rated | ✔ Budget-FriendlyThe best way to store a fault line cake is in the refrigerator, in a cake carrier or a large airtight container. The buttercream will keep it safe from drying out and absorbing weird fridge smells. It should last for up to 4-5 days.
For the best texture, let a slice sit out on the counter for about 20-30 minutes before you dig in. This allows the buttercream to soften up and the cake to return to room temperature, making it tender and flavorful.
Your Fault Line Cake Questions, Answered
I get a lot of questions about this technique. Here are the answers to the most common queries I see swirling around the internet.
🍳 Used in this recipe
Get It on Amazon Basics✔ Free Delivery | ✔ Top Rated | ✔ Budget-FriendlyHow to freeze Fault Line Cake with Exposed Filling and Flowers?
This is a great make-ahead move! To freeze, place the fully decorated cake (without the flowers, as they don’t freeze well) on a flat surface in the freezer, uncovered, for about an hour until the buttercream is solid. This is called flash freezing. Then, wrap it tightly in a few layers of plastic wrap, followed by a layer of foil. It will keep in the freezer for up to 3 months. To thaw, unwrap it and let it defrost in the fridge overnight. Add your fresh flowers just before serving.
Calories in Fault Line Cake with Exposed Filling and Flowers?
This is the kind of dessert you make for a celebration, so the calorie count is definitely in the “worth it” category! A typical slice (1/12th of a standard 8-inch cake) can range from 400-600 calories, depending on the richness of your buttercream and filling. But remember, you’re not just eating cake—you’re eating art!
My filling is leaking out the top and bottom! What do I do?
This means your buttercream “dam” wasn’t chilled enough, or it was too thin. If you notice this happening, stop what you’re doing and scrape off the excess. Put the whole cake back in the fridge for another 30 minutes. Once the walls are firm again, you can resume filling. The chill is your best friend!
🍳 Used in this recipe
Get It on Amazon Basics✔ Free Delivery | ✔ Top Rated | ✔ Budget-FriendlyCan I make this an easy Fault Line Cake with Exposed Filling and Flowers recipe?
Absolutely! To make it easier, use a high-quality box cake mix for the base. For the filling, store-bought seedless raspberry jam or lemon curd works beautifully and saves you a step. Even using a tub of ready-made vanilla frosting (you might want to add a little extra powdered sugar to make it stiffer for building the dam) is a fantastic shortcut. The technique is what makes it special, not necessarily the from-scratch elements.
For more creative dessert inspiration, you can always check out other unique recipes over at slapid.com. And if you need a refreshing drink to go with your sweet creation, I love browsing the options at indixer.com for the perfect pairing.
Happy baking, and get ready for the applause

Fault Line Cake with Exposed Filling and Flowers
Ingredients
Ingredients
- 2.25 cups all-purpose flour sifted
- 1.5 cups granulated sugar
- 0.5 cup unsalted butter room temperature
- 2 large eggs
- 1 cup buttermilk
- 2 tsp baking powder
- 0.5 tsp salt
- 1 tbsp vanilla extract
- 2 cups powdered sugar for frosting
- 0.5 cup unsalted butter for frosting, room temperature
- 1 cup raspberry jam for filling
- 0.5 cup fresh edible flowers for decoration
Notes
🍳 Used in this recipe
Get It on Amazon Basics✔ Free Delivery | ✔ Top Rated | ✔ Budget-Friendly