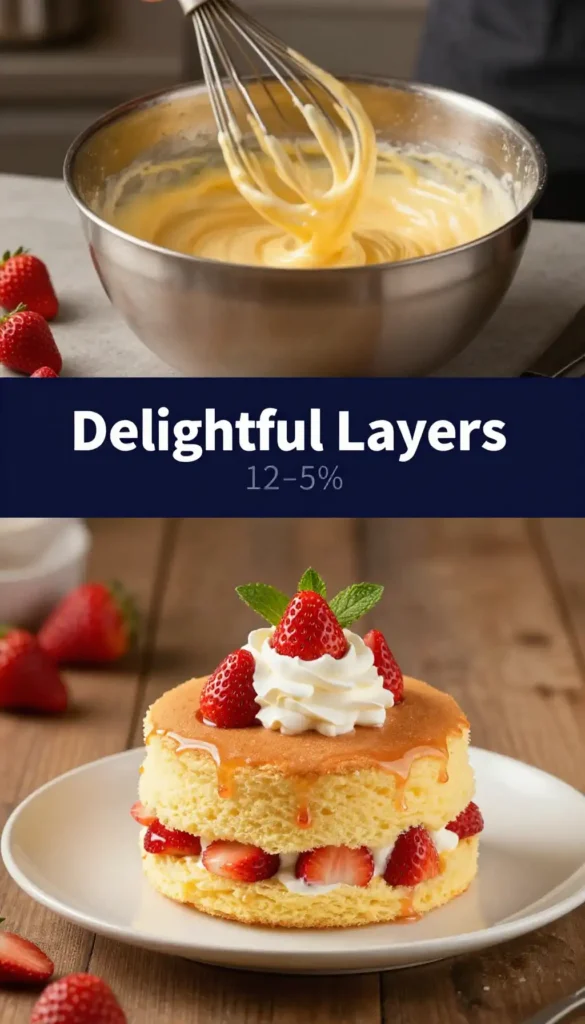
The Cake That Made Me Forget My Own Name
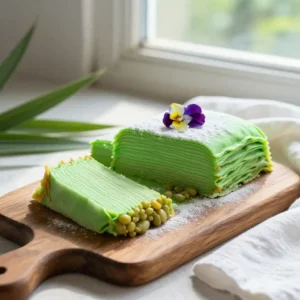
I was wandering through a humid Hanoi morning, the air thick with the scent of brewing coffee and distant sizzling street food. Then, I saw it. Sitting in a tiny glass case, a cake so stunning it looked like a geological wonder. Layers of jade green and creamy gold, stacked with the precision of a master architect. This wasn’t just a cake; it was a edible artifact. One bite of that **Vietnamese Pandan Layer Cake with Mung Bean Filling** and I was done for. The pandan hit me first—a whisper of vanilla, a hint of grass, a fragrance that felt both exotic and deeply comforting. Then, the creamy, subtly sweet mung bean paste unfurled, a velvet hammer of flavor that made my knees weak. I had to make this at home. And now, so do you.

Why This Cake is a Total Show-Off (And Why You’ll Love It)
Let’s be real. Most layered cakes are a project. This one is a masterpiece, but it’s a project with a killer payoff. The magic here is the balance. You get the **fragrant, naturally green pandan layers** that are soft, springy, and smell like a tropical dream. Then you hit the **sweet, creamy, and earthy mung bean filling**. It’s not cloying; it’s grounding. Together, they create a texture symphony—soft, smooth, and satisfyingly substantial. This isn’t a fluffy, air-headed cake. It’s a cake with personality, history, and a stunning visual appeal that will have your friends snapping photos before they even take a bite. It’s the ultimate “wow” factor dessert that says you know your way around a kitchen, without actually being a tyrant to execute. If you’re hunting for more show-stopping bakes, you might find inspiration in our collection of slapid.com recipes.
Recommended Product
 -40%
-40%
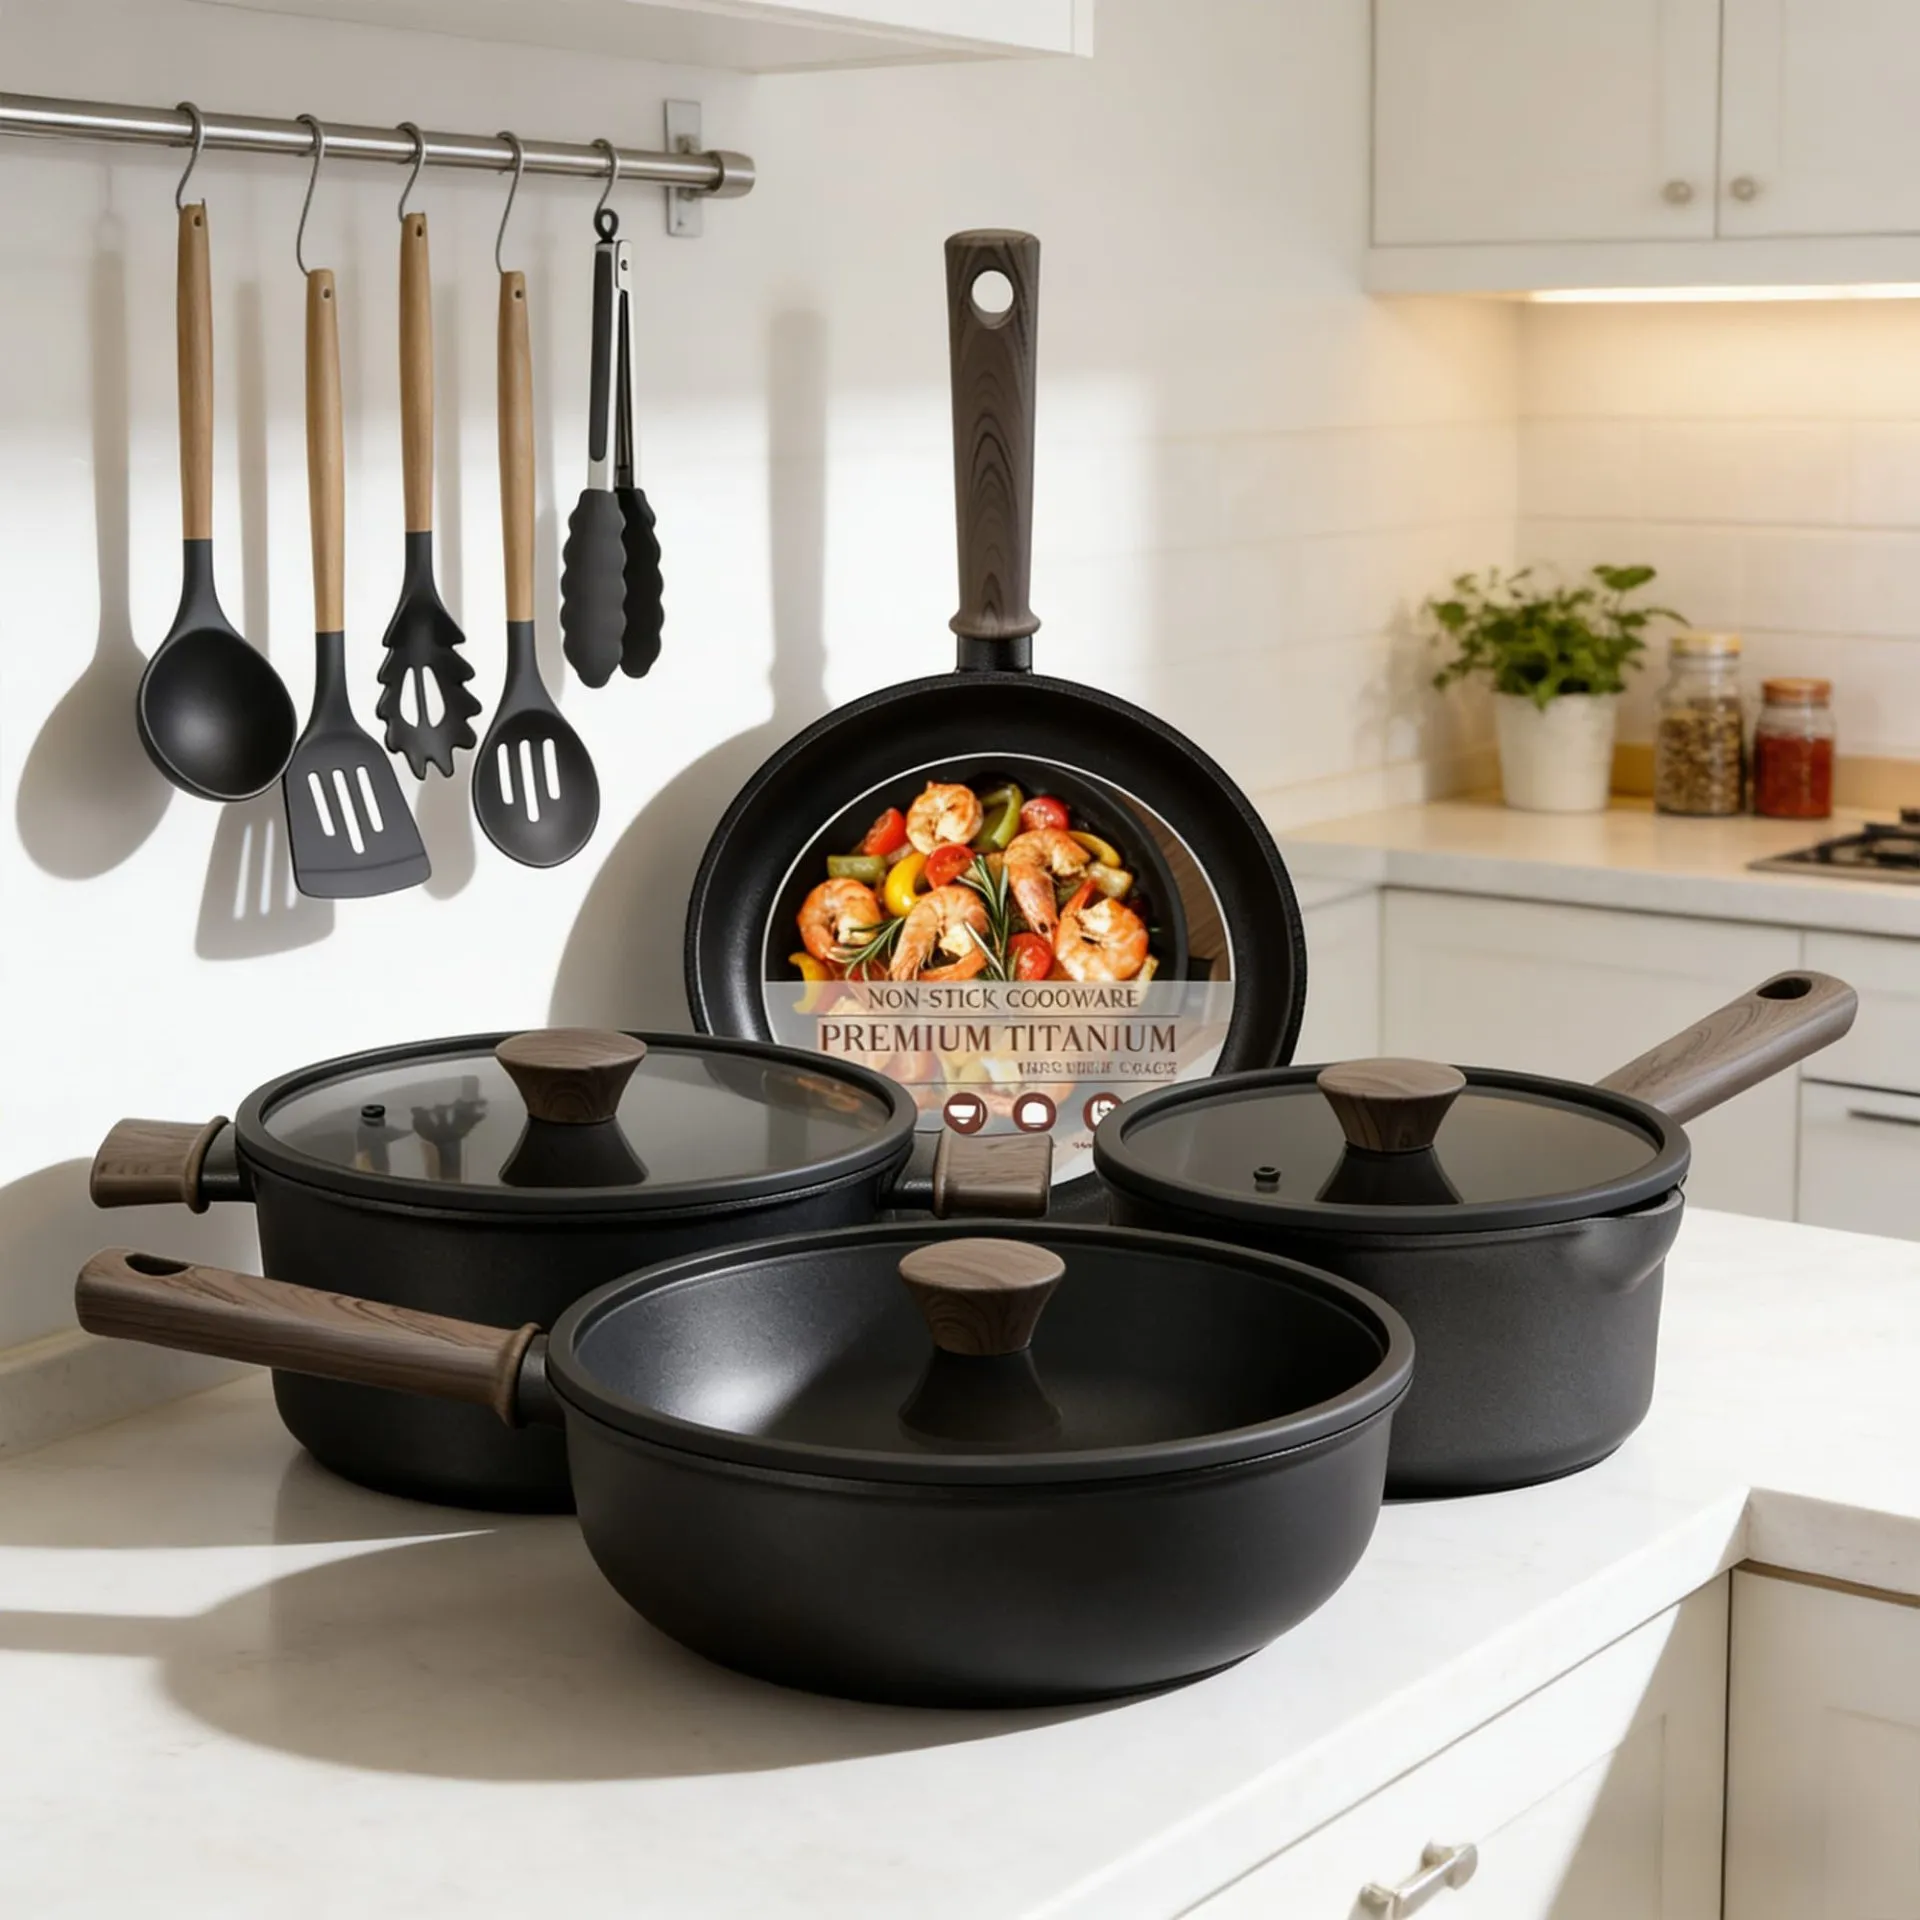
Astercook 21‑Piece Non‑Stick Ceramic Cookware Set with Detachable Handles
- Pieces →: 21‑piece set with pots, pans, lids & accessories
- Handles →: Secure removable/detachable handle system for space saving & oven use
- Non‑Stick Coating →: Premium ceramic non‑stick free of harmful PFOA chemicals for healthier cooking
- Cleanup →: Easy to clean thanks to non‑stick surface and detachable handles
The Soul of the Cake: Unlocking the Pandan Secret
Pandan is the vanilla of Southeast Asia, but it’s got a much wilder, more intriguing backstory. This isn’t some artificial green dye. The magic comes from the leaves of the screwpine plant. To get that legendary flavor and color, you’re not just tossing a leaf in a bowl. You’re bruising it to release its essential oils, then steeping it in warm liquid, or (the pro move) blending the leaves with water and straining them to create a potent, vibrant green extract. The science is in the volatile compounds. When heated, these compounds transform, mellowing from a sharp, grassy aroma into that deep, sweet, almost vanilla-like fragrance that defines this cake. It’s a chemical reaction that turns a simple leaf into the heart and soul of a dessert. **The key is intensity.** Don’t be shy with your pandan. The color should make you think of a deep forest, not a pale mint.
🍳 Used in this recipe
Get It on Amazon Basics✔ Free Delivery | ✔ Top Rated | ✔ Budget-FriendlyWhat You Need to Raid From the Pantry
Gather your troops. This is about precision, but it’s not complicated. For the pandan layers, you’ll need all-purpose flour, sugar, eggs, coconut milk, and that star player: pandan extract or freshly blended pandan juice. For the creamy soul of the cake, the mung bean filling, you’ll need split yellow mung beans (they cook faster), sugar, a pinch of salt, and a splash of coconut milk to make it impossibly smooth. Don’t forget the butter for greasing your pan—it’s your non-stick insurance policy. This ingredient list is beautifully simple, which is why this cake is such a stunner. It’s pure, unadulterated flavor.
Let’s Get Cooking: The Step-by-Step
First, conquer the mung bean filling. Soak your split yellow mung beans for at least 4 hours, or overnight. This is non-negotiable for a silky texture. Drain them, then simmer in fresh water until they’re completely soft and falling apart. Drain any excess water, then transfer the beans to a food processor or blender. Add your sugar, a pinch of salt, and a splash of coconut milk. Blend until it’s a smooth, thick, spreadable paste. It should hold its shape but feel like creamy velvet. Set it aside to cool completely. This is your flavor core.
Now, for the green layers. This is where the magic happens. In a bowl, whisk your eggs and sugar until pale and fluffy. In another bowl, sift your flour. Gently fold the flour into the egg mixture. Now, introduce the pandan extract and coconut milk. Stir until you have a smooth, vibrant green batter. The color should be bold and enticing. The consistency should be like a thin pancake batter—pourable but not watery.
🍳 Used in this recipe
Get It on Amazon Basics✔ Free Delivery | ✔ Top Rated | ✔ Budget-FriendlyThe assembly is an art form. You’ll need a round cake pan, about 8 inches, that you’ve greased impeccably. Pour a thin layer of pandan batter into the bottom of the pan. Bake it in a preheated oven at 350°F (175°C) for about 5-7 minutes, just until it’s set and slightly springy to the touch. Don’t let it brown! This is about building pale green layers.
Layer, repeat, and layer again. Once the first layer is out, spread a thin, even layer of your cooled mung bean filling over it. Then, pour another thin layer of pandan batter over the filling. Back into the oven it goes. You will repeat this process—bake a pandan layer, add mung bean filling, bake another pandan layer—until you’ve used all your batter. The final layer should be a pandan layer. The last bake might take a minute or two longer.
The patience test. Once the final layer is baked, remove the cake from the oven and let it cool completely in the pan. This is crucial. Cutting into a warm cake is a recipe for a crumbly, messy disaster. Once cool, you can run a knife around the edge and invert it onto a plate. The reveal is the best part.
🍳 Used in this recipe
Get It on Amazon Basics✔ Free Delivery | ✔ Top Rated | ✔ Budget-Friendly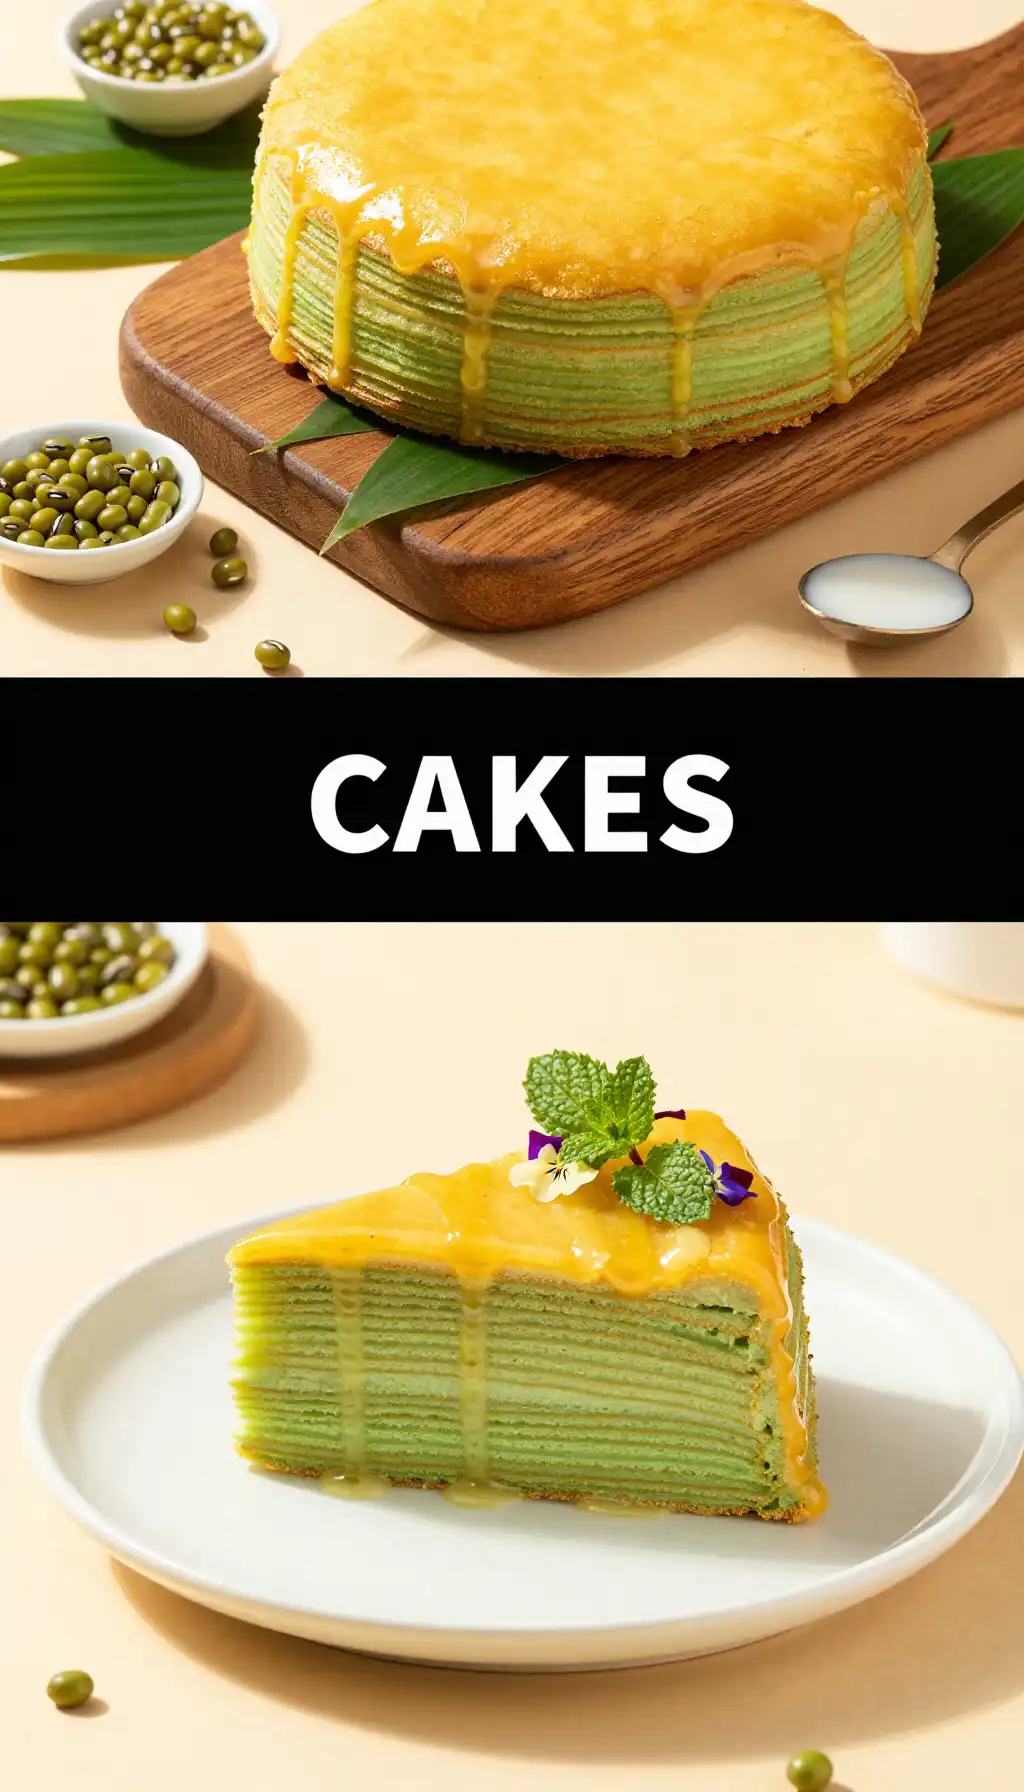
Common Pitfalls: How NOT to Mess This Up
The Batter Blunder: Your batter is too thick. If it doesn’t pour easily, your layers will be doughy and heavy. Fix it by adding a tiny splash more coconut milk. You want it to flow like a ribbon.
The Filling Fiasco: Your mung bean paste is too wet. If it’s runny, it will seep into the pandan layers and make them soggy. Cook it down until it’s a thick, spreadable paste that holds its shape on a spoon.
The Impatience Pitfall: Rushing the cooling process. I know, the aroma is driving you crazy. But cutting a warm cake is like building a house of cards in a wind tunnel. Let it chill. The layers will set, and you’ll get clean, beautiful cuts.
🍳 Used in this recipe
Get It on Amazon Basics✔ Free Delivery | ✔ Top Rated | ✔ Budget-FriendlyThe Color Catastrophe: Using too little pandan. Your cake should be a vibrant, natural green, not a sad, pale mint. Be generous with your pandan extract or juice. This is the star, after all!
Serving Vibes: Setting the Scene
This cake is a chameleon. It’s elegant enough for a fancy dinner party, yet comforting enough for a rainy afternoon treat with a cup of strong green tea. Imagine slicing it on a sunny patio, the green and gold layers glistening in the light. Or picture it as the grand finale of a family feast, a beautiful, shared centerpiece that everyone gathers around. It’s also a fantastic make-ahead dessert for a potluck. It travels well and needs no frosting, which means it’s a stress-free superstar. For a refreshing pairing, check out these tropical drink ideas over on indixer.com to complement the cake’s fragrant notes.
FAQ: Your Pandan Layer Cake Questions, Answered
How to freeze Vietnamese Pandan Layer Cake with Mung Bean Filling?
This cake freezes beautifully! Once completely cooled, wrap the whole cake (or individual slices) tightly in plastic wrap, then in a layer of aluminum foil. It will keep in the freezer for up to 3 months. To serve, thaw it overnight in the refrigerator. The texture remains remarkably intact—the mung bean filling might be slightly firmer when cold, but it softens up perfectly.
🍳 Used in this recipe
Get It on Amazon Basics✔ Free Delivery | ✔ Top Rated | ✔ Budget-FriendlyWhat are the calories in Vietnamese Pandan Layer Cake with Mung Bean Filling?
Let’s talk numbers, but let’s keep it real. This is a celebratory dessert, so it’s not a low-calorie snack. A typical slice (assuming 12 slices from an 8-inch cake) lands somewhere between 250-350 calories, depending on the thickness of your layers and the exact sugar content. It’s rich in carbohydrates and has some protein from the mung beans and eggs. The key is to savor a slice slowly and enjoy every bite.
Can I use pandan essence instead of fresh leaves?
Absolutely! Pandan essence or extract is a fantastic, convenient option and is what most home bakers use. It’s highly concentrated, so a little goes a long way. Start with a teaspoon and add more until you reach your desired color and flavor intensity. If you’re using fresh leaves, you’ll need to blend about 10-12 leaves with a cup of water and strain the juice. The essence gives you consistent results every time.
My cake layers are sticking to the pan! Help!
This is the ultimate nightmare. The fix is all in the prep. Grease your pan thoroughly with butter or a neutral oil, then dust it lightly with flour. Tap out the excess. For an extra layer of protection, you can line the bottom with parchment paper. Also, make sure you run a thin knife around the edge of the cake the moment it comes out of the oven, before it starts to contract and stick.
🍳 Used in this recipe
Get It on Amazon Basics✔ Free Delivery | ✔ Top Rated | ✔ Budget-FriendlyHow do I make the mung bean filling smoother?
The secret is patience and equipment. First, soak your mung beans long enough. Second, after simmering, drain them well. Third, use a powerful blender or food processor. Blend for a good 2-3 minutes, scraping down the sides. If it’s still a bit grainy, you can push it through a fine-mesh sieve for an ultra-silky texture. A splash of warm coconut milk during blending also helps achieve that creamy perfection.
Vietnamese Pandan Layer Cake with Mung Bean Filling
Ingredients
Ingredients
- 1.5 cups all-purpose flour sifted
- 1 cup granulated sugar
- 2 tsp baking powder
- 1/4 tsp salt
- 3 large eggs room temperature
- 1/2 cup vegetable oil
- 1/2 cup coconut milk
- 2 tbsp pandan extract or juice for vibrant green color and flavor
- 1 cup split dried mung beans rinsed and soaked overnight
- 1/2 cup granulated sugar for filling
- 1/4 cup coconut milk for filling
- 2 tbsp unsalted butter melted, for filling