That Golden, Creamy Flashback
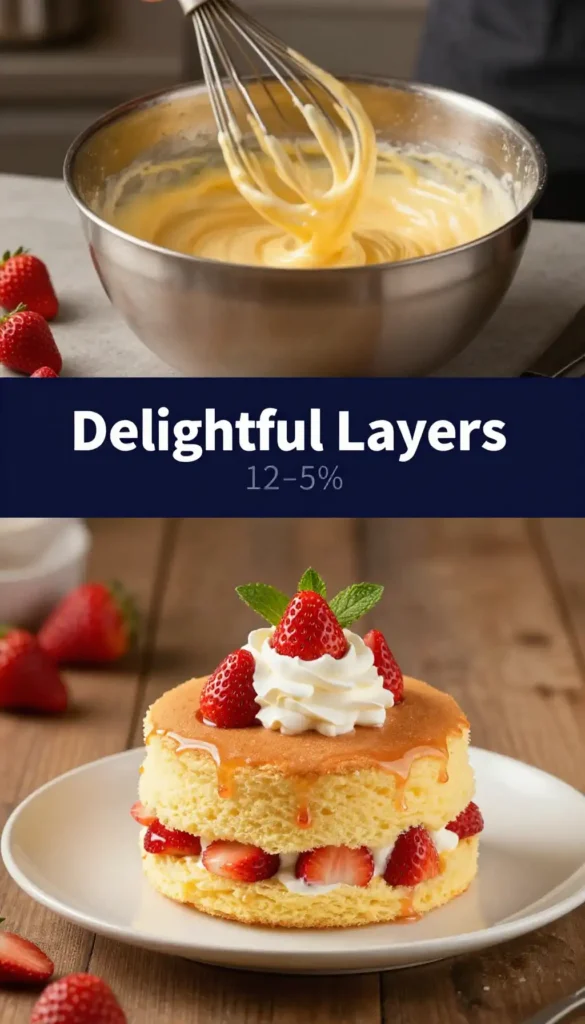
There’s a ghost in my kitchen today, and it smells like pure, unadulterated nostalgia. It’s the scent of a golden, pillowy sponge, a faint whisper of vanilla, and that unmistakable squish of a hidden cream center waiting to surprise you. Remember that feeling? Peeling back the crinkly plastic wrapper of a classic snack cake, the anticipation building with every second. You’d make that perfect tear down the side, revealing that pristine, almost-too-perfect rectangle of cake. The best part was always the cross-section: a pristine golden shell with a creamy river flowing through its heart. It was magic.
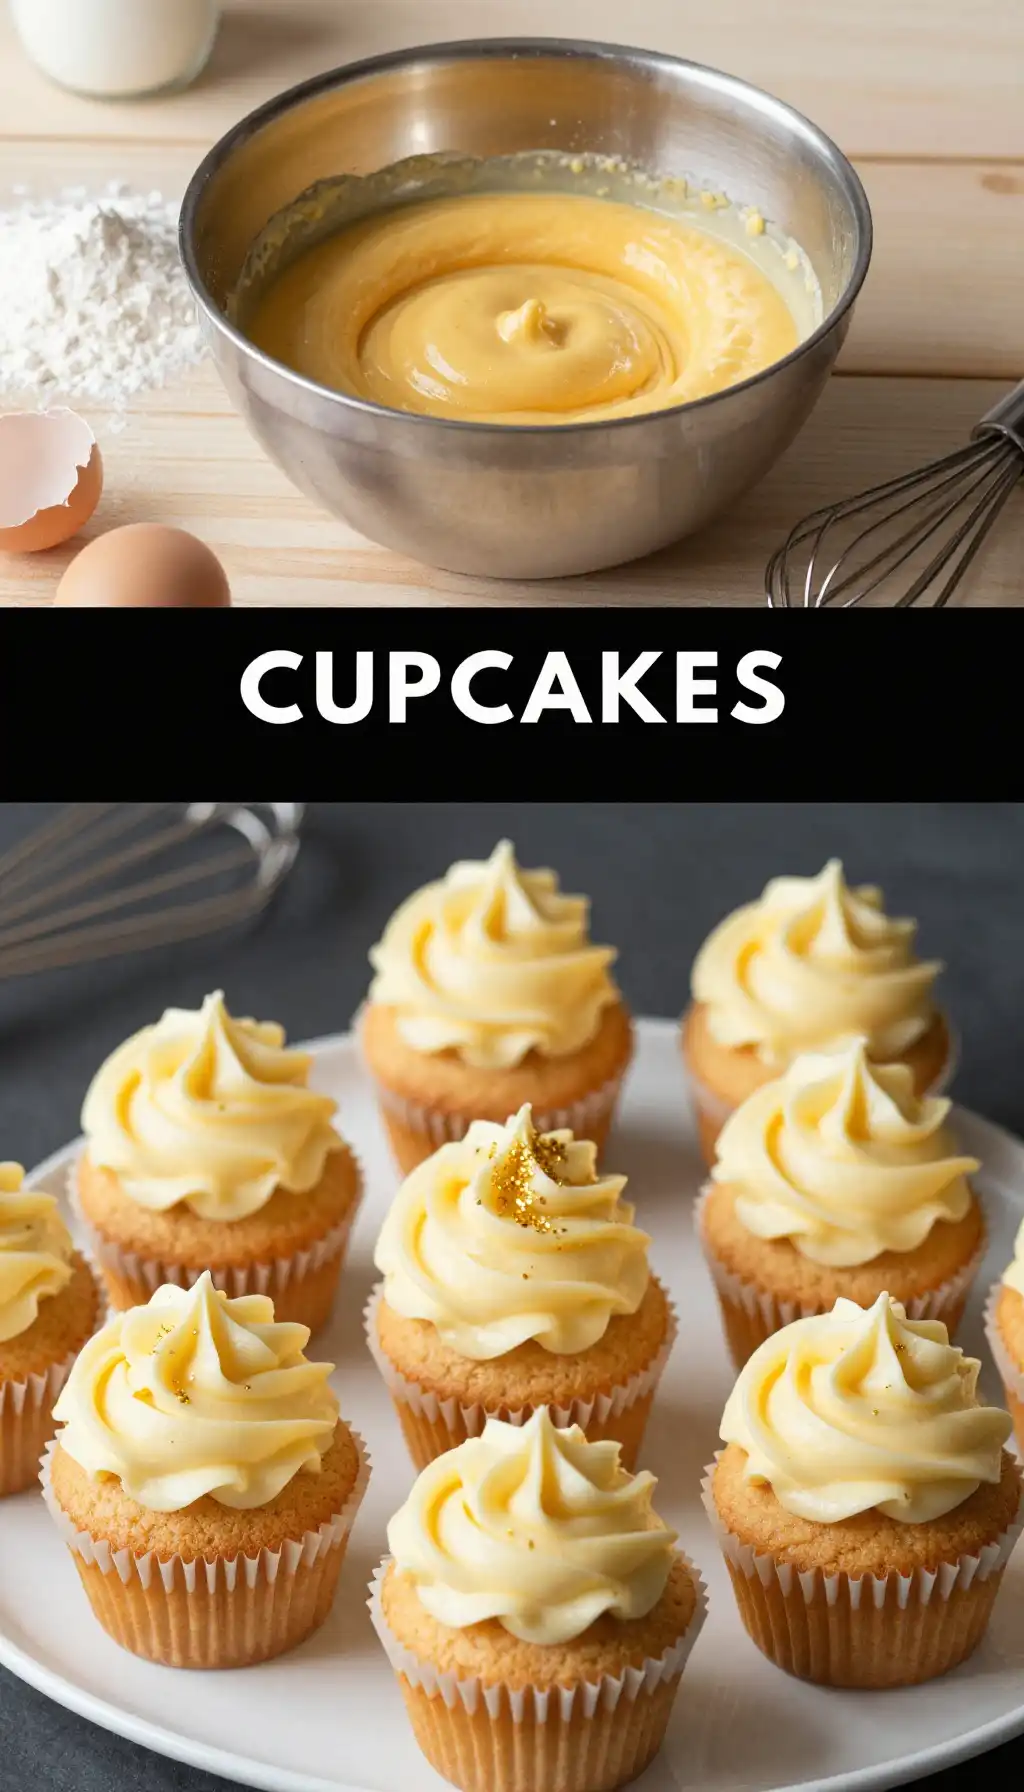
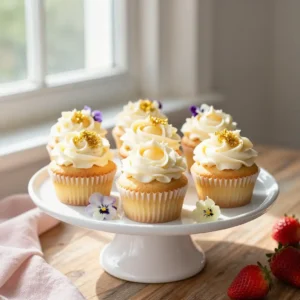
But what if we could bottle that magic? What if we could take that iconic, waxy-yet-wonderful treat and elevate it into something spectacularly homemade? That’s the thought that launched these Twinkie Cupcakes with Cream Center. We’re talking about a tender, buttery, golden sponge that practically melts on your tongue, baked right in a convenient cupcake form. And inside? A secret pocket of the most luscious, fluffy cream filling you’ve ever tasted. This isn’t just a cupcake; it’s a time machine you can eat.

Why We’re Ditching the Box for the Whisk
Let’s be honest, the original has its charm, but the ingredient list reads like a science experiment. Making these at home means you’re in the driver’s seat. You control the quality, the sweetness, and the texture. The magic of this recipe is its deceptive simplicity. It’s built on pantry staples, but the technique is what transforms them into something extraordinary. The sponge cake is incredibly light, thanks to a special emulsification process that creates a crumb so fine, it’s almost like a cloud.
And that cream center? Forget the mysterious, stable-for-decades filling. We’re making a fresh, dreamy whipped cream stabilized with a touch of marshmallow fluff. It’s a nostalgic flavor profile, but with a lightness and freshness that the store-bought version could only dream of. Plus, they’re ridiculously fun to make and even more fun to share. If you’re looking for other nostalgic dessert ideas, you can always find more inspiration on our recipe page. This recipe proves that “easy” and “impressive” can absolutely be in the same sentence.
The Secret to That Signature Golden Glow
Ever wonder what gives a Twinkie its iconic color? It’s not just a dash of yellow food coloring. The golden hue comes from a combination of egg yolks and a specific type of fat that creates a tender crumb. In our version, we’re unlocking that same golden beauty through a few key ingredients and a non-negotiable step. The star of our sponge show is cake flour. It has a lower protein content than all-purpose flour, which means less gluten development. Less gluten means a more tender, delicate crumb that’s essential for that authentic texture.
The other secret? It’s all about the fat and the emulsion. We use a combination of butter for flavor and a neutral oil for moisture. But the real game-changer is the reverse creaming method. Instead of beating the butter and sugar first, we start by coating the flour particles with the fat before any liquid is added. This creates a fine, velvety crumb that’s unbelievably soft. And for that signature golden color without a single drop of yellow dye, we’re leaning on rich egg yolks and a tiny pinch of turmeric. It’s the natural way to get that sunshine-in-a-cupcake look.
What You Need to Raid the Pantry
Gathering your ingredients is the first step to cupcake glory. The beauty here is you likely have most of this on hand already. For the golden sponge, you’ll need cake flour, baking powder, salt, a pinch of turmeric for that sunny hue, unsalted butter, granulated sugar, large eggs, vanilla extract, whole milk, and a bit of vegetable oil. It’s a classic cast of characters. For the creamy heart of the operation, you’ll need marshmallow fluff, powdered sugar, butter, vanilla, and heavy whipping cream. Simple, right?
Now for a quick but crucial note on our ingredients. This recipe thrives on classic baking staples. We’re using whole milk and butter for richness, and the cream filling gets its stable, fluffy texture from a perfect balance of sugar and fat. It’s all about creating that familiar, comforting flavor using wholesome, real ingredients. If you’re in the mood for a different kind of treat after this, maybe something cool and refreshing, check out these amazing drink recipes to pair with your cupcakes!
Let’s Get Cooking: The Step-by-Step
Alright, apron on? Let’s do this. We’ll build our cupcakes in two acts: the sponge and the cream.
Act I: The Golden Sponge
First, preheat your oven to 350°F (175°C) and line a 12-cup muffin tin with paper liners. In a medium bowl, whisk together your cake flour, baking powder, salt, and that little pinch of turmeric. This ensures everything is evenly distributed for a uniform crumb. In a separate, larger bowl, add your softened butter and sugar. Using an electric mixer on low, beat them together for a minute until they look like damp sand. This is the start of our reverse creaming magic.
Now, with the mixer still on low, add your egg yolks one at a time, mixing well after each addition. Beat in the vanilla extract and vegetable oil. The mixture will look thick and creamy. Alternate adding the dry ingredients and the milk, starting and ending with the dry ingredients. Mix on low speed *just until* combined. Over-mixing is the enemy of tenderness! Finally, in a clean bowl, whip your egg whites to soft peaks and gently fold them into the batter with a spatula. This is your ticket to an airy, light-as-air sponge. Fill your liners about two-thirds full and bake for 18-20 minutes, or until a toothpick comes out clean.
Act II: The Creamy Heart
While the cupcakes cool completely, let’s make that dreamy filling. In a bowl, beat the butter and marshmallow fluff together until smooth and fluffy. Gradually add the powdered sugar and vanilla, and beat until it’s all incorporated. In a separate chilled bowl, whip the heavy cream until stiff peaks form. Now, gently fold the whipped cream into the marshmallow mixture until it’s combined but still light and airy. Don’t overmix, or you’ll deflate all that beautiful air!
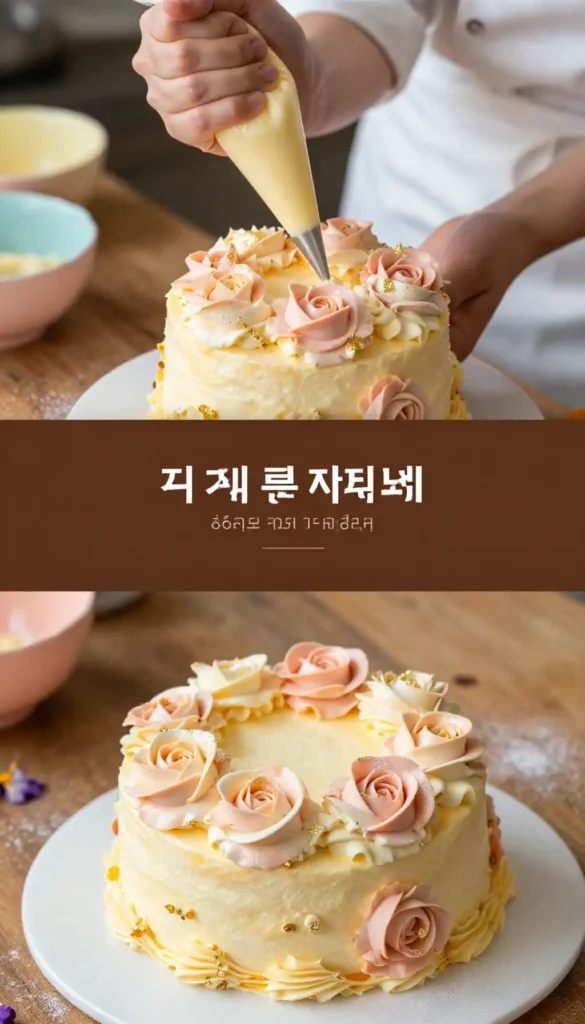
Assembly: The Grand Finale
Once the cupcakes are cool, it’s time for the fun part. You can either use an apple corer or a small knife to carefully hollow out the center of each cupcake, leaving about a half-inch at the bottom. Or, for a more professional look, use a piping tip to poke a hole in the top and wiggle it around to create a cavity. Fill a piping bag (or a zip-top bag with the corner snipped) with your cream filling and generously pipe it into the hollowed-out cupcakes until they bulge slightly. You can either replace the little cake plug you cut out or just leave it open and top with frosting. A simple buttercream or even just a dusting of powdered sugar is perfect.
Cupcake Catastrophes: How Not to Mess It Up
We’ve all been there. A sunken cupcake, a weeping filling, a flavor that’s just… off. Let’s sidestep those pitfalls. The number one mistake with this sponge is over-mixing the batter once the flour is added. Remember, gluten is the enemy of tenderness here. Mix only until you no longer see streaks of flour. Be gentle when folding in the egg whites; treat them like a precious cloud you’re tucking into bed, not like you’re beating a drum.
Another common hiccup is filling the cupcakes while they’re still warm. The steam from the cake will turn your beautiful, fluffy cream filling into a soupy, sad mess. Patience is a virtue, especially in baking. Let those cupcakes cool to room temperature on a wire rack before you even think about introducing them to the filling. And when you’re piping the filling, don’t be shy! The goal is a satisfyingly full center that spills out just a little when you bite into it. That’s the signature look we’re after.
Serving Vibes: Setting the Scene
These cupcakes are pure, unapologetic joy. They don’t need a fancy occasion, but they certainly make any occasion better. Imagine a rainy Saturday afternoon, a pot of coffee brewing, and a plate of these golden gems on the counter. The world outside is grey, but your kitchen is filled with sunshine and the smell of vanilla. They’re the perfect antidote to a case of the blues. Just you, a good book, and a perfectly squishy cupcake. Heaven.
On the other hand, they’re the life of the party. Bring a platter of these to a birthday bash or a potluck, and watch them disappear. Kids go wild for them, and adults get a hit of that sweet nostalgia. They’re a conversation starter. “Is that a… homemade Twinkie cupcake?” Yes, yes it is. Pair them with a glass of cold milk or, for a grown-up twist, a strong, hot coffee to cut through the sweetness. They’re a standalone star, but they also play well with others on a dessert buffet.
Twinkie Cupcakes with Cream Center: Your Questions, Answered
Here are the answers to the questions that are probably bubbling in your brain right now.
How to freeze Twinkie Cupcakes with Cream Center?
This is a great question, as they’re perfect for making ahead! The best way to freeze them is *before* you add the cream filling. Once the cupcakes are completely cool, wrap each one tightly in plastic wrap and place them in a freezer-safe bag or container. They’ll keep for up to 3 months. When you’re ready to serve, let them thaw to room temperature, then core and fill them with the freshly made cream filling for the best texture and taste. You *can* freeze them after filling, but the cream might be slightly less fluffy upon thawing.
What are the calories in Twinkie Cupcakes with Cream Center?
Oh, we’re not counting those today. We’re counting smiles! But seriously, since you’re making them from scratch, you have more control. A rough estimate for one fully loaded cupcake is around 300-350 calories, but this can vary based on your specific ingredients, especially the filling and frosting. The joy they bring is, of course, completely calorie-free.
Can I use all-purpose flour instead of cake flour?
You can, but the texture will be a bit different. Cake flour is key to that super-tender, melt-in-your-mouth crumb. If you’re in a pinch, you can make a substitute: for every cup of cake flour needed, measure out one cup of all-purpose flour, remove two tablespoons of the flour, and add two tablespoons of cornstarch. Sift it together a few times to get it evenly incorporated. It’s a good approximation!
My cream filling is too runny. What did I do wrong?
Ah, the weeping filling. This usually happens for two reasons: your butter or cream was too warm, or you over-whipped the heavy cream. Make sure your butter is softened (soft, but not melty) and your heavy cream is ice-cold. When whipping the cream, stop as soon as you hit stiff peaks. If you go a second too long, you’ll start making butter. If it’s already runny, try chilling the bowl in the fridge for 15 minutes and then whipping it again for a few seconds.
Do I have to use the turmeric? I don’t have any.
The turmeric is purely for that golden-yellow color without using artificial dyes. If you don’t have it or would rather not use it, you can absolutely leave it out! Your cupcakes will be a lovely pale, buttery color instead. The flavor will be virtually identical, as the amount is so tiny it only affects the hue. A drop of yellow food coloring would also work if you want that bright color.
Twinkie Cupcakes with Cream Center
Ingredients
Ingredients
- 1.5 cups all-purpose flour sifted
- 1 tsp baking powder
- 0.5 tsp salt
- 0.5 cup unsalted butter softened to room temperature
- 1 cup granulated sugar
- 2 large eggs room temperature
- 1 tsp vanilla extract
- 0.5 cup whole milk room temperature
- 8 oz cream cheese softened
- 0.25 cup powdered sugar
- 1 tsp vanilla extract for filling
- 0.5 cup heavy whipping cream cold