The Cake That Made My Kitchen Look Like a Flower Shop
Let me set the scene: it’s 3 a.m., the only light is the oven’s glow, and my counter is a battlefield of powdered sugar and food coloring. I’m not just baking a cake; I’m chasing a feeling. It started with a memory of a bakery window, a single slice of cake that looked like a sunset trapped in buttercream. That was the moment I knew I had to create my own version. The result? This Ombre Rosette Cake with Gradating Pink Buttercream. It’s not just dessert; it’s a centerpiece that tastes like a celebration.
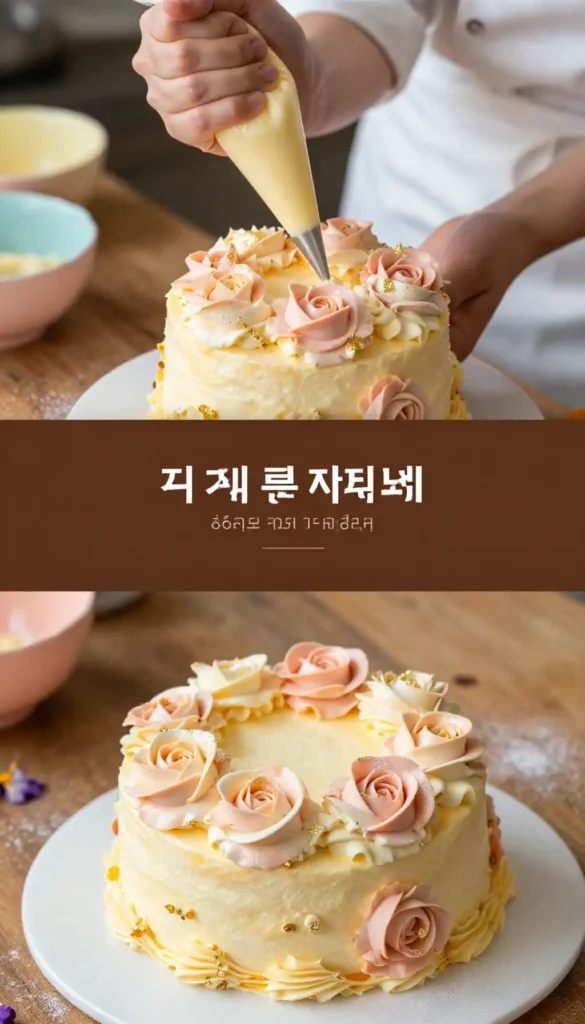
The scent of vanilla, warm and comforting, fills the air as the cake layers cool. Then comes the best part: the first swirl of frosting. It’s a creamy, dreamy cascade of pink, from the softest whisper of blush to a bold, confident rose. Every rosette is a tiny edible flower, and together they create a masterpiece that’s almost too pretty to eat. *Almost*. This isn’t just a cake; it’s a conversation starter, a memory-maker, and the reason your friends will beg for the recipe.
Recommended Product
 -40%
-40%
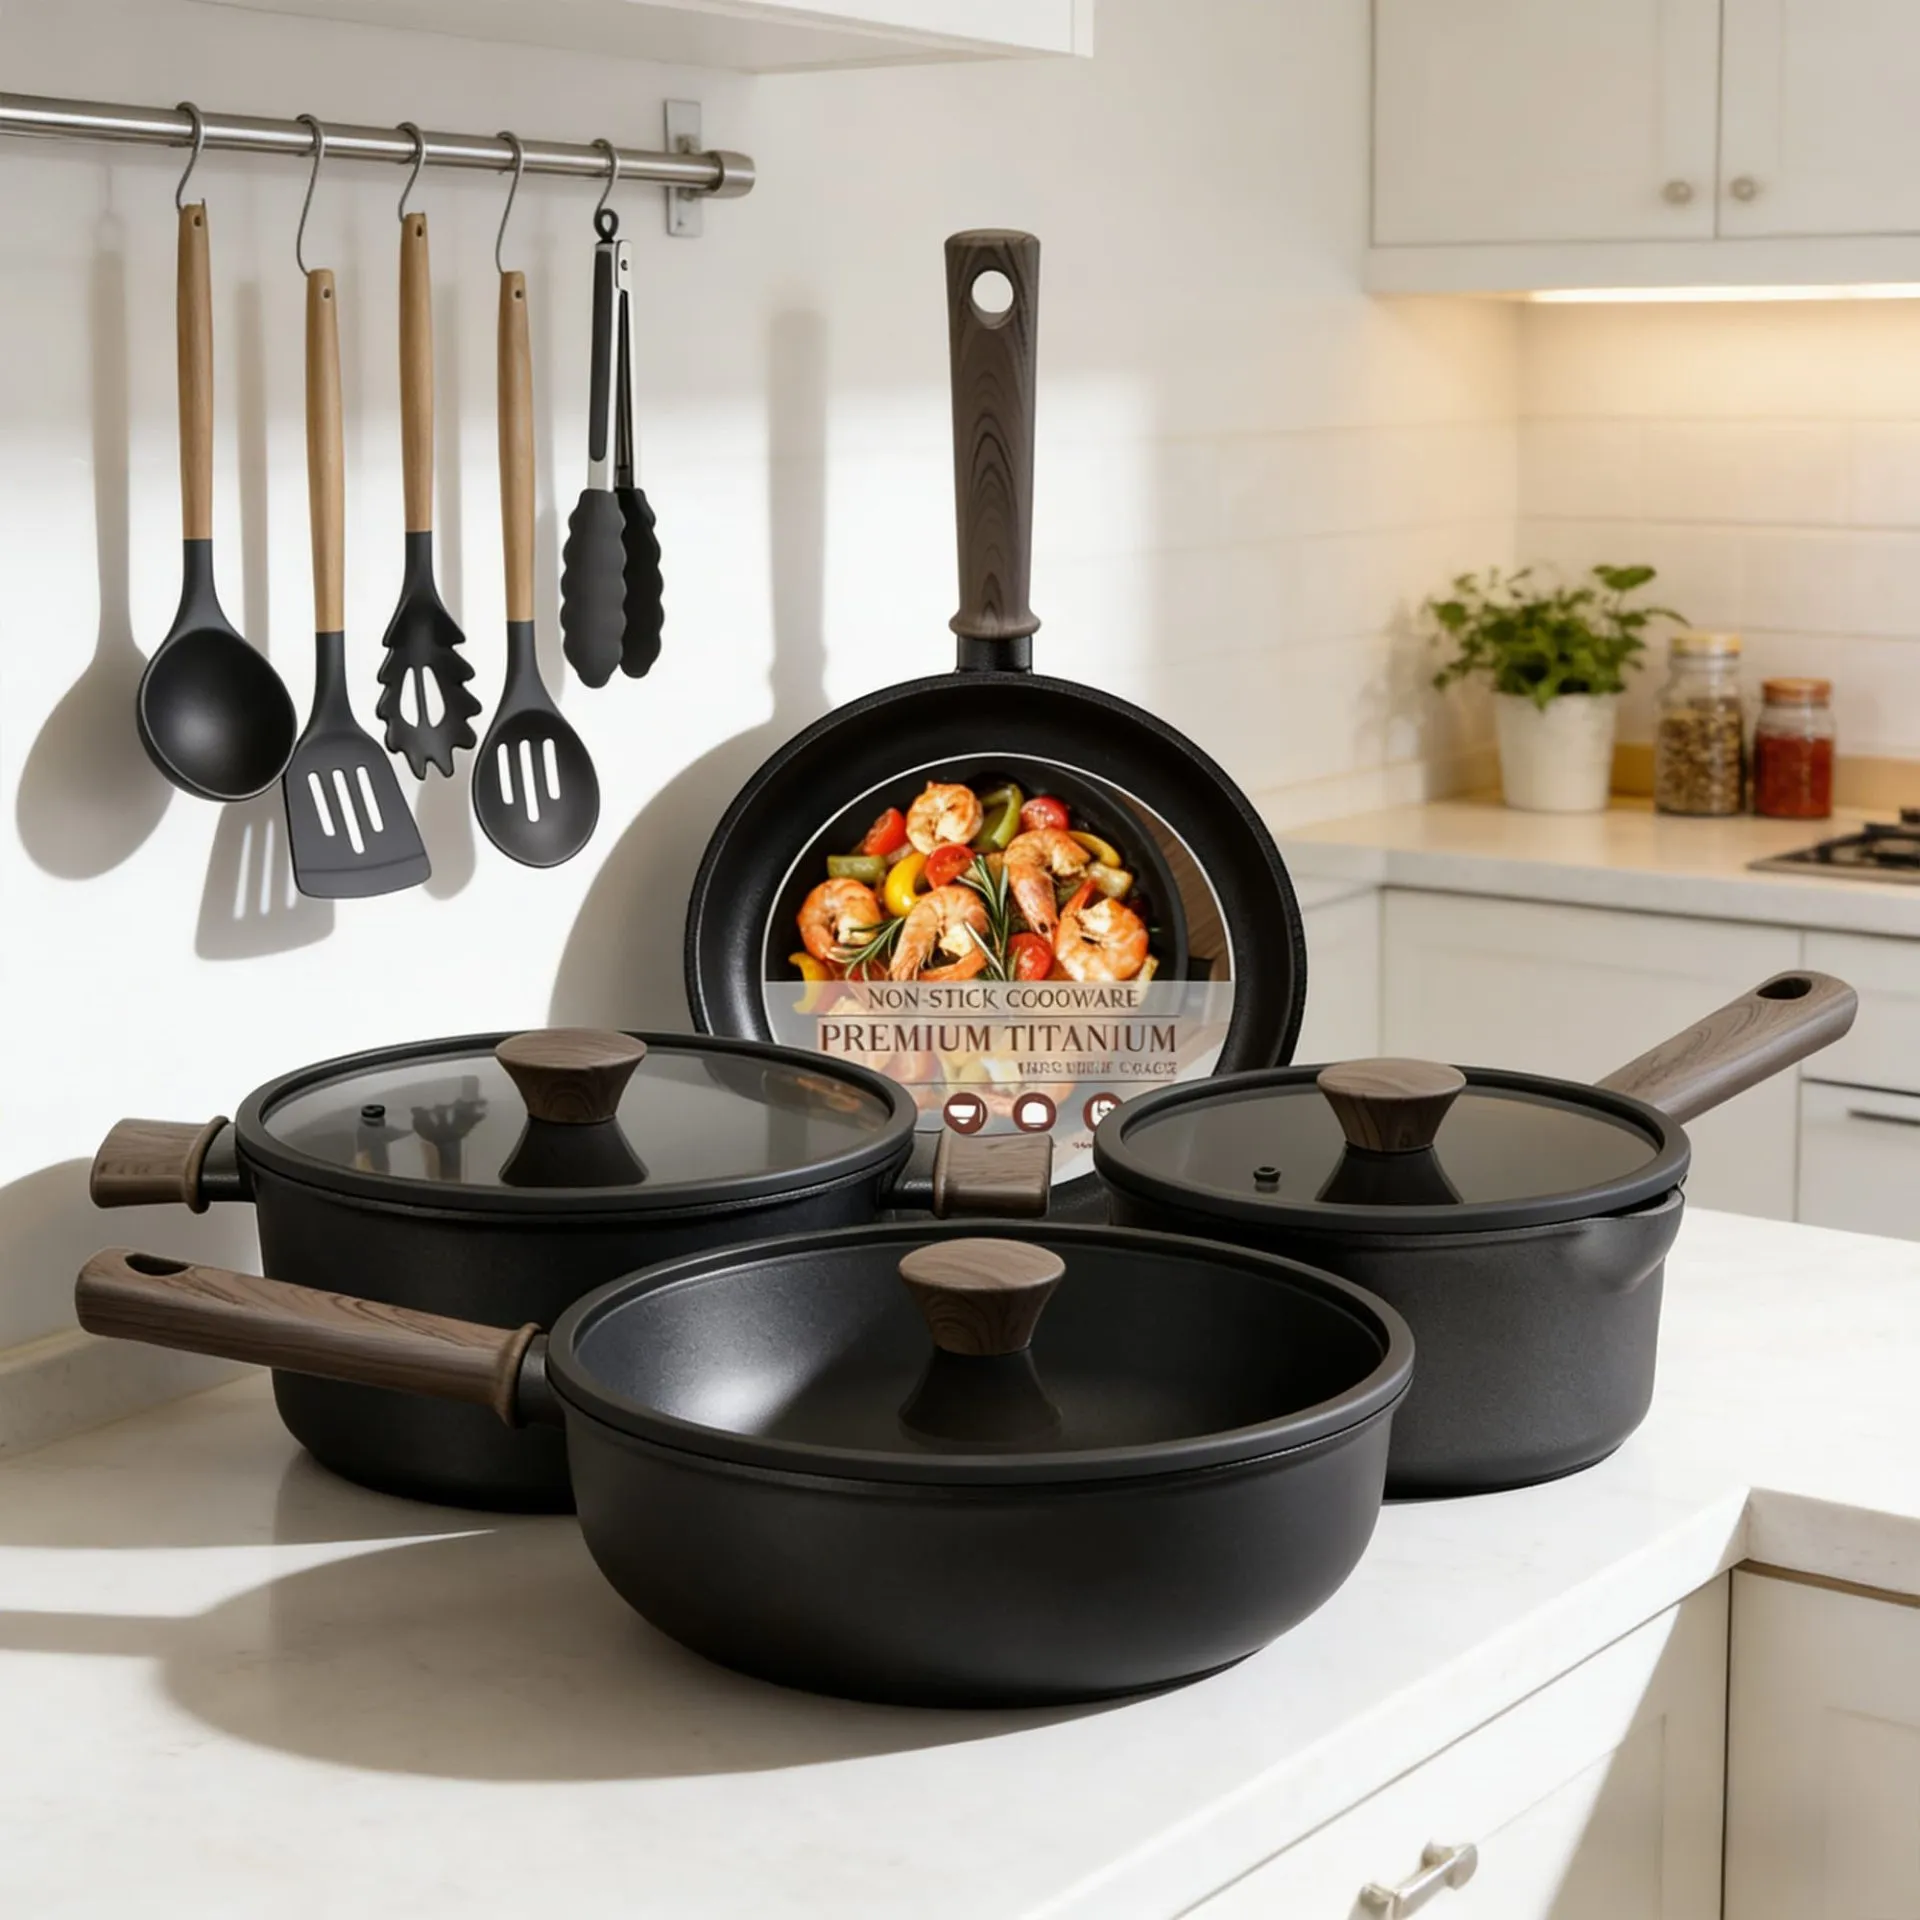
Astercook 21‑Piece Non‑Stick Ceramic Cookware Set with Detachable Handles
- Pieces →: 21‑piece set with pots, pans, lids & accessories
- Handles →: Secure removable/detachable handle system for space saving & oven use
- Non‑Stick Coating →: Premium ceramic non‑stick free of harmful PFOA chemicals for healthier cooking
- Cleanup →: Easy to clean thanks to non‑stick surface and detachable handles
Why This Gradient Buttercream is a Game-Changer
We’ve all seen the perfectly smooth, single-color frosting. It’s fine. It’s nice. But this? This is a symphony. The magic lies in the ombre effect, where the color deepens gradually, creating a visual flow that’s incredibly satisfying. It’s a technique that looks professionally done but is totally achievable at home. The best part? You don’t need any fancy tools. A few piping bags and a standard star tip are all it takes to transform a simple cake into a work of art.
🍳 Used in this recipe
Get It on Amazon Basics✔ Free Delivery | ✔ Top Rated | ✔ Budget-FriendlyAnd the flavor? It’s pure, unadulterated joy. The cake itself is a moist, tender crumb vanilla dream, providing the perfect neutral canvas for the sweet, creamy buttercream. This recipe proves that stunning doesn’t have to mean complicated. It’s about smart technique and letting the ingredients shine. If you’re looking for more showstopping dessert ideas, you might find inspiration over on our recipes page. This cake is the star of the show, and it knows it.
The Secret to a Silky-Smooth Buttercream (Hint: It’s All About the Fat)
Let’s talk about the backbone of this glorious frosting: buttercream. The secret to that impossibly smooth, pipeable texture isn’t a secret at all—it’s temperature. You need your butter to be at the perfect room temperature: soft enough to indent with a finger, but not so soft that it’s greasy. This allows the sugar to dissolve properly, creating a stable, silky emulsion. If the butter is too cold, you’ll get lumps; too warm, and it’ll be a soupy mess. Patience here pays off in spades.
Butter is the star, providing the rich base and structure. The magic happens when you beat it with powdered sugar, allowing the crystals to slowly melt into the fat. The result is a frosting that’s light yet stable, perfect for holding those intricate rosette shapes. For more on the science of smoothies and drinks, which often rely on similar emulsion principles, check out this external guide on smoothie science. The same focus on texture applies here; it’s all about creating a harmonious blend.
🍳 Used in this recipe
Get It on Amazon Basics✔ Free Delivery | ✔ Top Rated | ✔ Budget-FriendlyLet’s Get Cooking: The Step-by-Step
First, we build our foundation. The cake layers are a classic vanilla, made with ingredients you likely have on hand. The key is to not overmix the batter—stop as soon as the flour disappears. This ensures a tender crumb. Bake them until a toothpick comes out clean, then let them cool completely. I mean *completely*. A warm cake and frosting are a recipe for a meltdown, literally.
While the cakes cool, it’s time to create our pink palette. Divide your buttercream into four bowls. Leave one plain white, then add a tiny drop of pink gel coloring to the next, a bit more to the third, and a generous amount to the last. You’re aiming for a spectrum: white, soft blush, medium pink, and a deep rose. This is where the artistry begins. Fill your piping bags and get ready to transform your cake into a floral fantasy.
The Rosette Technique
Start from the bottom. Using your deepest pink, pipe a ring of rosettes around the base of the cake. Then, move up a layer and switch to the medium pink, piping another ring. Continue this pattern, lightening the shade as you go, until you reach the top. The effect is a stunning gradient that climbs the cake. Don’t worry about perfection; the handmade charm is part of the appeal.
🍳 Used in this recipe
Get It on Amazon Basics✔ Free Delivery | ✔ Top Rated | ✔ Budget-Friendly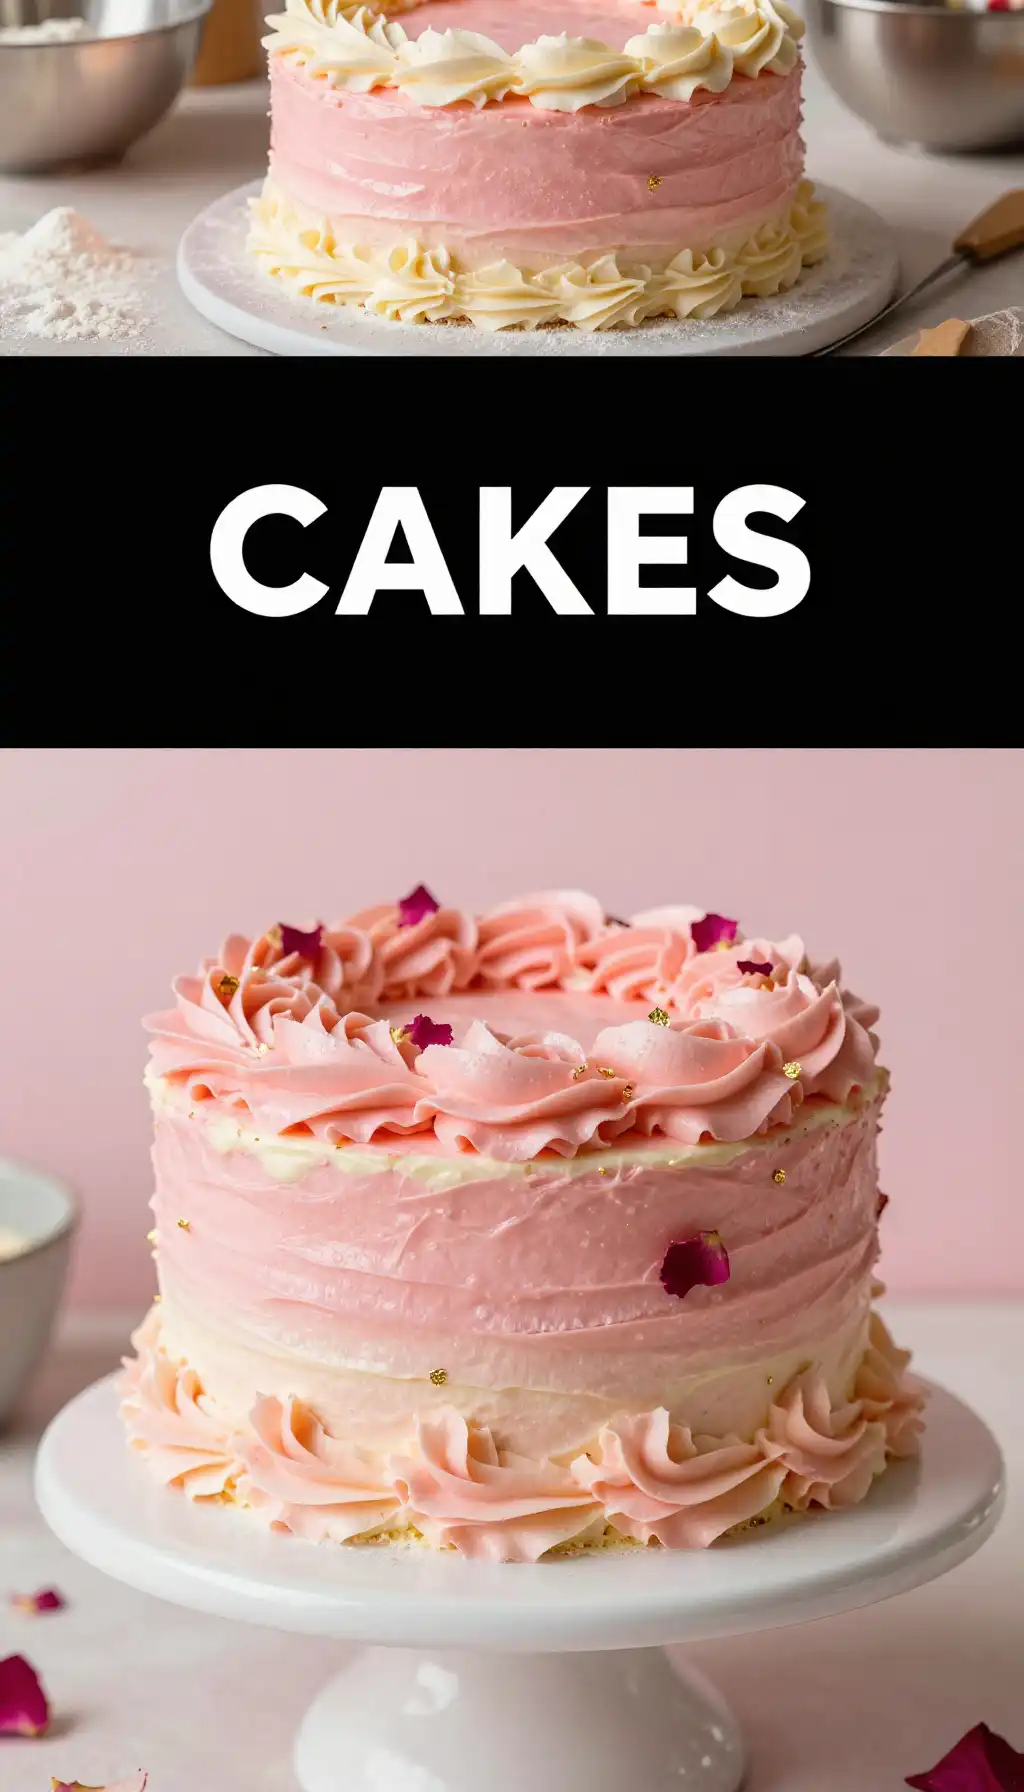
Common Pitfalls and How to Sidestep Them
Let’s be real: baking can be a fickle friend. The number one mistake? Rushing the cooling process. I’ve been there, slapping frosting on a slightly warm cake, only to watch it slowly slide into a sad, pink puddle. *Don’t be me*. Let those layers chill out—literally. Pop them in the fridge for a bit if you’re impatient.
Another classic blunder is over-piping. When you make a rosette, you squeeze the bag, let a blob of frosting form, then stop squeezing and pull away. If you keep squeezing as you pull, you’ll get a weird, stringy tail. Practice on a plate first! And for the love of all things sweet, make sure your buttercream is the right consistency. If it’s too stiff, add a teaspoon of milk. If it’s too runny, add a bit more powdered sugar. You want it to hold its shape but still be smooth enough to pipe.
Serving Vibes: Set the Scene
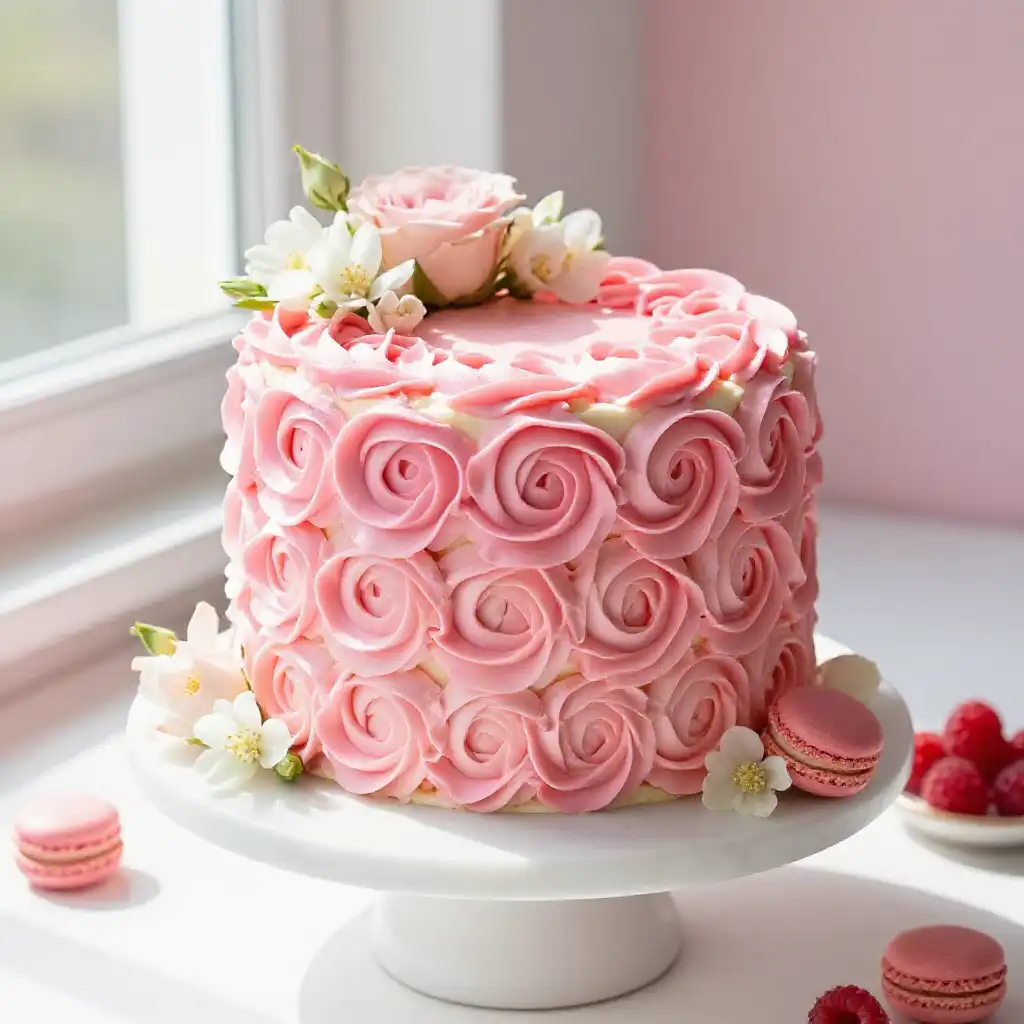
This cake demands an audience. It’s the centerpiece of a birthday brunch, the star of a baby shower, or the grand finale of a romantic dinner. Imagine it on a white cake stand, catching the afternoon light, with a pot of freshly brewed tea or a sparkling fruit punch beside it. The atmosphere should be one of effortless elegance.
🍳 Used in this recipe
Get It on Amazon Basics✔ Free Delivery | ✔ Top Rated | ✔ Budget-FriendlyIt’s also the perfect “pick-me-up” cake. Having a rainy day? This is the edible sunshine you need. The cheerful pink hues and sweet vanilla aroma can brighten even the gloomiest weather. Pair it with a vibrant, fruity drink for a truly uplifting experience. It’s a dessert that celebrates moments, big and small.
Leftovers? Here’s the Plan
If you somehow have leftovers (unlikely, but possible), store the cake in an airtight container in the refrigerator for up to 4 days. The cold will firm up the buttercream, making it easy to slice. For a treat, let a slice sit at room temperature for 15 minutes before eating to bring back that creamy softness.
FAQ: Your Ombre Rosette Cake Questions, Answered
How do I freeze an Ombre Rosette Cake with Gradating Pink Buttercream?
Freezing this beauty is totally doable! For the best results, freeze the cake *unfrosted*. Wrap each cooled layer tightly in plastic wrap, then foil, and freeze for up to 3 months. Thaw overnight in the fridge before frosting. If you must freeze a frosted cake, do so uncovered until the frosting is solid, then wrap it gently. Thaw in the fridge to prevent condensation from messing up your perfect rosettes.
🍳 Used in this recipe
Get It on Amazon Basics✔ Free Delivery | ✔ Top Rated | ✔ Budget-FriendlyWhat are the calories in Ombre Rosette Cake with Gradating Pink Buttercream?
While this is a celebration cake meant to be enjoyed, a typical slice (assuming 12 slices per cake) is roughly 450-550 calories. It’s rich, thanks to the butter and sugar, but every bite is worth it for a special occasion. You can reduce calories slightly by using a lighter frosting base, but it might affect the pipeability.
Can I make the cake layers ahead of time?
Absolutely! This is a great make-ahead strategy. Bake the layers, let them cool completely, then wrap them tightly in plastic wrap and freeze. You can also refrigerate them for 2 days. Just ensure they are fully thawed (if frozen) and at room temperature before you start frosting.
How do I get the perfect pink gradient without the color bleeding?
The key is to use gel food coloring, not liquid. Liquid adds extra moisture and can make your frosting runny. Start with a tiny amount—you can always add more. Also, make sure your buttercream is the same consistency across all shades for a clean look. Pipe one color at a time, and wipe your tip clean between colors if needed.
🍳 Used in this recipe
Get It on Amazon Basics✔ Free Delivery | ✔ Top Rated | ✔ Budget-FriendlyIs this recipe easy for a beginner?
The cake itself is very beginner-friendly. The rosette piping might take a little practice, but it’s one of the easiest piping techniques to master. The ombre effect is forgiving; minor imperfections just add to the handmade charm. Follow the steps, and you’ll have a stunning cake that looks like you bought it from a fancy bakery.

Ombre Rosette Cake with Gradating Pink Buttercream
Ingredients
Ingredients
- 2.5 cups all-purpose flour sifted
- 2 tsp baking powder
- 0.5 tsp salt
- 1 cup unsalted butter softened to room temperature
- 1.75 cups granulated sugar
- 4 large eggs room temperature
- 1 tbsp vanilla extract
- 1 cup whole milk room temperature
- 2 cups unsalted butter for buttercream, softened
- 6 cups powdered sugar sifted
- 1 tsp vanilla extract for buttercream
- 2 tbsp heavy cream room temperature
- 1 tbsp pink gel food coloring for gradating shades