The Day I Met a Jiggly Cloud
I’ll never forget the first time I saw it. A pale, sun-kissed dome quivering on a plate, a gentle tremor that promised something otherworldly. It wasn’t just a dessert; it was a living, breathing thing. One forkful, and I was a goner. It was like tasting a cloud that had been secretly trained in the art of cheesecake. The creamy tang hit first, followed by an impossibly light, soufflé-like lift that dissolved on my tongue. This, my friends, is the magic of Japanese Cheesecake with Jiggly Soufflé Texture, and I’m about to make you its new best friend.
Why This Wobbly Wonder is Your Next Obsession
Let’s be real, most cheesecakes are dense, rich, and can feel like a heavyweight champion after dinner. This one? It’s the featherweight boxer of the dessert world—surprisingly powerful in flavor but light as a dream. The secret isn’t a magic wand; it’s a beautiful balance. We’re not just mixing ingredients; we’re folding in air, gently, with love. The result is a dessert that satisfies your cheesecake craving without the heavy aftermath. It’s the perfect finale, the one that leaves your guests whispering, “What *was* that heavenly thing?”
Recommended Product
 -40%
-40%
Astercook 21‑Piece Non‑Stick Ceramic Cookware Set with Detachable Handles
- Pieces →: 21‑piece set with pots, pans, lids & accessories
- Handles →: Secure removable/detachable handle system for space saving & oven use
- Non‑Stick Coating →: Premium ceramic non‑stick free of harmful PFOA chemicals for healthier cooking
- Cleanup →: Easy to clean thanks to non‑stick surface and detachable handles
And the best part? This isn’t some fussy, professional-only technique. This is an easy Japanese Cheesecake with Jiggly Soufflé Texture recipe that thrives on patience, not perfectionism. It’s forgiving, it’s fun, and the payoff is a show-stopping centerpiece that tastes even better than it looks. If you’re hunting for more show-stopping dishes, you might find inspiration over on my recipe index.
🍳 Used in this recipe
Get It on Amazon Basics✔ Free Delivery | ✔ Top Rated | ✔ Budget-FriendlyThe Soul of the Sponge: A Cream Cheese Deep Dive
At the heart of this jiggly giant lies one superstar: cream cheese. But not just any cream cheese. We’re talking about the full-fat, brick-style stuff. This isn’t the time for low-fat spreads. Why? Because fat is flavor, and more importantly, fat is structure. The luxurious fat content in good cream cheese is what gives the cake its rich, tangy base and helps create that velvety, melt-in-your-mouth crumb. It’s the foundation upon which our airy empire is built.
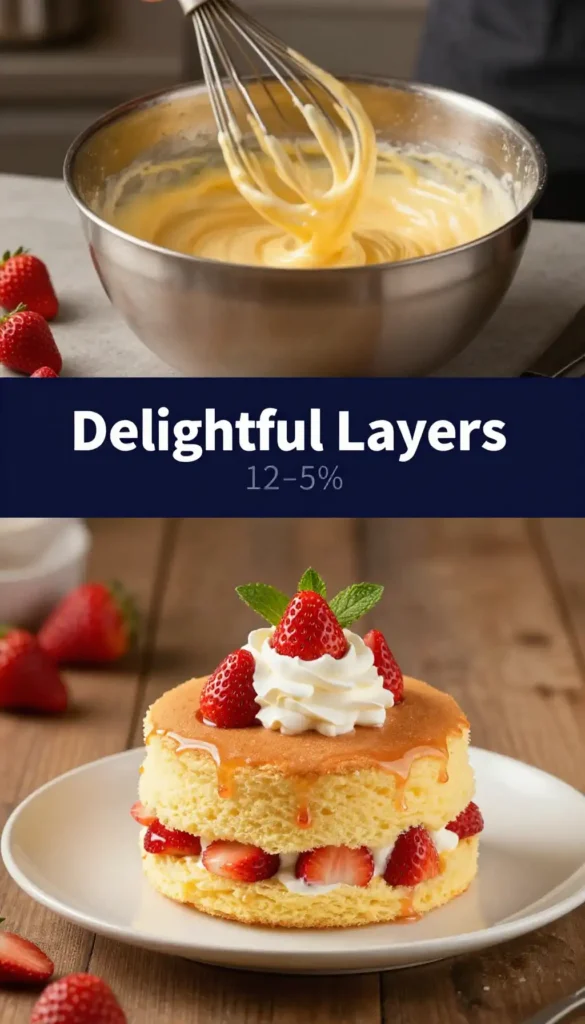
Now, let’s talk about its partner in crime: eggs. We separate them, and this is non-negotiable. The yolks add richness and color, while the whites, when whipped into a stiff, glossy meringue, become the engine of our lift. It’s this meringue that transforms our dense batter into a cloud. As it bakes, the tiny air bubbles expand, creating the signature soufflé texture. It’s food science at its most delicious, and it’s the absolute core of how to make Japanese Cheesecake with Jiggly Soufflé Texture. For a deeper dive into the science of meringues, this guide from Indixer’s drinks category has some fascinating insights on whipping perfection.
What You Need to Raid From the Pantry
Gather your tools and ingredients. Precision helps, but we’re not building a spaceship. Here’s your mission list:
🍳 Used in this recipe
Get It on Amazon Basics✔ Free Delivery | ✔ Top Rated | ✔ Budget-FriendlyThe Flavor Makers
- 250g full-fat cream cheese, softened to room temperature (the squishy kind)
- 50g unsalted butter, also softened
- 60g granulated sugar
- 4 large eggs, separated
- 50g cake flour (all-purpose works in a pinch)
- 2 tablespoons cornstarch
- 100ml whole milk
- 1 teaspoon pure vanilla extract
- A pinch of cream of tartar (for stabilizing your meringue)
The Equipment
A 6-inch round cake pan, parchment paper, a stand mixer or hand mixer, and a large roasting pan for the water bath. Don’t skip the water bath—it’s the secret to even, gentle cooking.
Let’s Get Cooking: The Step-by-Step
First, preheat your oven to 325°F (160°C). Line your cake pan with parchment paper, creating a sling for easy removal later. Now, let’s build our base. In a bowl, gently beat the softened cream cheese and butter until smooth and creamy. There should be no lumps. Add the sugar and beat until just combined.
Next, add the egg yolks one at a time, mixing well after each addition. Stir in the vanilla. Now, sift in the cake flour and cornstarch, mixing until just combined. Finally, slowly stream in the milk, mixing until you have a smooth, pourable batter. Set this aside.
🍳 Used in this recipe
Get It on Amazon Basics✔ Free Delivery | ✔ Top Rated | ✔ Budget-FriendlyIn a spotlessly clean bowl, whip the egg whites with the cream of tartar until they form soft peaks. Gradually add the remaining sugar and keep whipping until you have stiff, glossy peaks. This is your cloud-making moment. Be proud of those peaks!
Now, the gentle part. Take a third of your meringue and fold it into the cream cheese batter to lighten it. Then, carefully fold in the remaining meringue in two additions. Use a spatula, cut through the center, and fold over. Be patient. Overmixing deflates the air. You want a light, fluffy mixture.
Pour the batter into your prepared pan. Tap it gently on the counter to release any large bubbles. Place the pan into a larger roasting pan. Carefully pour hot water into the roasting pan until it comes halfway up the sides of the cake pan. This water bath is your best friend for preventing cracks and ensuring a silky texture.
🍳 Used in this recipe
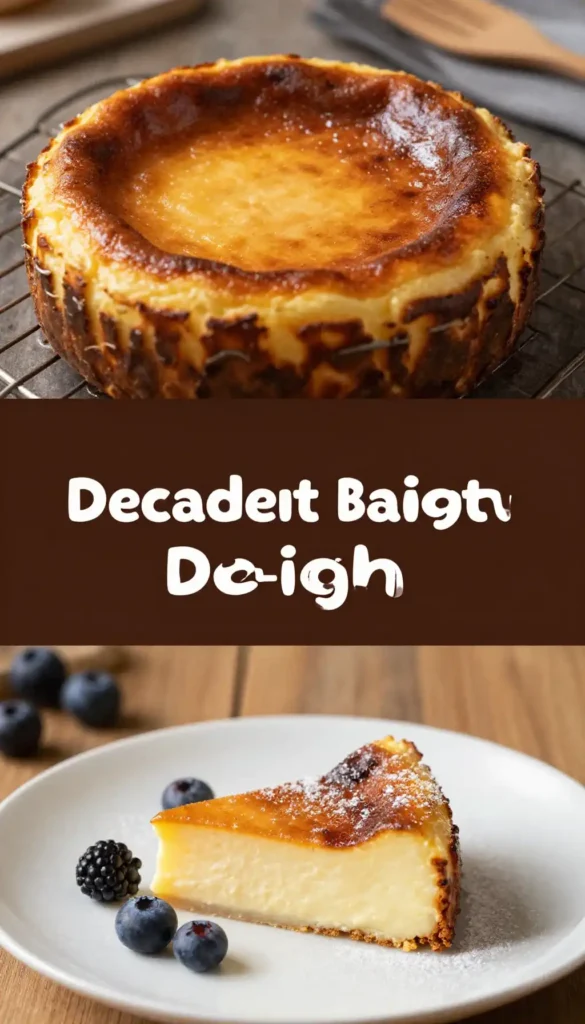
Get It on Amazon Basics✔ Free Delivery | ✔ Top Rated | ✔ Budget-FriendlyBake for 50-60 minutes. The cake should be golden brown on top and still have a slight jiggle in the center when you gently shake the pan. Turn off the oven, crack the door open, and let the cake cool inside for 15 minutes. This prevents a dramatic temperature change that can cause cracks. Then, remove it from the water bath and cool completely on a wire rack before chilling for at least 4 hours, preferably overnight. The wait is torture, but it’s essential.
The “Don’t You Dare” Guide: Common Pitfalls
Thinking of rushing the process? Don’t. The number one mistake is overmixing the meringue into the batter. You are not making a brick; you are folding clouds. Be gentle, be patient, and trust the process. Another classic error is opening the oven door mid-bake. That sudden rush of cold air is a shock to the delicate cake and can cause it to collapse. Just walk away and let the oven do its magic.
And please, for the love of all that is jiggly, don’t skip the water bath. The steam it creates is what gives you that unbelievably smooth, creamy texture without a hint of dryness. Finally, patience is not just a virtue; it’s a requirement. Chilling this cake is not a suggestion. It’s what sets the structure and allows the flavors to meld. Rushing this step leads to a warm, gooey mess that’s more pancake than cloud.
🍳 Used in this recipe
Get It on Amazon Basics✔ Free Delivery | ✔ Top Rated | ✔ Budget-FriendlyServing Vibes: Setting the Scene
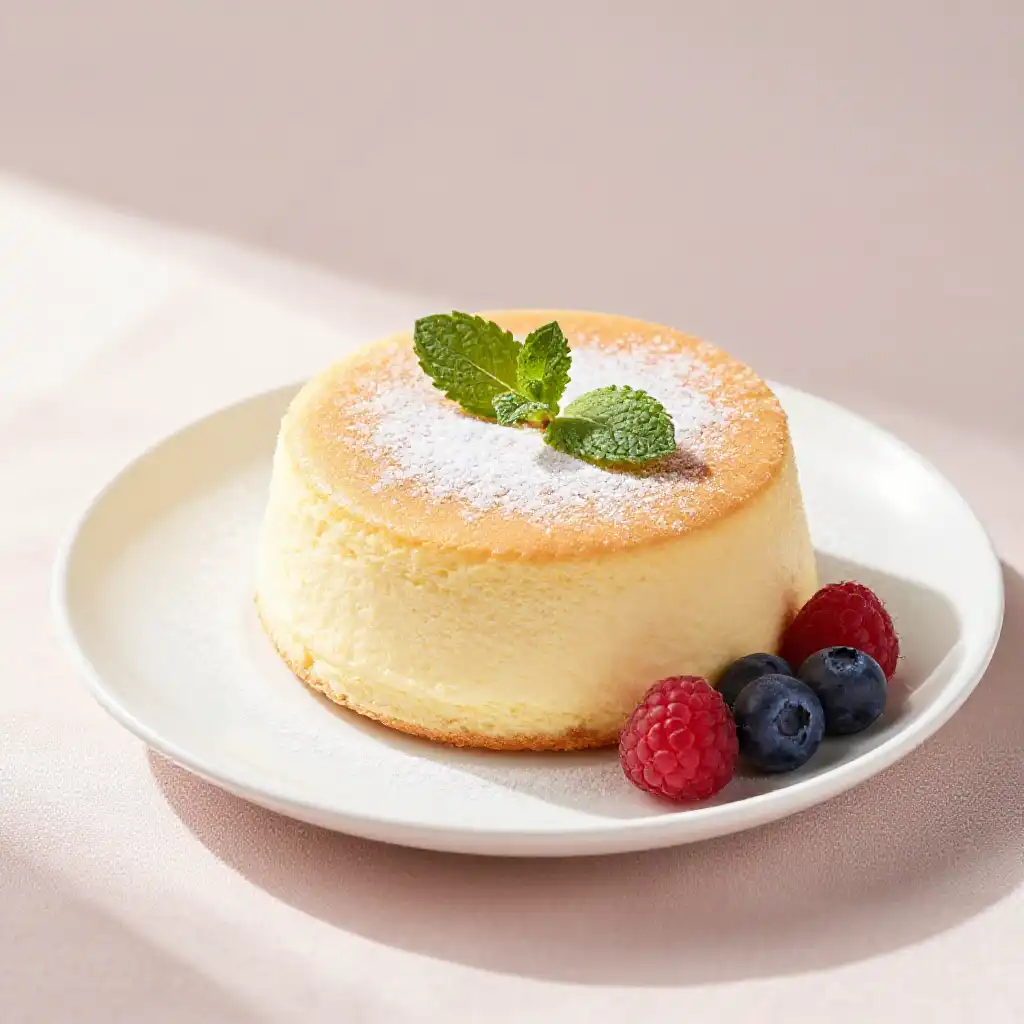
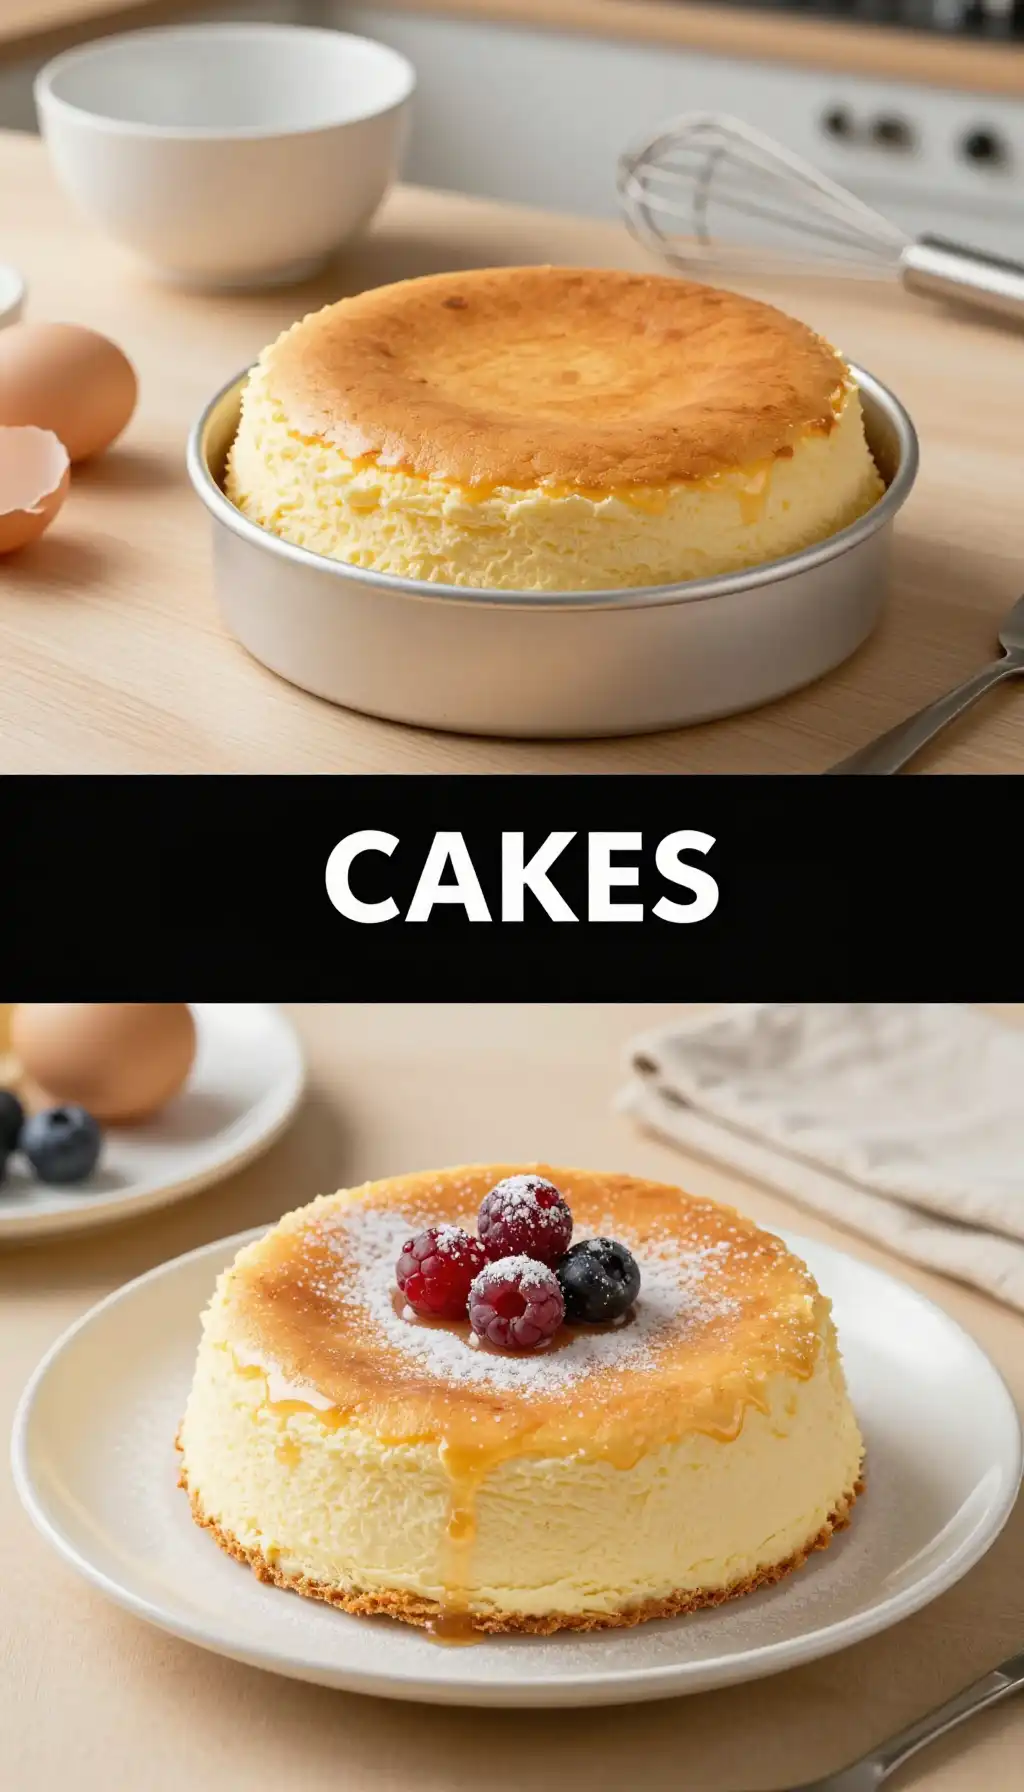
This cheesecake is a chameleon. It’s elegant enough for a dinner party finale, yet comforting enough for a rainy Sunday treat. Picture this: a slice of jiggly perfection, dusted with a whisper of powdered sugar, served on your favorite plate. The steam rising from your tea, the gentle wobble as you carry it to the table. It’s a moment of pure, unadulterated joy.
Pair it with fresh berries for a pop of color and tartness, or a simple drizzle of fruit coulis. It’s also stunning on its own, letting its delicate flavor shine. This is the dessert you make when you want to impress without the stress. It’s a conversation starter, a memory maker, and the reason your guests will be asking for the recipe before they’ve even finished their slice.
Your Cheesecake Questions, Answered
How do I store leftovers?
Keep your jiggly masterpiece in the refrigerator, covered, for up to 5 days. The texture actually improves as it sits, making it a fantastic make-ahead dessert.
🍳 Used in this recipe
Get It on Amazon Basics✔ Free Delivery | ✔ Top Rated | ✔ Budget-FriendlyHow to freeze Japanese Cheesecake with Jiggly Soufflé Texture?
Yes, you can! Wrap individual slices or the whole cake (once fully chilled) tightly in plastic wrap, then a layer of foil. Freeze for up to 2 months. Thaw overnight in the refrigerator before serving. The texture remains surprisingly intact.
What are the calories in Japanese Cheesecake with Jiggly Soufflé Texture?
A standard slice (1/8th of a 6-inch cake) is roughly 250-300 calories. It’s lighter than traditional cheesecake, but it’s still a rich, creamy dessert. Savor every bite!
Why did my cheesecake crack?
Cracks usually happen from a sudden temperature change or overbaking. Ensure you use the water bath, cool it in the oven with the door cracked, and don’t skip the chilling time. A crack doesn’t affect the taste, so don’t panic!
🍳 Used in this recipe
Get It on Amazon Basics✔ Free Delivery | ✔ Top Rated | ✔ Budget-FriendlyCan I use a different pan size?
For best results, stick to the 6-inch size. A larger pan will give you a thinner cake that may overcook. A smaller pan might overflow. If you must adjust, watch the baking time closely.
Now, go forth and create your own jiggly masterpiece. Your kitchen is about to smell like a bakery dream, and your taste buds are in for a cloud-like treat. Happy baking!

Japanese Cheesecake with Jiggly Soufflé Texture
Ingredients
Ingredients
- 8 oz cream cheese softened to room temperature
- 1/4 cup unsalted butter melted and slightly cooled
- 1/2 cup whole milk
- 6 large egg yolks at room temperature
- 1/4 cup cake flour sifted
- 2 tbsp cornstarch sifted
- 1/2 cup granulated sugar divided for yolks and whites
- 6 large egg whites at room temperature
- 1/4 tsp cream of tartar or 1/2 tsp lemon juice
Notes
🍳 Used in this recipe
Get It on Amazon Basics✔ Free Delivery | ✔ Top Rated | ✔ Budget-Friendly