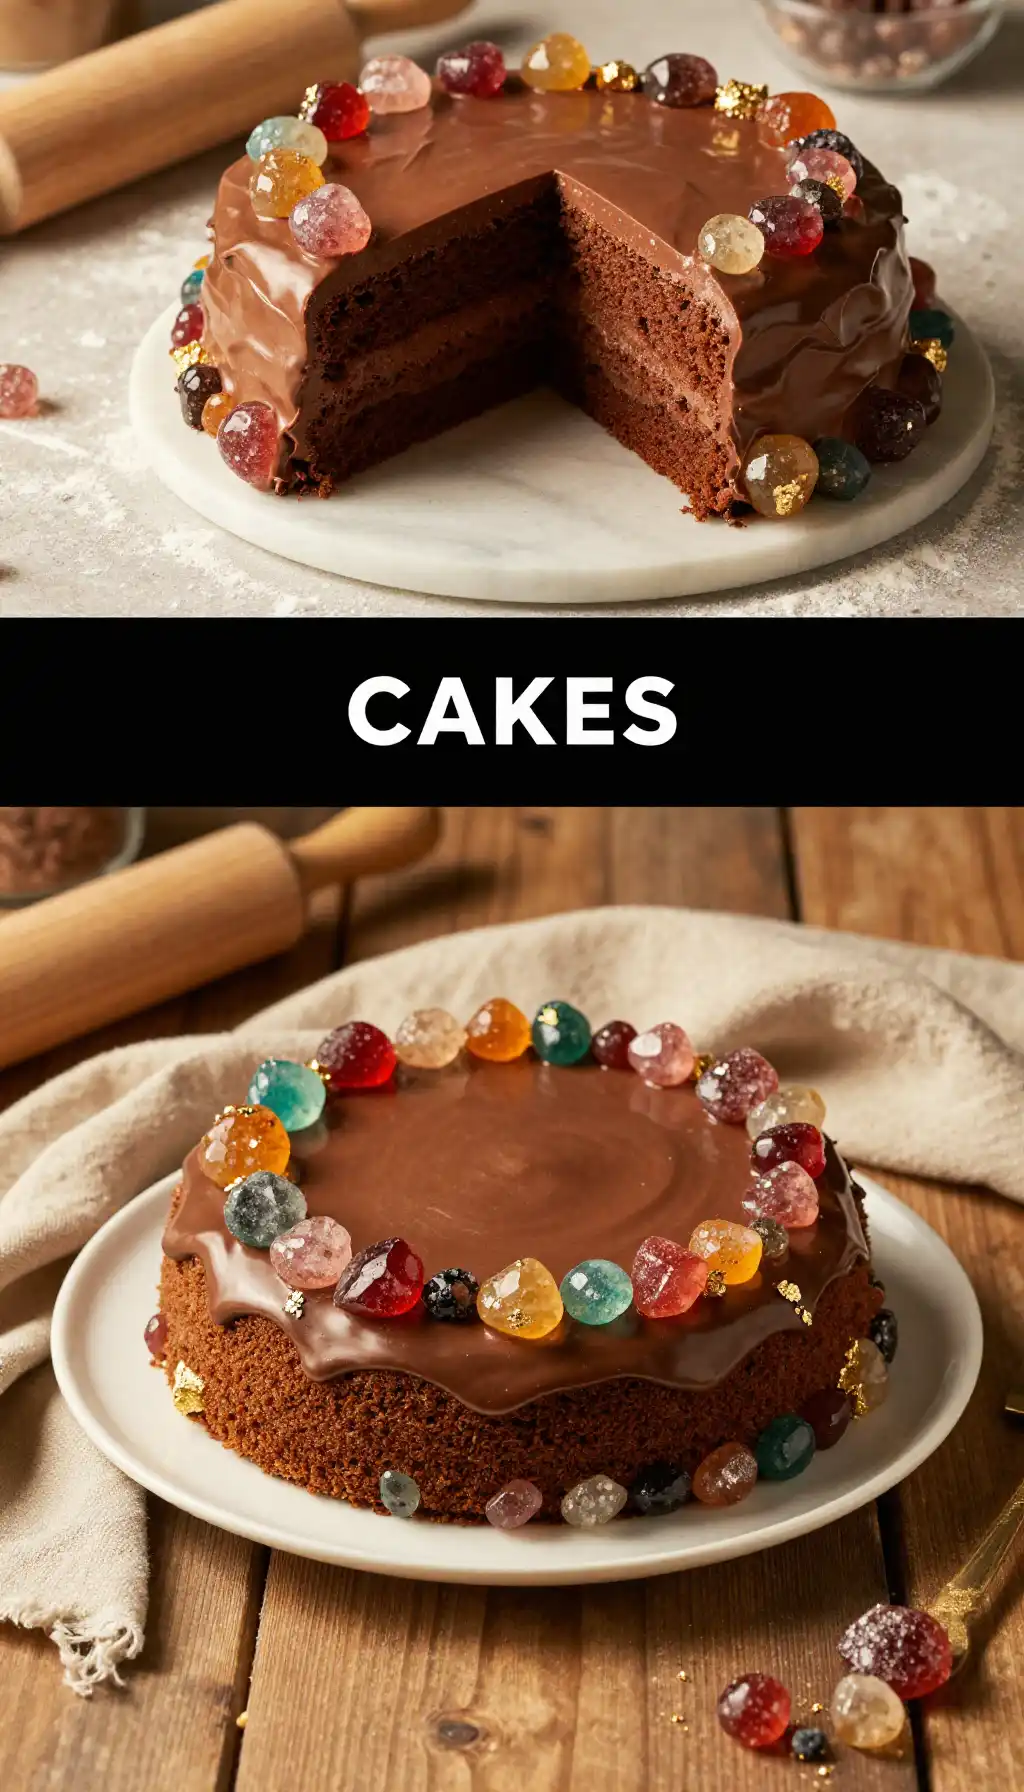
My Kitchen Looks Like a Mine Shaft (And I’m Not Mad About It)
There’s a certain kind of magic that happens when you crack open a rock and find a universe sparkling back at you. That’s the feeling I chase every time I bake this masterpiece. It starts with the snap. The sharp, crystalline sound of a sugar shell giving way to reveal a dark, fudgy chocolate heart. It’s dramatic. It’s messy in the best possible way. And the smell? Imagine a chocolate volcano erupting with the scent of pure, spun sugar.
I made this for my friend’s birthday last month. We brought it out, dimmed the lights, and everyone just stared. It looks like you spent a week chiseling it out of a mountainside. But the secret is, it’s a bit of a kitchen illusion. You’re about to learn the trick to turning a humble chocolate cake into a geological wonder. You don’t need a geology degree, just a little patience and a sweet tooth.
Recommended Product
 -40%
-40%
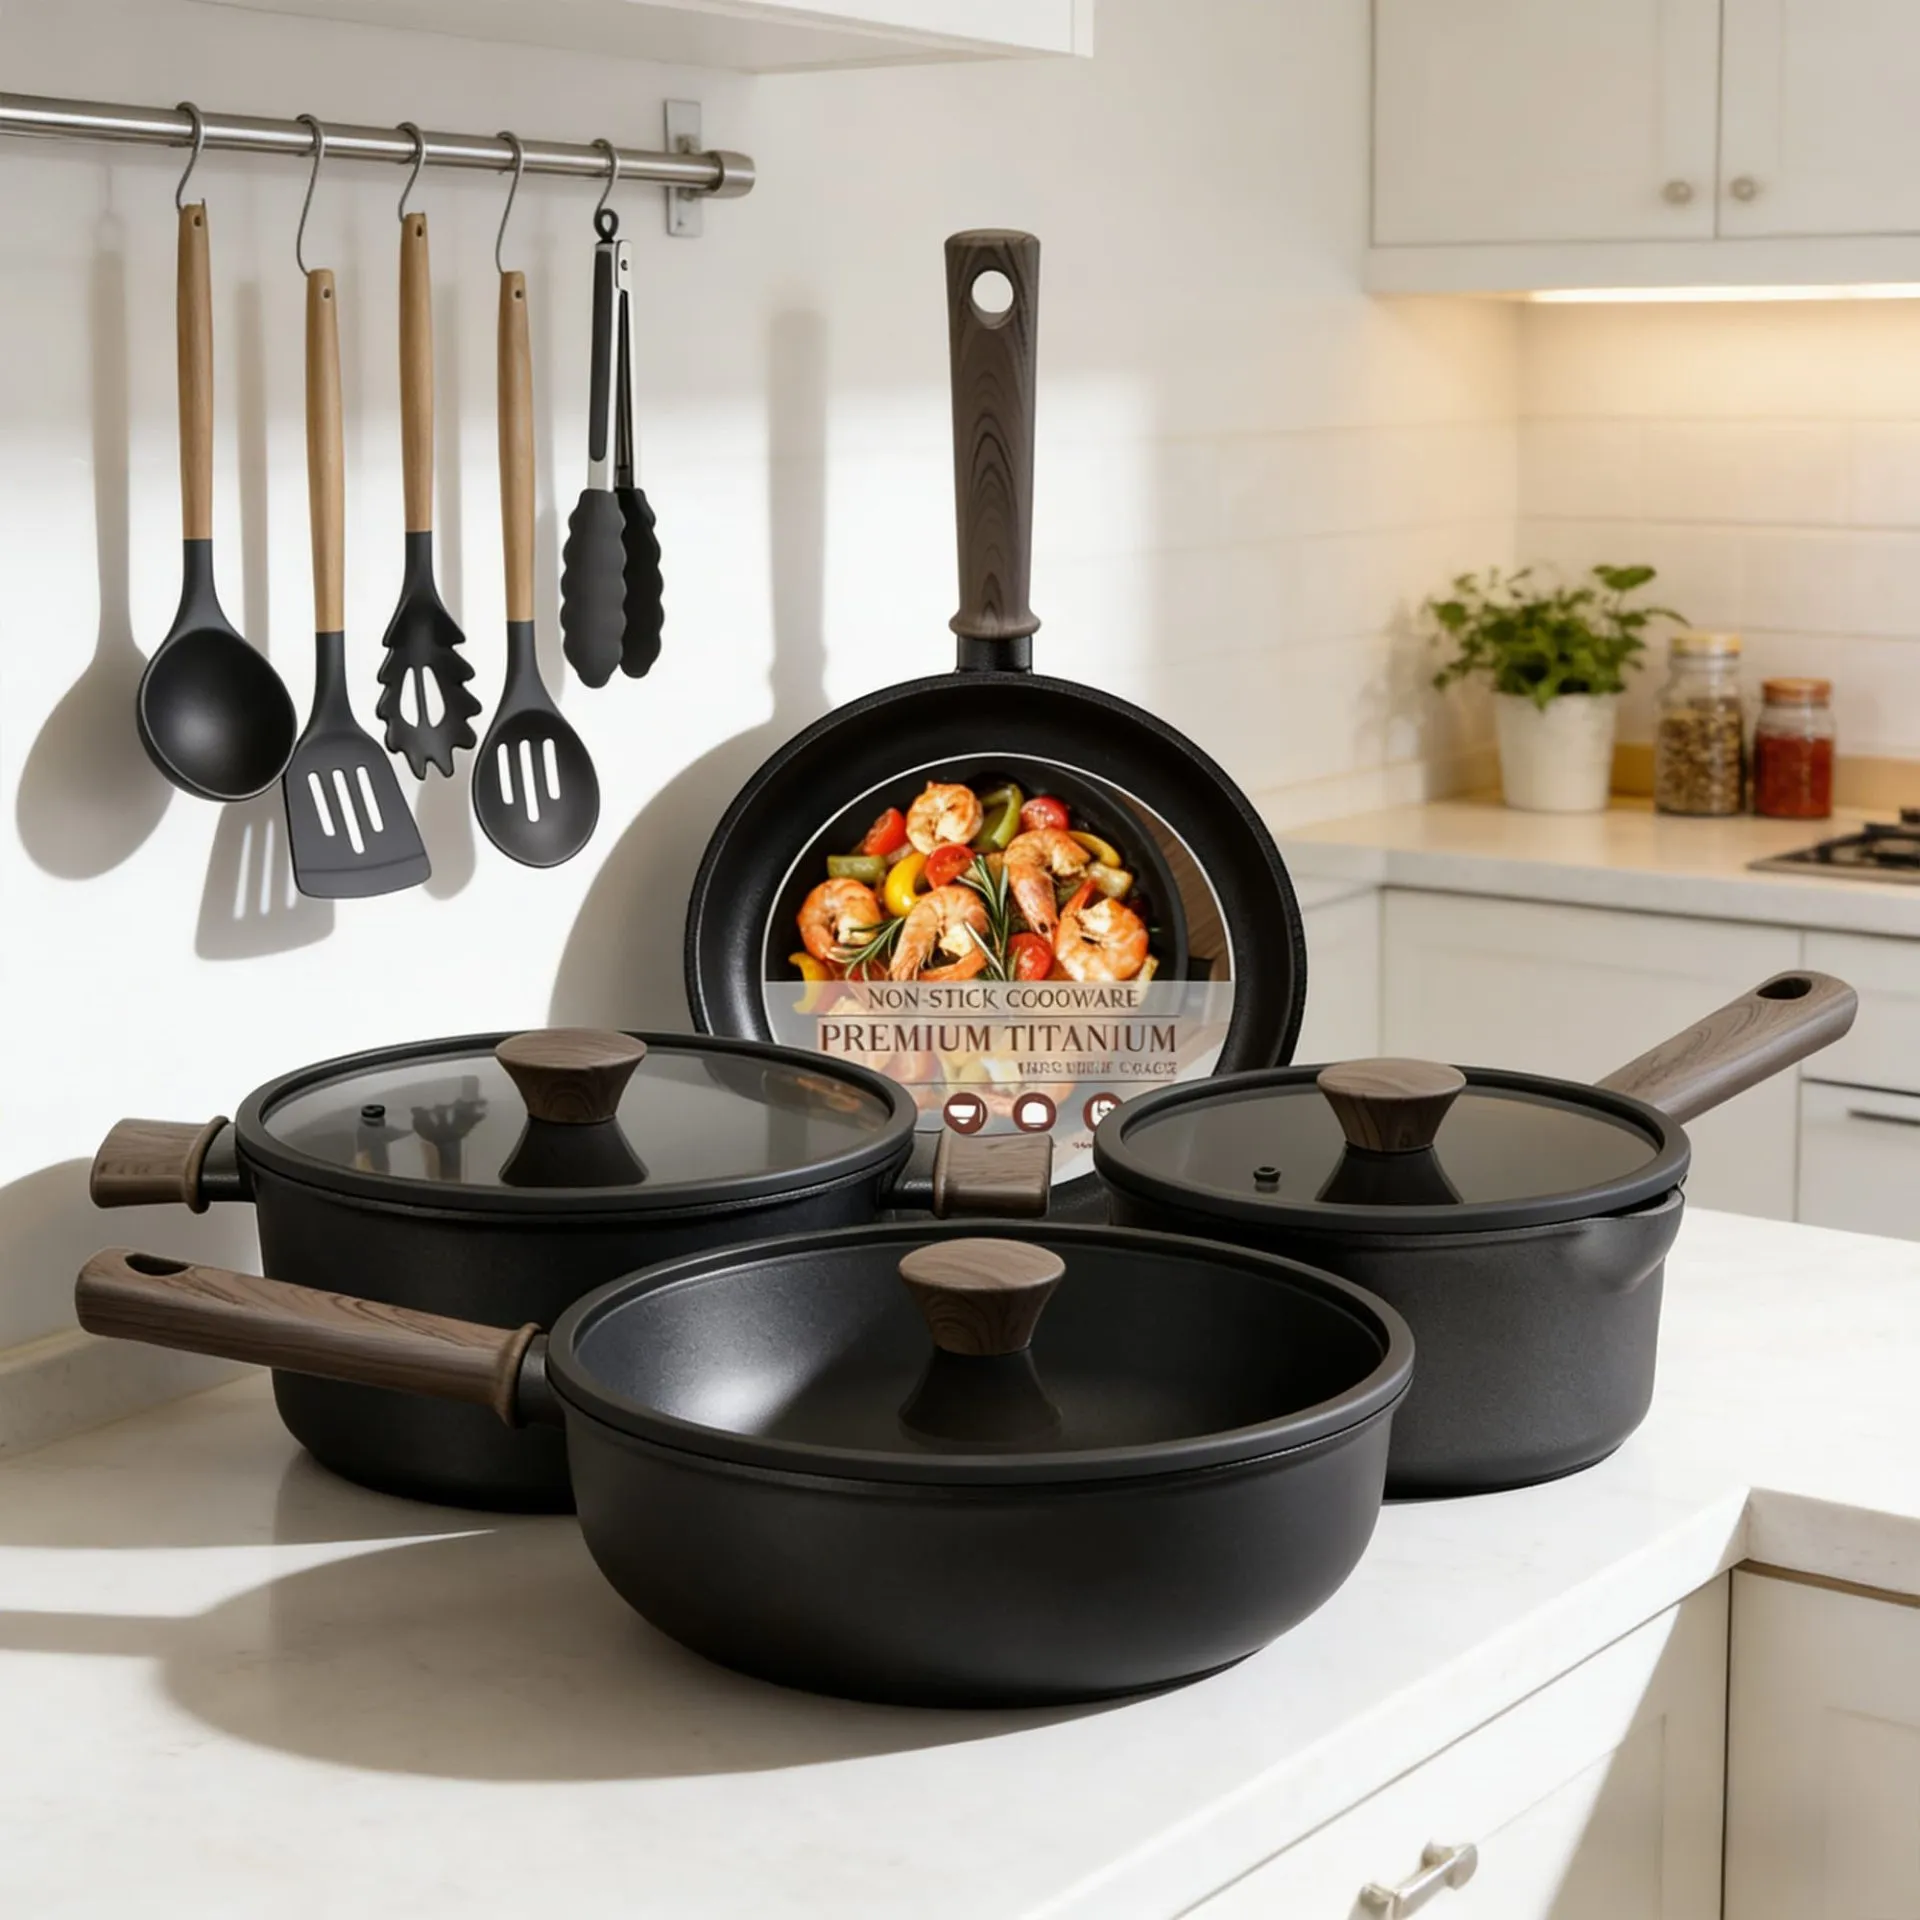
Astercook 21‑Piece Non‑Stick Ceramic Cookware Set with Detachable Handles
- Pieces →: 21‑piece set with pots, pans, lids & accessories
- Handles →: Secure removable/detachable handle system for space saving & oven use
- Non‑Stick Coating →: Premium ceramic non‑stick free of harmful PFOA chemicals for healthier cooking
- Cleanup →: Easy to clean thanks to non‑stick surface and detachable handles
This isn’t just a cake. It’s a conversation starter, a showstopper, and honestly, a pretty great way to impress someone without them knowing you had a blast making it. If you’re into desserts that defy expectations, you should definitely check out what else we’re cooking up over on our recipe index at slapid.com.
🍳 Used in this recipe
Get It on Amazon Basics✔ Free Delivery | ✔ Top Rated | ✔ Budget-Friendly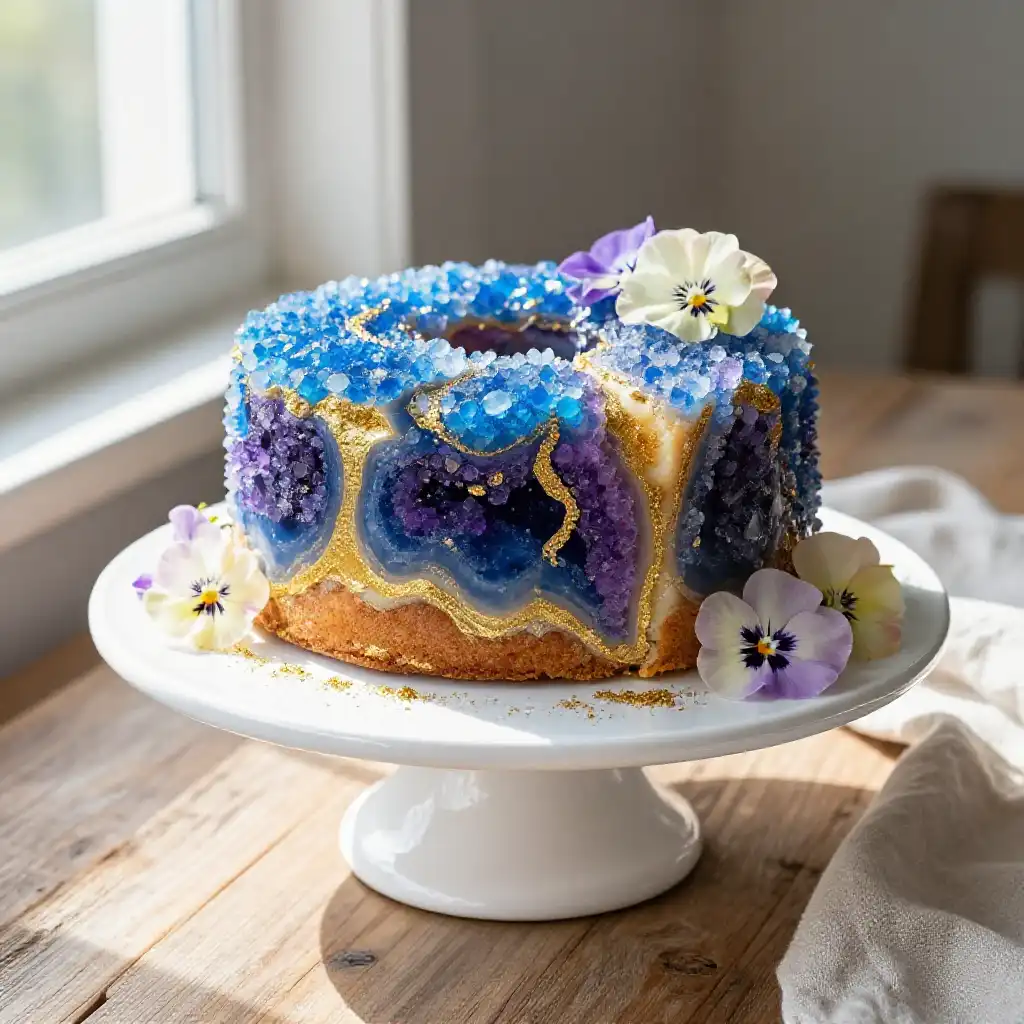
Why You Need This Edible Jewel in Your Life
Let’s be real, most fancy cakes are all style and no substance. They’re beautiful, but dry as a desert. This Geode Cake with Crystallized Sugar Crystals and Gold Veining is the total opposite. The core is a rich, moist chocolate sponge that’s so decadent it almost tastes like a brownie. It’s the perfect counterpoint to the sugary, crunchy geode exterior.
And the best part? It’s a stress-bake. The “geode” part is forgiving. Jagged edges are encouraged! Imperfections are what make it look real. You’re not aiming for smooth fondant perfection here; you’re aiming for raw, natural beauty. It’s the perfect project for a rainy afternoon when you want to create something that looks like a million bucks but is made of simple, honest ingredients. Plus, watching people’s faces when you crack it open is priceless.
The Alchemist’s Secret: The Science of Spun Sugar
The star of this show isn’t the cake, as crazy as that sounds. It’s the sugar. We’re making isomalt “crystals,” and understanding the science here is the key to not ending up with a sticky puddle. Isomalt is a sugar substitute made from beets, and it’s a rock star in the baking world because it resists crystallization and has a lower freezing point. This means you can work with it longer without it turning into a grainy mess.
🍳 Used in this recipe
Get It on Amazon Basics✔ Free Delivery | ✔ Top Rated | ✔ Budget-FriendlyThe magic happens when you cook the isomalt to the “hard crack” stage (around 300°F / 150°C). At this temperature, all the water has boiled away, leaving behind pure sugar molecules. When you pour this molten lava onto a silicone mat and let it cool, the molecules arrange themselves into a glass-like structure. The trick to getting that perfect “geode” look is controlling the cooling. Rapid cooling creates small, jagged crystals (think rock candy). Slow, steady cooling creates a clear glass. We want the jagged look, so we embrace the chaos!
Let’s Get Cooking: Your Step-by-Step to Geode Glory
Ready to become a sugar sculptor? Don’t worry, I’ll walk you through it. We’ll build this thing in layers. First, the cake. Then, the structure. Finally, the bling.
What You Need to Raid the Pantry
For the Chocolate Heart (The Cake):
🍳 Used in this recipe
Get It on Amazon Basics✔ Free Delivery | ✔ Top Rated | ✔ Budget-Friendly- 1 ¾ cups all-purpose flour
- 2 cups granulated sugar
- ¾ cup unsweetened cocoa powder
- 2 teaspoons baking soda
- 1 teaspoon baking powder
- 1 teaspoon salt
- 1 cup buttermilk (or milk with a splash of vinegar)
- ½ cup vegetable oil
- 2 large eggs
- 1 teaspoon vanilla extract
- 1 cup boiling water (this blooms the cocoa!)
For the Geode (The Sugar Magic):
- 2 cups isomalt crystals
- ¼ cup water
- Food coloring (red, pink, or deep purple work best for a gem look)
- Edible gold leaf
- Edible gold or pearl luster dust
The Step-by-Step
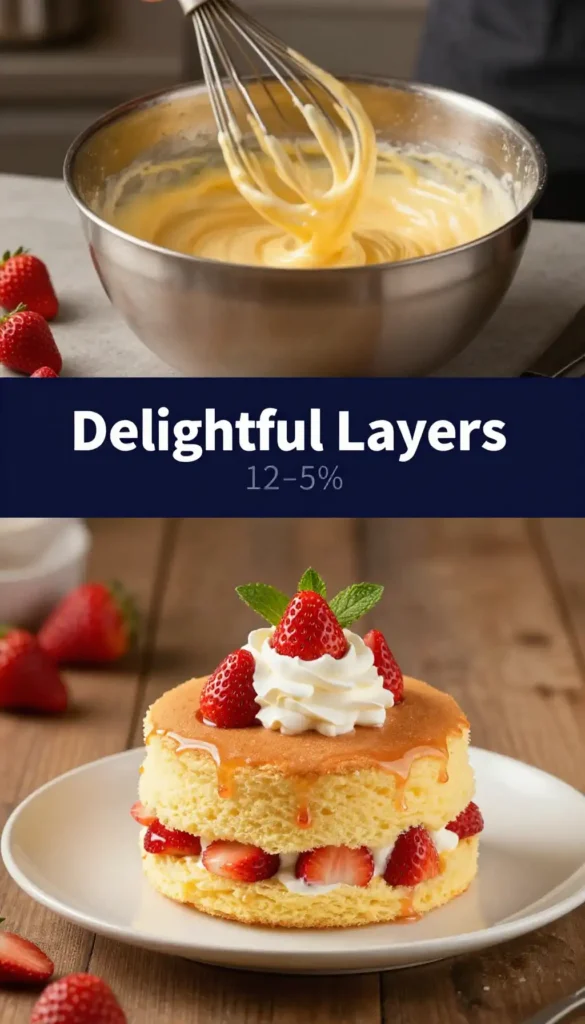
1. Bake the Heart: Preheat your oven to 350°F (175°C). Grease and flour two 8-inch round cake pans. In a large bowl, whisk together your dry ingredients. Add the buttermilk, oil, eggs, and vanilla. Mix until combined. Now, carefully stir in the boiling water. The batter will be thin – that’s normal! Pour into pans and bake for 30-35 minutes. Let them cool completely. A warm cake will crumble, so patience is a virtue here.
2. Carve Your Cave: Once your cakes are cool, stack them with a layer of your favorite chocolate frosting in between. Now, take a serrated knife and carve out a crescent moon shape from the top of the cake, about 1.5 inches deep. This is your geode cavity. Don’t throw away the scraps! Crumble them up – we’ll use them later.
🍳 Used in this recipe
Get It on Amazon Basics✔ Free Delivery | ✔ Top Rated | ✔ Budget-Friendly3. Create the Crust: Frost the entire cake smoothly with a dark chocolate buttercream. This is your “rock.” Now, press your cake crumbs all over the frosted surface, concentrating them around the carved-out geode cavity. This gives it that rough, stony texture. Pop the whole cake in the fridge to firm up while you make the sugar.
4. Sculpt the Sugar (This is the fun part!): In a heavy-bottomed saucepan, combine the isomalt and water. Heat it over medium-high heat. Do NOT stir it. Just swirl the pan occasionally. Watch it like a hawk. It will go from clear to a light golden color. We want a deep amber, but not burnt. If you have a candy thermometer, you’re aiming for 300°F.
5. Color and Pour: Once it hits temperature, immediately take it off the heat. Add a few drops of your food coloring and swirl it gently (don’t stir too much or it will seize). Let it sit for a minute to stop bubbling, then carefully pour the molten isomalt directly into the chilled cake’s cavity. It will hiss and steam – that’s the drama!
🍳 Used in this recipe
Get It on Amazon Basics✔ Free Delivery | ✔ Top Rated | ✔ Budget-Friendly6. The Gold Vein: Let the sugar cool for about 15-20 minutes. It will harden into a glass-like sheet. While it’s still slightly warm but firm, use a small, clean paintbrush to dab on the edible gold leaf. Create little veins and cracks to mimic real geology. Finally, mix your luster dust with a tiny bit of clear extract (like vanilla) and paint some shimmery streaks on the sugar crystals and around the rim of the geode.
Common Pitfalls (Or, How Not to Make a Sugar Mess)
We’ve all been there. You’re feeling confident, then suddenly you have a rock-hard substance glued to your favorite pan. Let’s avoid that. First, humidity is your enemy. If it’s a super rainy day, your sugar might get sticky. If you live in a humid climate, you might need to cook it a few degrees hotter.
Second, do not, I repeat, DO NOT stir the isomalt as it cooks. Stirring encourages crystallization, and you’ll end up with a grainy, opaque mess instead of clear glass. Swirl the pan, but keep your spoon out of it. And for the love of all things holy, use a silicone mat or parchment paper when you pour the sugar. It will bond permanently to your countertop otherwise. I learned that the hard way.
🍳 Used in this recipe
Get It on Amazon Basics✔ Free Delivery | ✔ Top Rated | ✔ Budget-FriendlyServing Vibes: How to Present Your Masterpiece
This cake demands a stage. Don’t just slap it on a chipped plate. This is a celebration cake. It’s perfect for a milestone birthday, an anniversary, or just a Tuesday when you feel like you deserve something spectacular. The ideal vibe is “enchanted forest” or “moody speakeasy.”
Dim the lights, maybe light a few candles. When you bring it to the table, do the honors. Take a heavy knife and give it a firm WHACK right on the sugar crust. The sound of it cracking is half the experience. It reveals that dark, mysterious chocolate interior, and it’s pure theater. Serve it with tall glasses of cold milk or a steaming pot of coffee. The richness of the cake pairs beautifully with something simple and clean.
Geode Cake FAQs: Your Questions, Answered
How to freeze Geode Cake with Crystallized Sugar Crystals and Gold Veining?
Honestly, this cake is best served fresh. The sugar geode will absorb moisture from the air and the cake over time, losing its signature crunch. If you absolutely must freeze it, do so before you add the sugar geode. Wrap the carved and frosted cake tightly in plastic wrap and freeze for up to a month. Thaw in the fridge, then make and add the sugar geode fresh on the day you plan to serve it.
🍳 Used in this recipe
Get It on Amazon Basics✔ Free Delivery | ✔ Top Rated | ✔ Budget-FriendlyCan I make the Geode Cake with Crystallized Sugar Crystals and Gold Veining ahead of time?
You can get a head start! Bake the cake and make the frosting a day or two in advance. Store the cake layers wrapped at room temperature and the frosting in the fridge. Assemble and decorate the cake the day of your event for the best texture and “wow” factor.
Calories in Geode Cake with Crystallized Sugar Crystals and Gold Veining?
This is a special occasion treat, so let’s not get too hung up on the numbers! It’s definitely on the richer side. You’re looking at a slice that’s probably in the 450-550 calorie range, thanks to the chocolate sponge and the sugar crust. But every single one of those calories is worth it for the experience.
Do I need a candy thermometer to make the geode?
While not strictly necessary if you’re brave and experienced, a candy thermometer is your best friend here. It takes the guesswork out of the equation and ensures your sugar hits the perfect hard crack stage. If you’re going in blind, look for a deep amber color that smells like caramel, but be careful – it goes from perfect to burnt in seconds!
🍳 Used in this recipe
Get It on Amazon Basics✔ Free Delivery | ✔ Top Rated | ✔ Budget-FriendlyIs there an easy Geode Cake with Crystallized Sugar Crystals and Gold Veining version for beginners?
The most intimidating part is the isomalt. For a super easy version, you can buy pre-made isomalt “gems” or rocks online. You would then just frost the cake, press on some crushed rock candy or sugar crystals, and artfully arrange the store-bought gems and gold leaf. It won’t have that signature “cracked open” look, but it will still be a stunning geode-themed cake!

Geode Cake with Crystallized Sugar Crystals and Gold Veining
Ingredients
Ingredients
- 1.75 cups all-purpose flour sifted
- 2 cups granulated sugar divided
- 0.75 cups unsweetened cocoa powder Dutch-processed preferred
- 2 tsp baking soda
- 1 tsp baking powder
- 1 tsp salt
- 2 large eggs room temperature
- 1 cup buttermilk room temperature
- 0.5 cup vegetable oil
- 2 tsp vanilla extract
- 1 cup hot coffee enhances chocolate flavor
- 3 cups unsalted butter softened for frosting
- 6 cups powdered sugar sifted
- 0.75 cups unsweetened cocoa powder for frosting
- 2 tbsp heavy cream room temperature
- 1 box rock candy crystals assorted blue/purple/silver
- 1 sheet edible gold leaf or gold luster dust