The Crackle, The Steam, The “Oh-My-Gosh” Aroma
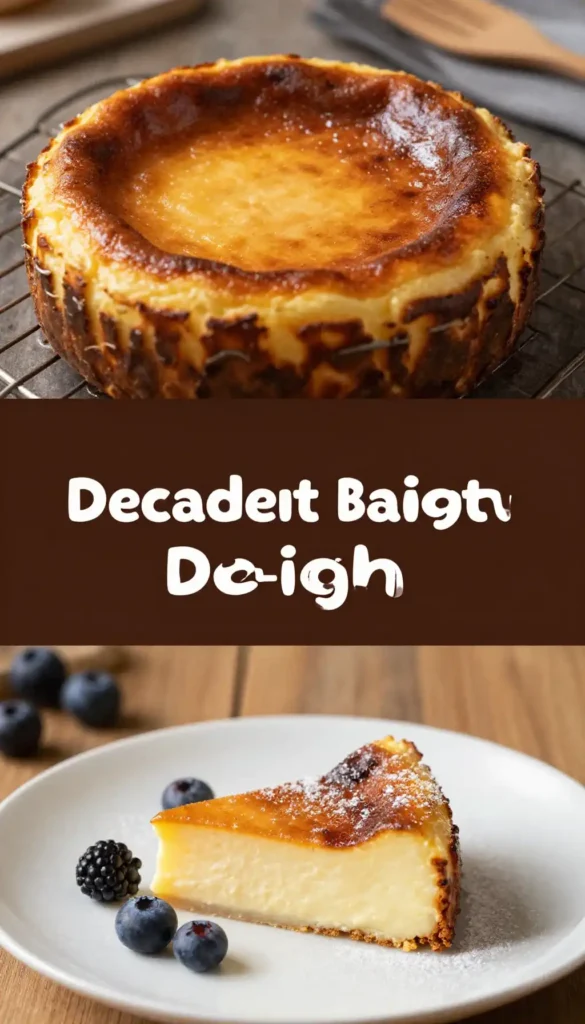
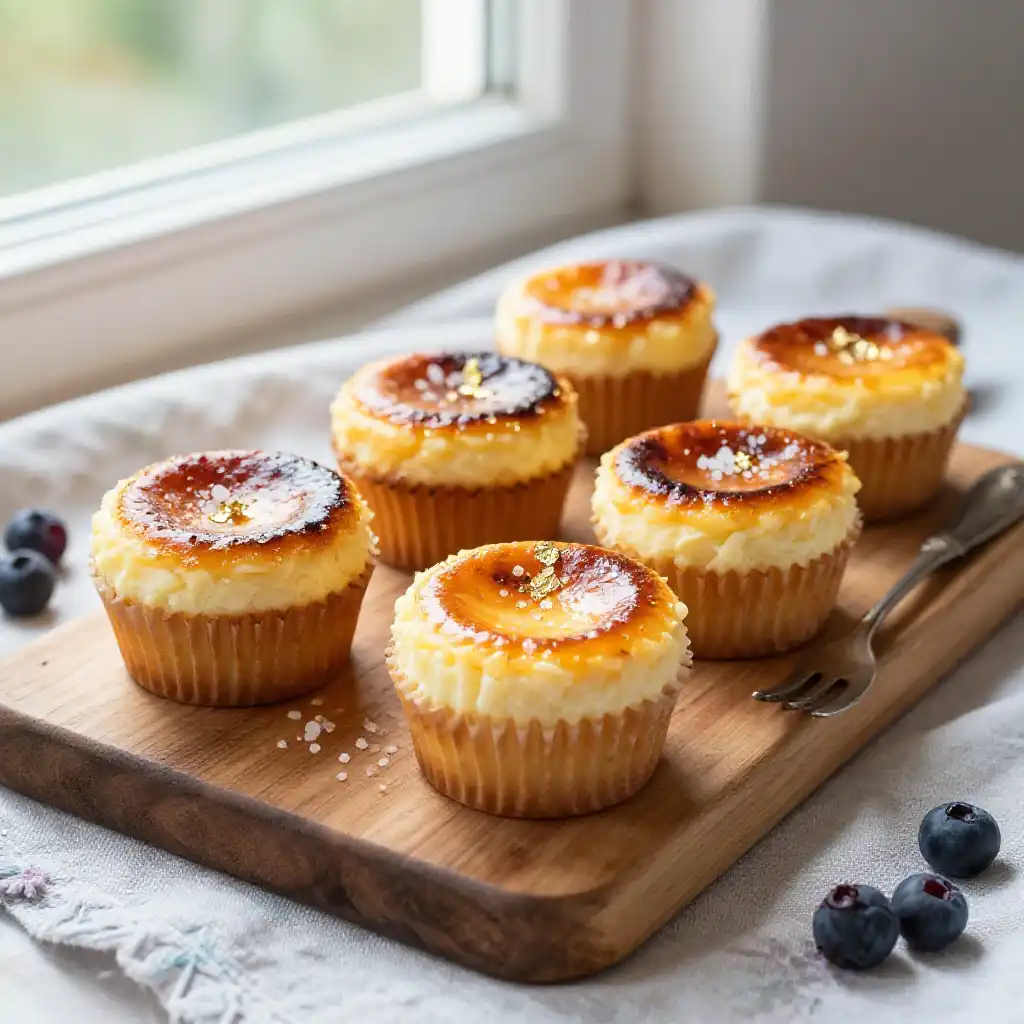
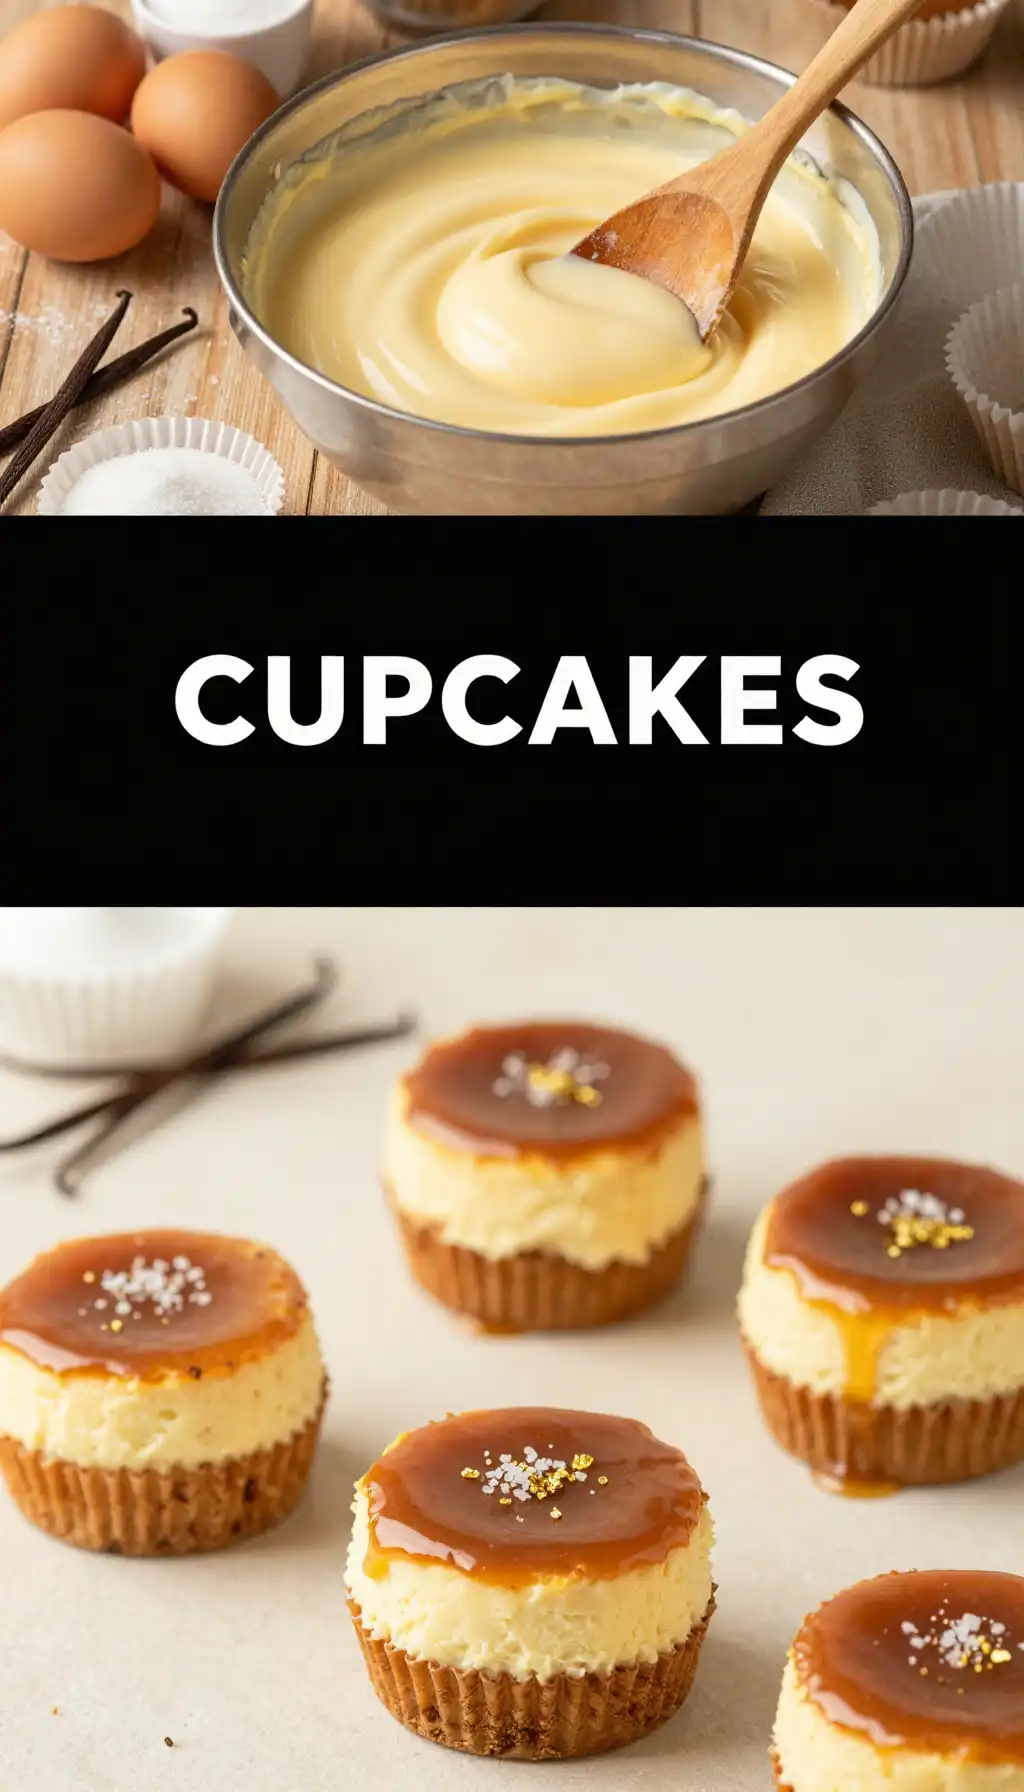
I’ll never forget the first time I pulled a Basque cheesecake from the oven. It wasn’t a neat, perfectly white dome. It was a glorious, dark-edged, bubbling beast that looked like it had a fantastic, rebellious life story. The smell hit me first—that intoxicating cloud of caramelized sugar and toasted cream cheese that makes your kitchen smell like a Parisian patisserie on a lazy Sunday morning. This is that magic, but in a personal, poppable form. Imagine that same creamy, custard-like center with a signature dark, caramelized top, all nestled in a single-serving cupcake wrapper. It’s sophisticated, it’s messy in the best way, and it’s about to become your new obsession.
Why This Isn’t Your Average Cupcake
Let’s be real, most cupcakes are just cake with a sugar helmet. These? They’re a whole mood. The magic of the Basque Burnt Cheesecake Cupcakes with Caramelized Tops lies in its beautiful contradictions. The outside has a deep, almost burnt, toasty flavor that gives way to a shockingly smooth, creamy, and barely-set center. It’s a textural party in your mouth. Plus, they are forgiving. Forget the water bath and the perfectionism. This recipe thrives on a little chaos and a lot of heat. It’s the dessert you make when you want to look like a culinary genius without the stress. And because they’re individual, there’s no awkward slicing and serving. Just grab and swoon.
Recommended Product
 -40%
-40%
Astercook 21‑Piece Non‑Stick Ceramic Cookware Set with Detachable Handles
- Pieces →: 21‑piece set with pots, pans, lids & accessories
- Handles →: Secure removable/detachable handle system for space saving & oven use
- Non‑Stick Coating →: Premium ceramic non‑stick free of harmful PFOA chemicals for healthier cooking
- Cleanup →: Easy to clean thanks to non‑stick surface and detachable handles
The Soul of the Cream Cheese
At the heart of every great Basque cheesecake is the cream cheese. This isn’t just a supporting actor; it’s the lead singer. The secret isn’t in some fancy technique, but in understanding what you’re working with. Full-fat cream cheese is non-negotiable. Its high fat content is what creates that luscious, custard-like texture that wobbles when you nudge the pan. When it meets the sugar and the intense heat of the oven, a beautiful Maillard reaction occurs. The sugars and proteins on the surface caramelize and brown, creating that signature dark, complex flavor that cuts through the richness. It’s not burnt; it’s transformed. This is the science of flavor, and it’s what makes this dessert so incredibly addictive.
🍳 Used in this recipe
Get It on Amazon Basics✔ Free Delivery | ✔ Top Rated | ✔ Budget-FriendlyAnd speaking of ingredients, if you’re looking for more inspiration for your next kitchen adventure, you can always find fantastic ideas over at Indixer’s smoothies and drinks section for the perfect pairing.
The Flavor Makers
Here’s what you’ll need to raid from your pantry. Don’t worry, it’s a short and sweet list. The beauty of this recipe is its simplicity. All you need is a handful of staples and a hot oven to create something extraordinary.
The Creamy Core
- 16 oz (two blocks) full-fat cream cheese, softened to room temperature. This is the foundation.
- 1 cup granulated sugar, for that perfect sweet balance.
- 5 large eggs, at room temperature. They help create the custard magic.
- 2 teaspoons pure vanilla extract, for warmth and depth.
- 1 ¼ cups heavy cream, the key to that unbelievable silkiness.
- ½ cup all-purpose flour, just enough to give it structure without making it cakey.
- A pinch of fine sea salt, to make all the flavors pop.
The Vessel
- 12 standard cupcake liners, because we’re keeping it neat(ish).
- A standard cupcake tin, to hold our little treasures.
Let’s Get Cooking: The Step-by-Step
Ready to make some magic? This is where the fun begins. The process is straightforward, but the results are spectacular. We’re not aiming for perfection; we’re aiming for that gorgeous, caramelized top and a creamy center.
🍳 Used in this recipe
Get It on Amazon Basics✔ Free Delivery | ✔ Top Rated | ✔ Budget-FriendlyStep 1: The Preheat and Prep
First, crank your oven to a blazing 400°F (200°C). This high heat is non-negotiable for the signature “burnt” top. While it heats, line your cupcake tin with the liners. Pro tip: run a little butter around the inside of each liner to ensure an easy release later.
Step 2: The Creamy Foundation
In a large bowl, beat the softened cream cheese with an electric mixer until it’s completely smooth and lump-free. This is crucial. No one wants a surprise chunk of cream cheese. Add the sugar and beat again until it’s light and fluffy. You should see the mixture get paler and almost whipped.
Step 3: Incorporate the Eggs and Flavor
Now, add the eggs one at a time, beating well after each addition. Scrape down the sides of the bowl to make sure everything is incorporated. Stir in the vanilla extract. The mixture should look like a thick, pale batter.
🍳 Used in this recipe
Get It on Amazon Basics✔ Free Delivery | ✔ Top Rated | ✔ Budget-FriendlyStep 4: The Liquid Gold
With the mixer on low, slowly stream in the heavy cream. Don’t rush this! You want a smooth, flowing consistency. Finally, sift in the flour and salt, mixing just until combined. Over-mixing can lead to a tough texture, so be gentle.
Step 5: The Pour and Bake
Divide the batter evenly among the 12 cupcake liners, filling them almost to the top. They will puff up and then settle as they cool. Place the tin in the center of the hot oven and bake for 20-25 minutes. The tops will be deeply browned, almost blackened in spots, and the centers will still have a slight wobble. That’s exactly what you want!
Step 6: The Crucial Cool Down
Remove the tin from the oven and let the cupcakes cool in the pan for 10 minutes. Then, carefully transfer them to a wire rack to cool completely. This is the hardest part: waiting. They need to cool to room temperature to fully set up. The center will firm up into that dreamy custard texture.
🍳 Used in this recipe
Get It on Amazon Basics✔ Free Delivery | ✔ Top Rated | ✔ Budget-FriendlyCommon Pitfalls (Or How to Avoid a Cheesecake Catastrophe)
Even the simplest recipes have their quirks. Here’s how to sidestep the most common mistakes and ensure your Basque Burnt Cheesecake Cupcakes with Caramelized Tops are legendary, not lackluster.
The “I Forgot to Soften the Cream Cheese” Blunder
Using cold cream cheese is the number one enemy of a smooth batter. You’ll end up with a lumpy mess no matter how hard you beat it. If you’re in a pinch, you can microwave the blocks for 10-15 seconds, but watch them closely—you don’t want to melt them!
The “Over-Baking” Disaster
Resist the urge to keep baking until the center is completely firm. It will firm up as it cools! If you bake it until it’s solid, you’ll lose that glorious, creamy custard texture and end up with a dry cake. Trust the wobble.
🍳 Used in this recipe
Get It on Amazon Basics✔ Free Delivery | ✔ Top Rated | ✔ Budget-FriendlyThe “Impatience” Pitfall
These cheesecakes are best enjoyed at room temperature or slightly chilled. Eating them straight from the oven, while tempting, means you’re missing out on the full, set texture. Let them cool completely. Your patience will be rewarded.
Serving Vibes: Setting the Scene
These cupcakes are versatile little showstoppers. They’re perfect for a fancy dinner party, where their elegant, rustic look will impress everyone. They’re also the ultimate rainy-day treat, best enjoyed with a strong cup of coffee or tea while you curl up on the couch. For a more casual vibe, serve them at a brunch or a potluck. They require no plate or fork—just a napkin and a sense of delight. Pair them with a fresh berry compote or a simple dusting of powdered sugar. And for a refreshing drink to go alongside, check out these delicious smoothie and drink recipes.
Leftovers? Here’s the Plan
If you somehow have any of these Basque Burnt Cheesecake Cupcakes with Caramelized Tops left, you’re in luck. They store beautifully. Keep them in an airtight container in the refrigerator for up to 4 days. The texture actually gets even better as it chills, becoming more fudgy and intense. To serve, let them sit out for 15-20 minutes to take the chill off.
🍳 Used in this recipe
Get It on Amazon Basics✔ Free Delivery | ✔ Top Rated | ✔ Budget-FriendlyFAQ: Your Burning Questions Answered
How to freeze Basque Burnt Cheesecake Cupcakes with Caramelized Tops?
Freezing these little gems is a brilliant make-ahead move! Once they are completely cooled, place them on a baking sheet and freeze until solid (about 2 hours). Then, transfer them to a freezer-safe bag or container. They’ll keep for up to 3 months. Thaw them overnight in the refrigerator for the best texture. The caramelized top holds up surprisingly well.
What are the calories in Basque Burnt Cheesecake Cupcakes with Caramelized Tops?
Ah, the eternal question. These are a rich, indulgent treat, so they’re not exactly a light snack. A single cupcake is estimated to be around 350-400 calories, depending on your exact ingredients. But let’s be honest, the joy they bring is calorie-free.
Can I make these in a different size?
Absolutely! You can use this batter to make one large 9-inch Basque cheesecake. Just increase the baking time to 45-55 minutes. You can also use mini muffin tins for bite-sized treats, reducing the baking time to 10-12 minutes.
🍳 Used in this recipe
Get It on Amazon Basics✔ Free Delivery | ✔ Top Rated | ✔ Budget-FriendlyMy cupcakes didn’t get a dark top. What happened?
Your oven temperature might be too low. The high heat (400°F) is essential for that signature “burnt” look. Make sure your oven is properly preheated and consider using an oven thermometer to check its accuracy.
How do I know when they’re done baking?
Look for a deeply browned, almost blackened top with a slight wobble in the center. A toothpick inserted near the edge should come out clean, but the center will still be jiggly. Remember, they will set as they cool!
So there you have it. Your guide to creating the most sophisticated, simple, and stunning dessert that’s guaranteed to steal the show. Now go preheat that oven and get ready for the crackle, the steam, and the swoon.
🍳 Used in this recipe
Get It on Amazon Basics✔ Free Delivery | ✔ Top Rated | ✔ Budget-Friendly
Basque Burnt Cheesecake Cupcakes with Caramelized Tops
Ingredients
Ingredients
- 16 oz cream cheese softened to room temperature
- 0.75 cup granulated sugar
- 3 large eggs room temperature
- 1 cup heavy cream
- 1 tsp vanilla extract
- 0.25 cup all-purpose flour
- 0.25 tsp salt
- 1 tsp lemon juice freshly squeezed