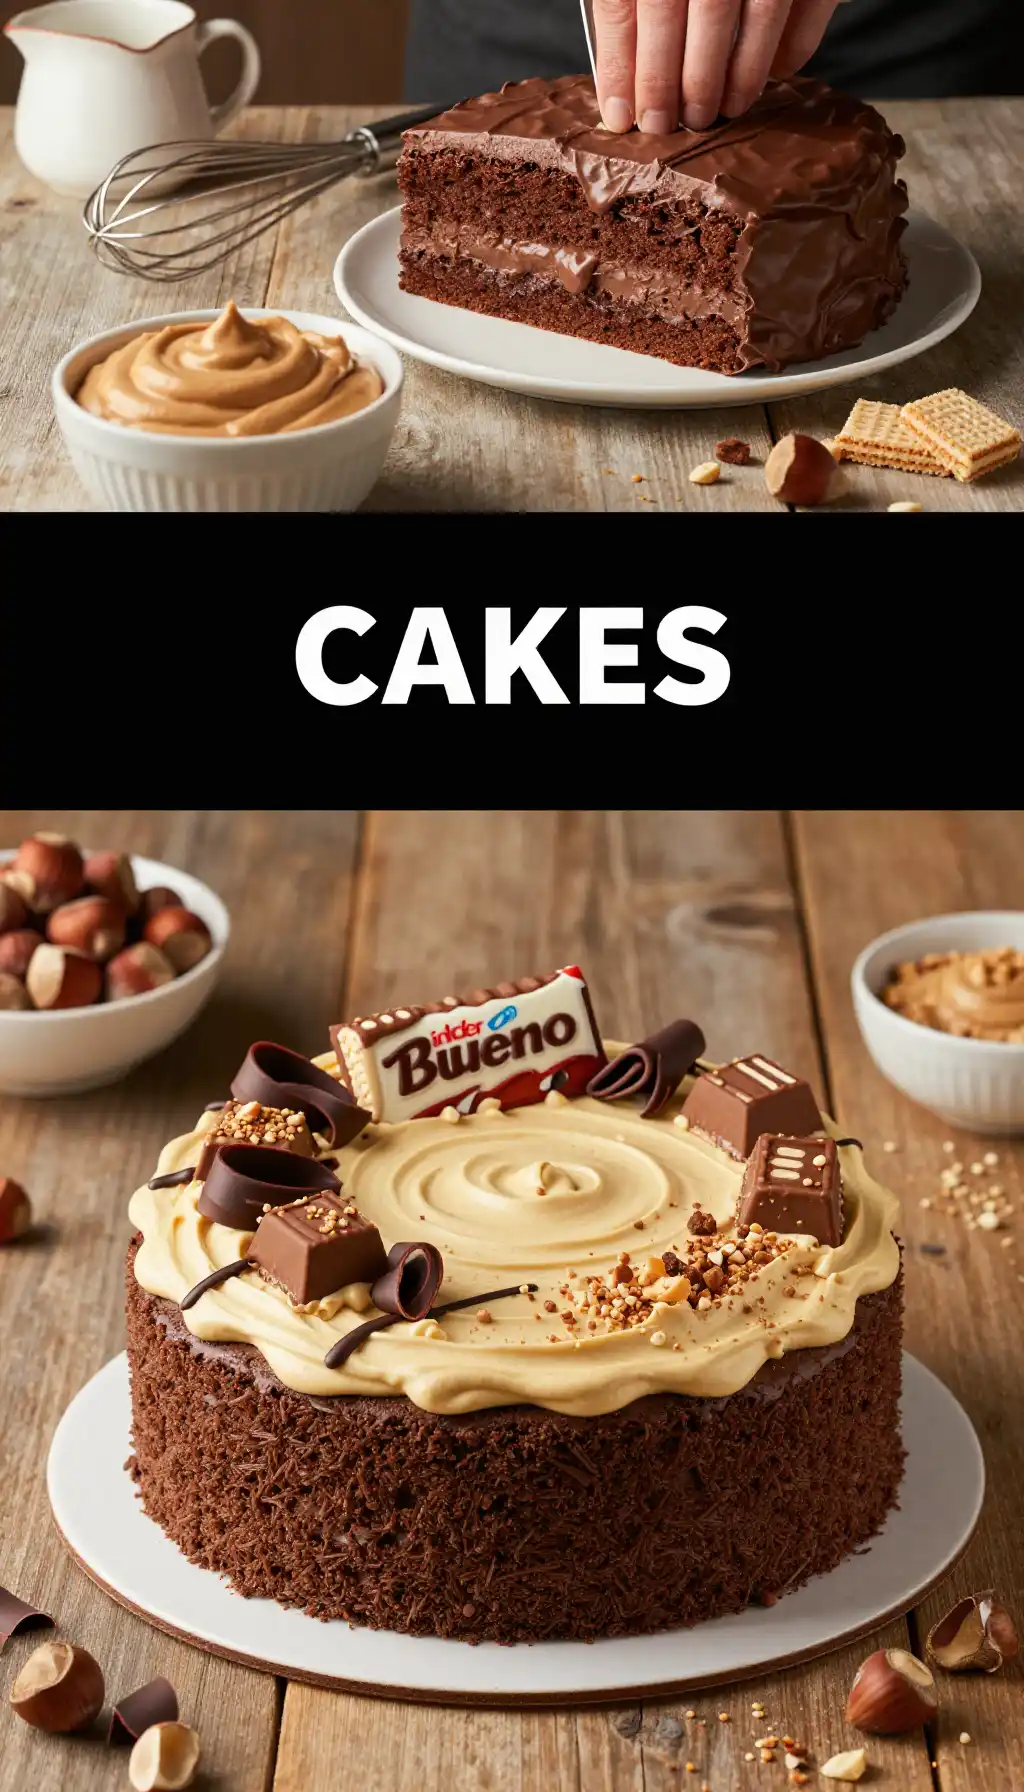
Forget the Fork, Grab a Spoon: Your New Obsession Awaits
I have a confession. Sometimes, I dream about the sound of a first bite. Not just any sound—that specific, sharp *snap* of a perfect chocolate shell followed by a soft, creamy surrender. It’s the kind of sensory memory that wakes you up at night. The Kinder Bueno experience, right? That elegant little stick of joy is a masterpiece of texture. And for years, I was perfectly happy unwrapping them one by one. Then, one rainy Tuesday, I looked at a pile of them on my counter and thought, “What if we went bigger? What if we made this a *moment*?”
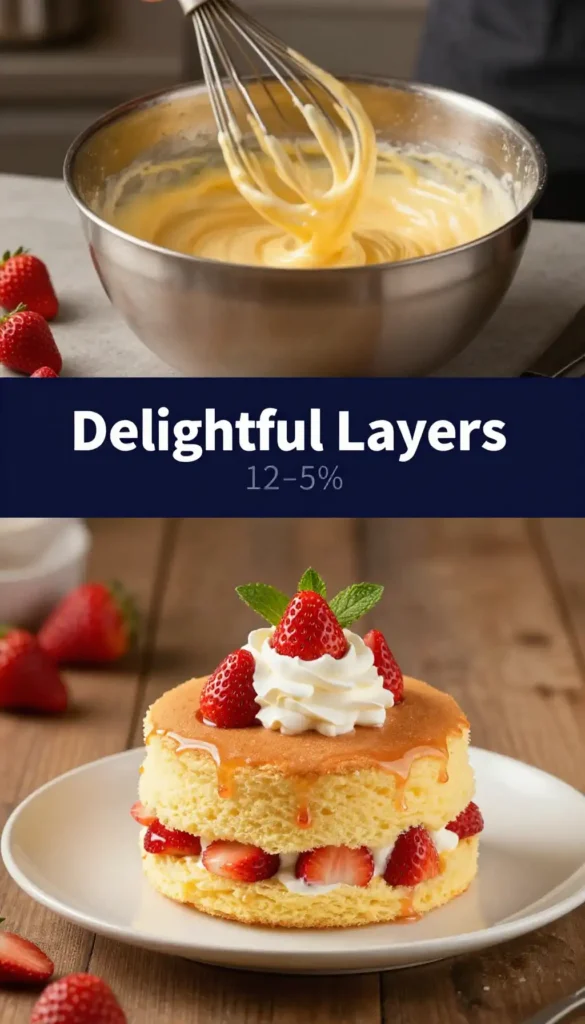
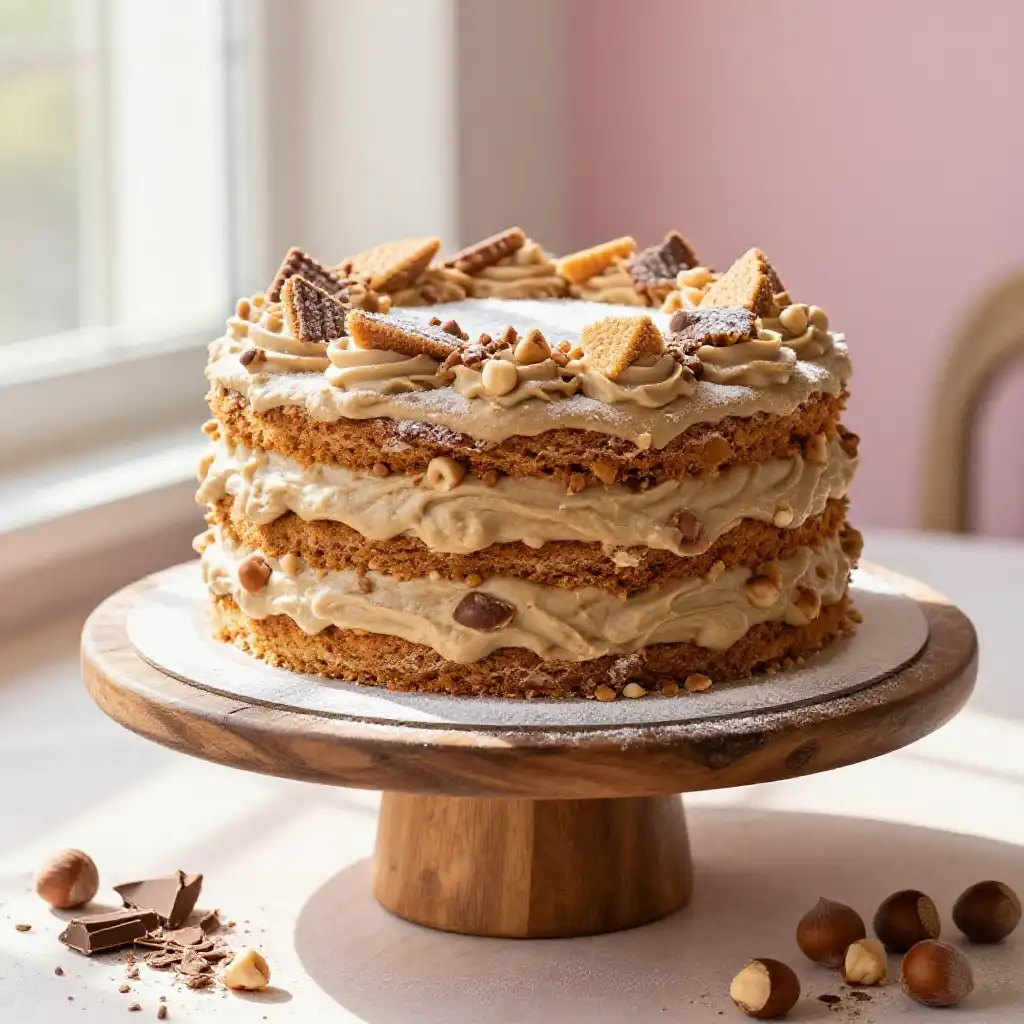
That, my friends, is how the **Kinder Bueno Cake with Hazelnut Cream and Wafers** was born. It’s not just a dessert; it’s an architectural feat of deliciousness. We’re talking about a no-bake miracle that layers the iconic creamy hazelnut filling with a crunchy, wafer-based foundation. It’s everything you love about the original, but in a grand, sliceable, “did-you-just-make-this?” form. The smell alone—of roasted hazelnuts and rich chocolate—will make your kitchen feel like the coziest patisserie in Europe. And the best part? No oven required. You can thank me later.
Recommended Product
 -40%
-40%
Astercook 21‑Piece Non‑Stick Ceramic Cookware Set with Detachable Handles
- Pieces →: 21‑piece set with pots, pans, lids & accessories
- Handles →: Secure removable/detachable handle system for space saving & oven use
- Non‑Stick Coating →: Premium ceramic non‑stick free of harmful PFOA chemicals for healthier cooking
- Cleanup →: Easy to clean thanks to non‑stick surface and detachable handles
A Little Sweet Magic: The Story Behind the Cake
This recipe is my love letter to the no-bake cake. We’ve all been there: you want to make something spectacular for a celebration, but the thought of creaming butter and sugar, checking oven temperatures, and praying for a good rise feels… exhausting. This is the antidote. The **Kinder Bueno Cake with Hazelnut Cream and Wafers** is designed for maximum impact with minimum stress. It’s the culinary equivalent of putting on a fabulous outfit with zero effort.
🍳 Used in this recipe
Get It on Amazon Basics✔ Free Delivery | ✔ Top Rated | ✔ Budget-FriendlyThe beauty lies in its clever simplicity. We’re building layers, not baking a sponge. The structural integrity comes from a pressed wafer base and the magic of chilled cream. It’s a dessert that respects your time but refuses to compromise on decadence. Whether you’re a seasoned baker looking for a quick win or a total novice who wants to impress, this is your secret weapon. It’s the kind of dish that gets people talking, slicing, and then immediately asking, “Okay, but can I have the recipe?” And you, being the generous soul you are, can point them to a whole world of inspiration, like the creative drink ideas over at Indixer’s drink category. See? We’re all about sharing the joy.
The Unspoken Secret: Why We’re Obsessed with Hazelnut Cream
Let’s talk about the soul of this cake: that glorious, velvety hazelnut filling. It’s not just “nutty”; it’s a flavor profile that hits every note. Sweet, savory, rich, and a little bit earthy. But why does it work so well in a dessert like this? It’s all about the perfect storm of fat, sugar, and roasted goodness.
When you blend roasted hazelnuts with creamy dairy and a touch of sweetness, you create a mouthfeel that’s both rustic and luxurious. The tiny, almost imperceptible颗粒 (kēlì – granules) of nuttiness interrupt the smoothness, keeping your palate engaged and begging for more. It’s the same principle that makes a perfect praline or a high-quality nut butter so addictive. We’re not just adding flavor; we’re adding a complex textural experience. This filling acts as the rich, comforting heart of our cake, a luscious barrier between the crisp wafers and the smooth chocolate topping. It’s the secret that elevates this from a simple assembly of ingredients into a true showstopper. For more on the power of nuts in desserts, you might find some fascinating reads on our partner site, Slapid’s recipe hub.
🍳 Used in this recipe
Get It on Amazon Basics✔ Free Delivery | ✔ Top Rated | ✔ Budget-FriendlyWhat You Need to Raid the Pantry
The ingredient list is short, sweet, and focused on one thing: maximum flavor. No weird, hard-to-pronounce items here. Just the good stuff. (Note: The exact measurements are waiting for you on the recipe card!)
* **The Crispy Foundation:** We’re using light, airy wafer sheets. Think of them as the delicate, crunchy skeleton of our creation. They soak up just enough moisture to meld together while still retaining that satisfying snap.
* **The Creamy Heart:** This is where the magic happens. We need a creamy, dreamy base to blend with our star ingredient. Think full-fat cream cheese or mascarpone for that luxurious tang and stability.
* **The Star of the Show:** The one and only hazelnut cream. The classic one you know and love will work perfectly here. We’ll be using it in two ways: folded into the cream for a marbled effect and melted for a rich, gooey drizzle.
* **The Chocolate Blanket:** A good quality dark or milk chocolate. This is what gives the cake its elegant, glossy finish and that final, satisfying chocolatey punch.
* **A Touch of Sweetness:** Powdered sugar to balance the richness, and maybe a splash of vanilla extract for warmth.
Let’s Get Building: The Step-by-Step Assembly
This is where we turn our beautiful ingredients into a masterpiece. Don’t worry, **how to make Kinder Bueno Cake with Hazelnut Cream and Wafers** is easier than you think. The process is more like a fun art project than a stressful baking session.
🍳 Used in this recipe
Get It on Amazon Basics✔ Free Delivery | ✔ Top Rated | ✔ Budget-Friendly1. **Create the Base:** Start by preparing your springform pan. This is your canvas. Lay down the first sheet of wafer, then begin the layering process. We want a solid, even foundation. A little trick: gently warm some hazelnut cream to make it more spreadable and brush it between the wafer layers. This acts as a delicious glue.
2. **Whip the Dream:** In a large bowl, whip your cream cheese (or mascarpone) with the powdered sugar and vanilla until it’s light and fluffy. Don’t overdo it! We want soft peaks, not a stiff, buttery mess. Now, take half of your hazelnut cream and fold it gently into the whipped mixture. You’re not looking for a homogenous blend; streaks and swirls are your friends here. It creates a beautiful visual and flavor contrast.
3. **The Great Assembly:** Now, the fun part. Place a layer of your wafer base in the pan. Spread a generous layer of the hazelnut cream mixture over it. Add another wafer layer. Repeat until you run out of components, finishing with a wafer layer on top. Press down gently with your palm to compact everything.
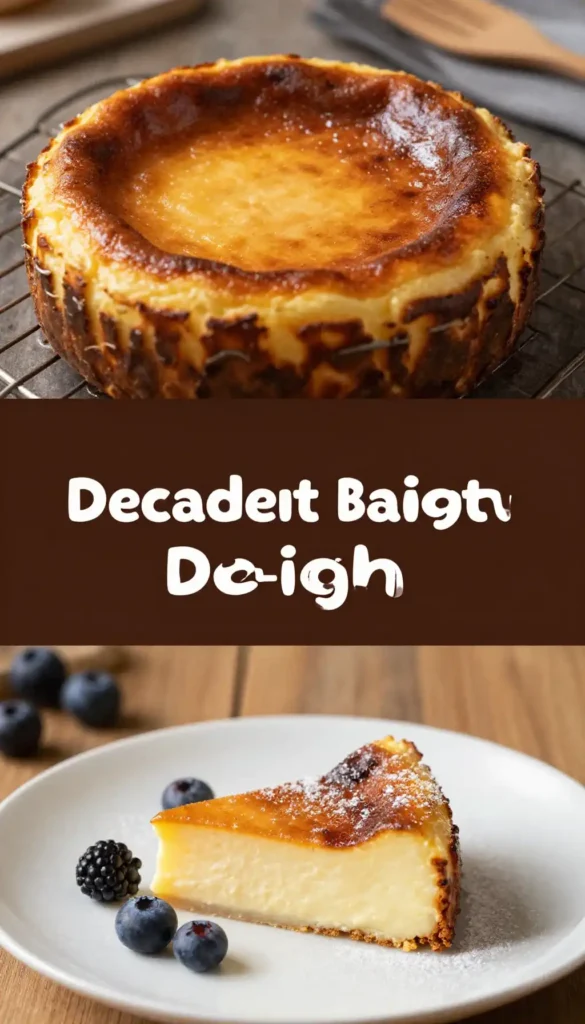
4. **The Chill Factor:** This is non-negotiable. The cake needs to chill for at least 6 hours, but overnight is the gold standard. This is when the magic happens—the wafers soften just enough to become cake-like, and the cream filling firms up into a sliceable dream.
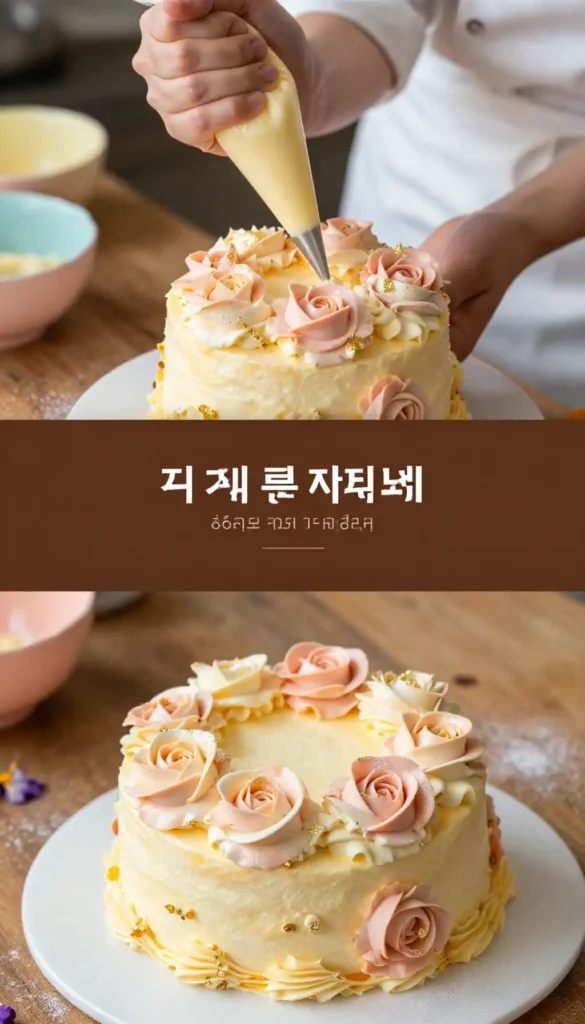
5. **The Grand Finale:** Once chilled and firm, release the cake from its pan. Melt the rest of your hazelnut cream with the chocolate. Drizzle it lavishly over the top. Let it cascade down the sides. Finish with crushed Kinder Bueno pieces or chopped toasted hazelnuts for crunch.
Common Pitfalls: How NOT to Mess This Up (We’ve All Been There)
Even the simplest recipes have their little traps. Here are the classic blunders to avoid so your cake is perfect on the first try.
* **The Soggy Foundation:** Don’t go overboard with the melted hazelnut cream when layering the wafers. You want to moisten them, not drown them. Think “light brush,” not “deep soak.” Too much liquid and you’ll lose that essential crispness.
* **The Runny Cream:** Ensure your cream cheese or mascarpone is properly chilled before you start whipping. If it’s too warm, your filling will never set, and you’ll end up with a delicious puddle. Patience is a virtue, even in the fridge.
* **The Rush Job:** I know it’s tempting, but cutting into this beauty before it’s fully chilled is a recipe for a crumbly mess. The chilling time is what transforms it from a stack of ingredients into a cohesive cake. Let it be!
🍳 Used in this recipe
Get It on Amazon Basics✔ Free Delivery | ✔ Top Rated | ✔ Budget-FriendlyThe Perfect Setting: Serving Vibes for Every Occasion
This cake is a chameleon. It’s decadent enough for a black-tie affair but comforting enough for a Tuesday night treat. On a rainy day, serve it with a steaming cup of black coffee—the bitterness cuts through the sweetness beautifully. For a celebration, bring it out after a big meal. It’s rich, so a small slice goes a long way, but don’t be surprised when people come back for seconds. It’s also the ultimate “look what I made!” contribution to a potluck or a family gathering. The impressive, glossy top and the distinct layers visible in a slice always get “oohs” and “aahs.” It’s a dessert that says, “I’m sophisticated, but I also know how to have a good time.”
Got Questions? I’ve Got Answers.
Here are the most common questions I get about this recipe. Consider this your official FAQ.
How should I store this cake?
Because of the creamy filling, this cake must be stored in the refrigerator. Keep it in an airtight container or tightly wrapped in plastic wrap. It will stay fresh and delicious for up to 4-5 days. The wafers will continue to soften over time, becoming even more cake-like.
🍳 Used in this recipe
Get It on Amazon Basics✔ Free Delivery | ✔ Top Rated | ✔ Budget-FriendlyCan I freeze Kinder Bueno Cake with Hazelnut Cream and Wafers?
Absolutely! This cake freezes like a dream. The key is to freeze it *before* adding the chocolate and hazelnut drizzle. Once it’s fully chilled and firm, wrap the whole cake (or individual slices) tightly in plastic wrap and then a layer of foil. It will keep in the freezer for up to 3 months. To serve, thaw it overnight in the fridge and then add the fresh chocolate drizzle right before presenting it.
What are the calories in Kinder Bueno Cake with Hazelnut Cream and Wafers?
Let’s be real: this is an indulgence, and we’re here for it. The exact calorie count will vary based on the specific brands and quantities you use, but a generous slice will be a rich, treat-worthy portion. My best advice? Don’t worry about the numbers. Savor every single bite, enjoy the company you’re with, and make the moment count. It’s about quality, not quantity!
Can I use a different kind of wafer?
You certainly can! While classic, neutral wafer sheets are fantastic because they let the hazelnut flavor shine, you could experiment with other flavors. A light vanilla wafer or even a crispy biscuit could work, but be mindful that it will change the final flavor profile of the cake. The classic Kinder Bueno pairing is hard to beat, though!
🍳 Used in this recipe
Get It on Amazon Basics✔ Free Delivery | ✔ Top Rated | ✔ Budget-FriendlyIs this recipe difficult for a beginner?
Not at all! This is one of the most beginner-friendly showstopper desserts you can make. There’s no baking, no tricky techniques, and the decorating is all about rustic, messy drizzles. If you can spread cream with a spatula and fold ingredients gently, you can make this cake. It’s a confidence booster in the kitchen.

Kinder Bueno Cake with Hazelnut Cream and Wafers
Ingredients
Ingredients
- 2 packs Kinder Bueno bars 16 bars total, finely chopped
- 1 cup heavy whipping cream chilled
- 8 oz cream cheese softened to room temperature
- 1/2 cup powdered sugar sifted
- 1/4 cup hazelnut spread like Nutella
- 1 tsp vanilla extract
- 1 box crispy wafer sheets such as graham crackers or digestive biscuits
- 1/4 cup toasted hazelnuts chopped, for garnish