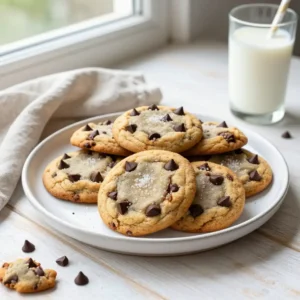
The Crunch That Echoes Through a Rainy Manhattan Alley
Picture this: It’s a gray afternoon in the city that never sleeps, and the kind of drizzle that makes you feel like a noir film extra. You duck into a corner bakery, the kind with steamy windows and a bell that jingles like a tiny, cheerful alarm. The air inside is a warm, sweet hug—a mix of melting butter, caramelizing sugar, and that deep, soul-warming scent of chocolate turning into something glorious. You order a cookie, and it arrives in a wax paper bag that’s already starting to get translucent with grease. The first bite is a revelation. A shatteringly crisp edge gives way to a center so chewy and dense it feels like a brownie’s cooler, more sophisticated cousin. And then—the pop of flaky sea salt. It’s not just a cookie; it’s a full-body experience, a tiny, edible monument to perfection. That, my friends, is the spirit we’re capturing today. We’re making the ultimate **Loaded NYC Style Chocolate Chip Cookies with Sea Salt**, and we’re doing it right.

Why These Cookies Are a Legitimate Life Choice
Let’s be real. A sad, flat, store-bought cookie is a cry for help. These, however, are the answer. The secret isn’t one thing, but a symphony of choices. We’re not skimping on the chocolate; we’re using a chaotic, beautiful blend of chopped chunks and chips for pockets of molten goo. The edges? Crisp enough to make a satisfying snap. The center? A masterclass in chew, thanks to a higher moisture content and a specific mixing technique we’ll get into. And the sea salt isn’t a garnish; it’s a co-conspirator, cutting through the sweetness and making every chocolate note sing louder. It’s the kind of cookie that makes you close your eyes involuntarily. It’s the cookie you’ll “accidentally” eat three of while “checking if they’re done.” No regrets.
Recommended Product
 -40%
-40%
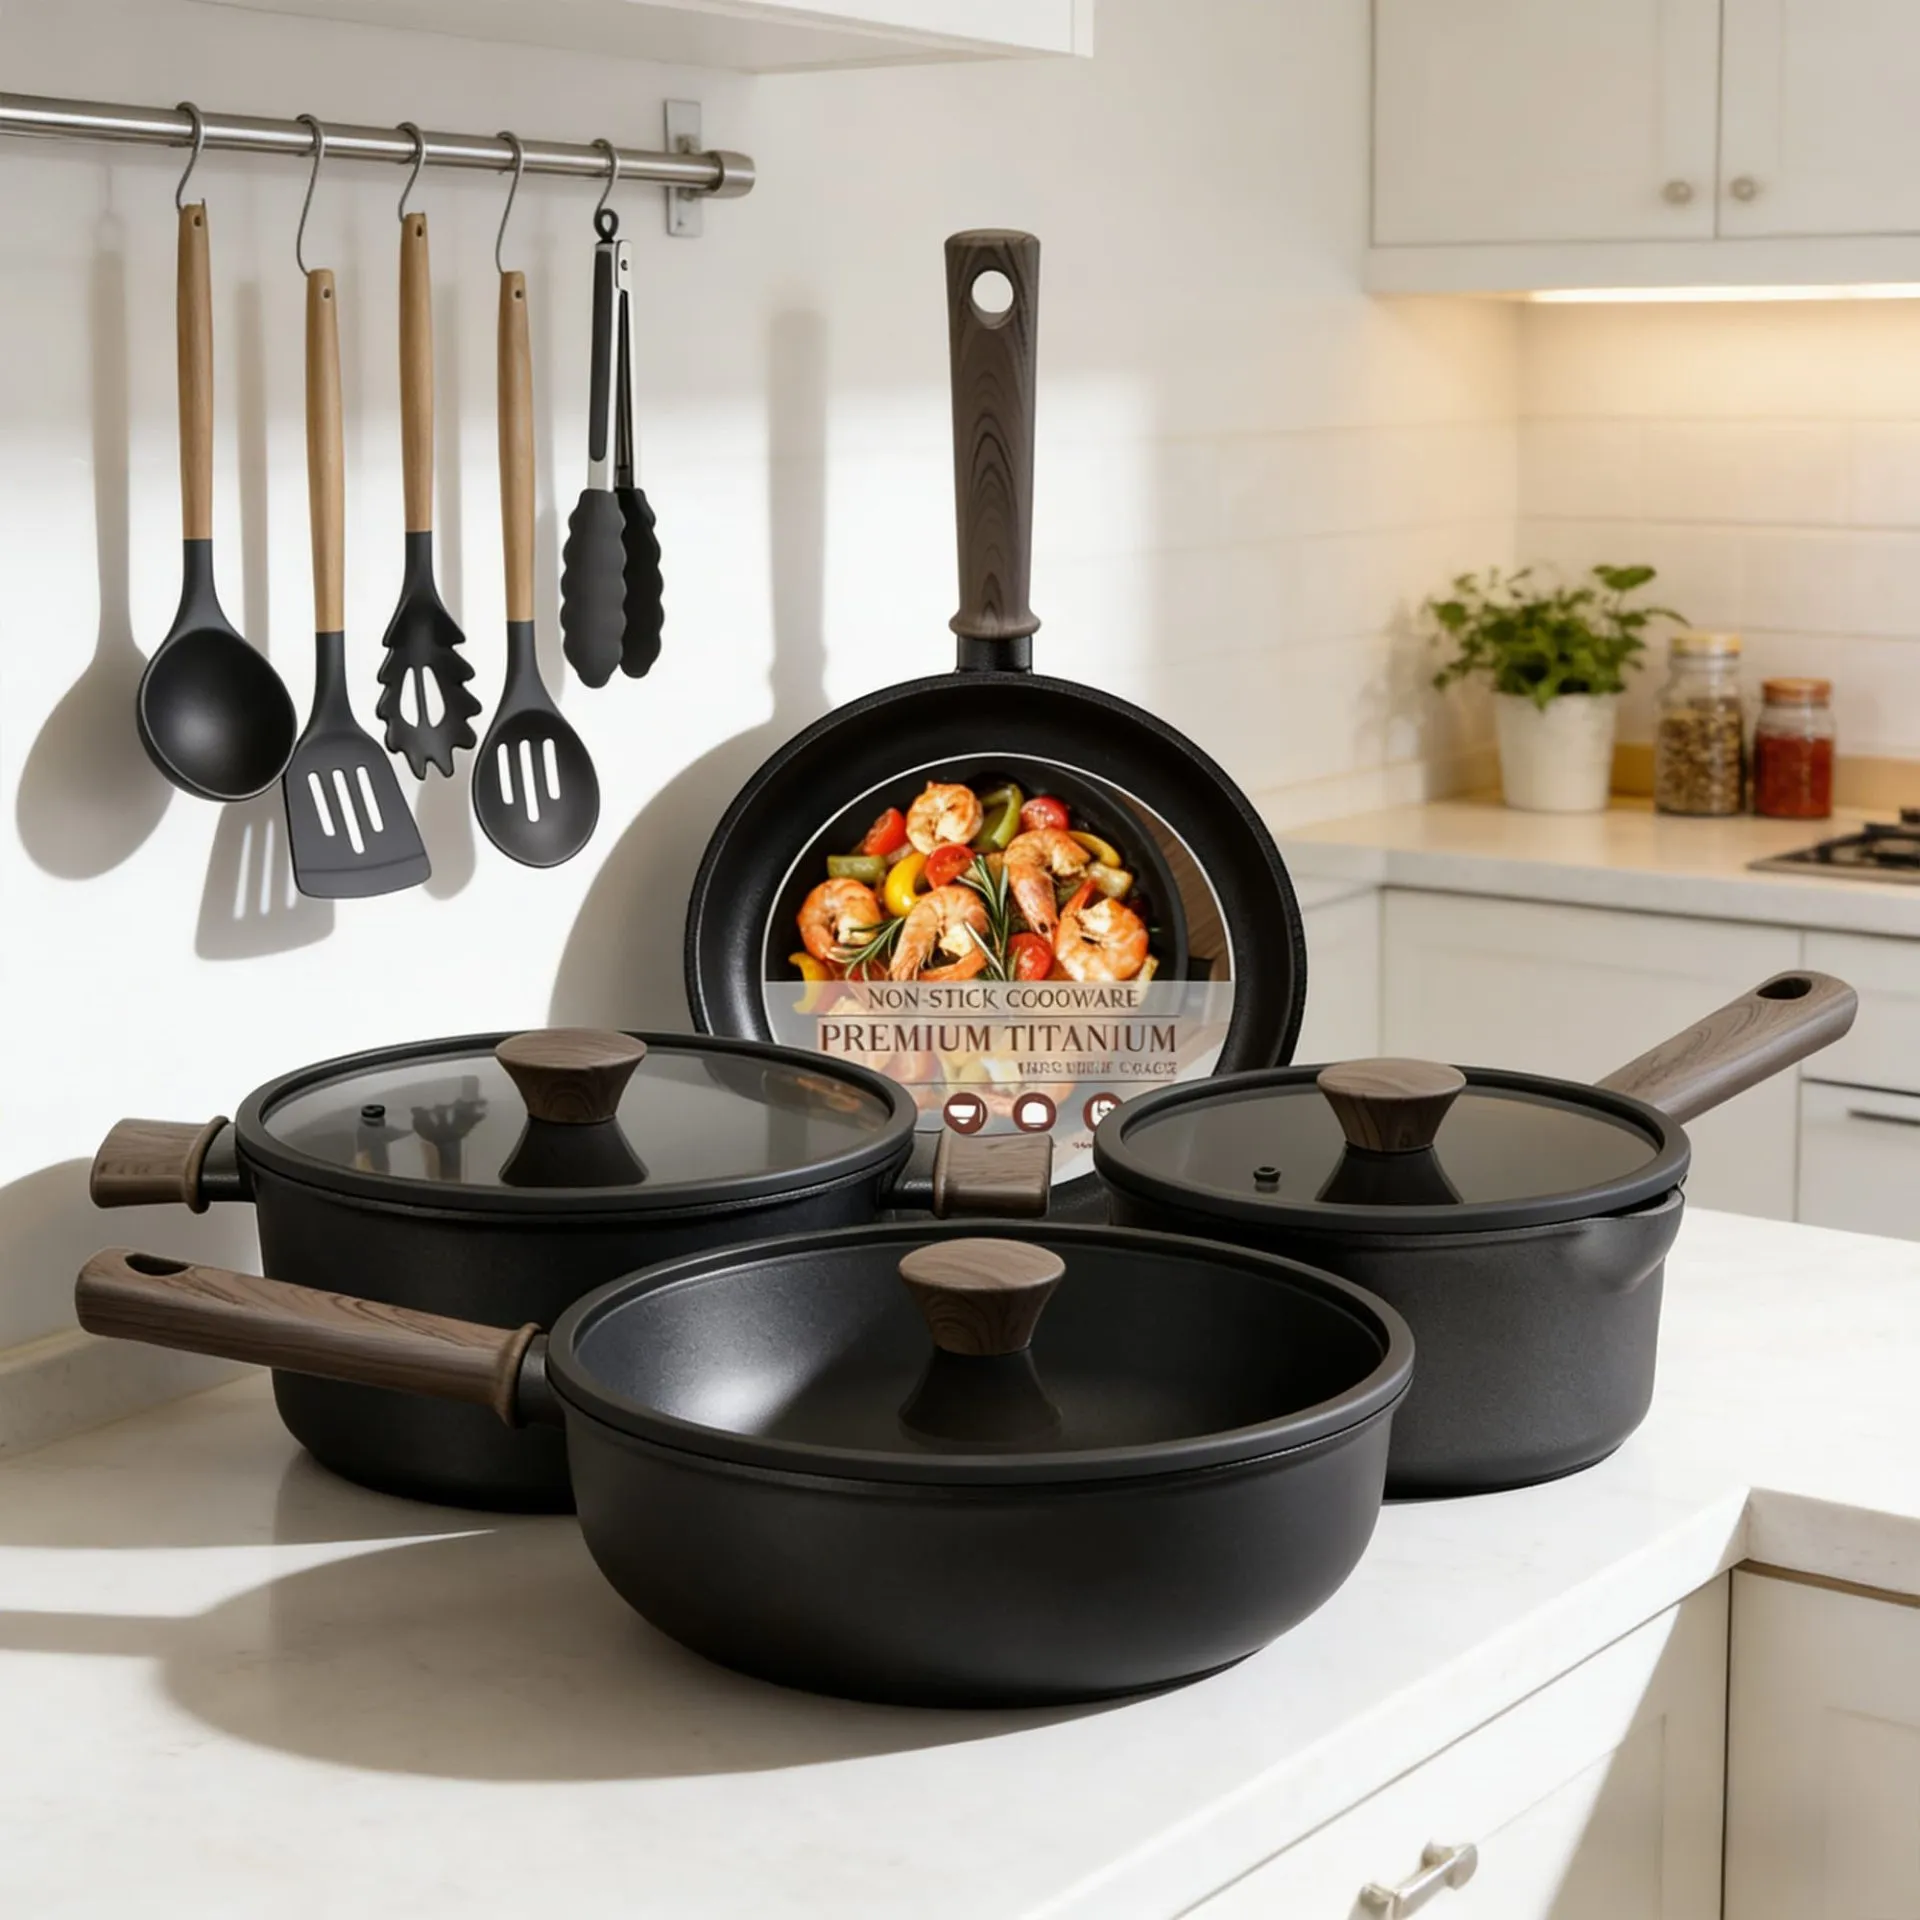
Astercook 21‑Piece Non‑Stick Ceramic Cookware Set with Detachable Handles
- Pieces →: 21‑piece set with pots, pans, lids & accessories
- Handles →: Secure removable/detachable handle system for space saving & oven use
- Non‑Stick Coating →: Premium ceramic non‑stick free of harmful PFOA chemicals for healthier cooking
- Cleanup →: Easy to clean thanks to non‑stick surface and detachable handles
The Alchemy of Brown Sugar and Butter
Before we even talk about the pantry raid, we need to geek out on the science that makes these cookies legendary. It all starts with the fat and the sugar. We’re using more brown sugar than white here. Why? Brown sugar contains molasses, which is hygroscopic—fancy talk for it loves to attract and hold onto water. This is the number one reason for that irresistible chewiness. The molasses also contributes a deeper, more caramel-like flavor. Then there’s the butter. We’re browning it, just a touch, until it smells like toasted hazelnuts. This isn’t just for flavor; it toasts the milk solids, adding a nutty complexity that makes people ask, “What is in this?!” without being able to pinpoint it. It’s this foundational science that turns a simple dough into a masterpiece. And if you’re into the chemistry of deliciousness, you might also love exploring other flavor-packed recipes over on our friends at [Indixer’s smoothie and drink category](https://indixer.com/category/smoothies-drinks/).
🍳 Used in this recipe
Get It on Amazon Basics✔ Free Delivery | ✔ Top Rated | ✔ Budget-FriendlyWhat You Need to Raid From the Pantry
Gathering your ingredients is the first act of the culinary drama. Don’t just measure; feel the materials. The butter should be pliable, not melted. The eggs, room temperature, ready to emulsify. And the chocolate—choose a mix you love. I’m a dark chocolate chunk loyalist, but a rebel with a mix of milk and semi-sweet chips is equally celebrated.
The Flavor Makers:
* 1 cup (2 sticks) unsalted butter, softened
* 1 cup packed dark brown sugar
* ½ cup granulated white sugar
* 2 large eggs, room temperature
* 1 tablespoon pure vanilla extract
* 2 ¾ cups all-purpose flour
* 1 teaspoon baking soda
* 1 teaspoon fine sea salt (plus extra for sprinkling)
* 2 cups semi-sweet chocolate chips or chunks
* 1 cup dark chocolate chunks
* Flaky sea salt (like Maldon) for finishing
Let’s Get Cooking: The Step-by-Step
This isn’t a complicated ballet, but a confident, joyful march. The key here is patience, especially with the chilling step. Don’t skip it. Your future self, biting into a perfectly textured cookie, will thank you.
🍳 Used in this recipe
Get It on Amazon Basics✔ Free Delivery | ✔ Top Rated | ✔ Budget-FriendlyThe Brown Butter Whisper: In a light-colored saucepan, melt the butter over medium heat. Swirl the pan occasionally. It will foam, then crackle. Watch for golden brown specks at the bottom and a nutty aroma. This takes about 5-7 minutes. Immediately pour it into a large mixing bowl to stop the cooking. Let it cool for 15 minutes.
The Sugar & Egg Embrace: To the cooled brown butter, add the brown and white sugars. Using a hand mixer or a sturdy whisk, beat them together for about 2 minutes until the mixture is smooth and has lightened in color. It should look like wet sand. Now, beat in the eggs one at a time, followed by the vanilla. The mixture will become glossy and thick.
The Dry Goods Waltz: In a separate bowl, whisk together the flour, baking soda, and fine sea salt. This ensures no one gets a pocket of bitter baking soda. Gradually add the dry ingredients to the wet, mixing on low speed or by hand until *just* combined. A few flour streaks are okay. Overmixing leads to tough cookies.
🍳 Used in this recipe
Get It on Amazon Basics✔ Free Delivery | ✔ Top Rated | ✔ Budget-FriendlyThe Chocolate Avalanche: Now, the best part. Fold in the chocolate chips and chunks with a spatula. Be vigorous but gentle. You want them evenly distributed, not pulverized.
The Chill Out (This is Non-Negotiable): Cover the bowl with plastic wrap and chill the dough for at least 2 hours, but ideally 24 hours. This allows the flour to fully hydrate, the flavors to meld, and the fats to solidify, which prevents overspreading in the oven. Patience is a virtue, and in this case, a crispy-chewy necessity.
Common Pitfalls: How NOT to Mess This Up
Even the best bakers have off days. Let’s sidestep the common disasters. First, the butter. If you melt it completely instead of browning it, you’ll get a greasy, flat cookie. If you use cold butter, it won’t cream properly with the sugar, leading to a dense, cakey texture. Second, the mixing. Overmixing the flour develops gluten, which is great for bread, but a tragedy for a tender cookie. Stop when it’s just combined. Third, the scooping. Don’t use a giant tablespoon. Use a cookie scoop or a measuring cup for uniform cookies that bake evenly. And finally, the bake time. They will look underdone when you pull them out. That’s the point! They continue to cook on the hot baking sheet. Trust the process.
🍳 Used in this recipe
Get It on Amazon Basics✔ Free Delivery | ✔ Top Rated | ✔ Budget-FriendlyServing Vibes: Setting the Scene
These cookies are versatile, but they shine brightest in certain scenarios. They are the ultimate rainy-day companion, paired with a cold glass of milk or a steaming mug of coffee. They are the life of the party, stacked high on a cake stand, demanding to be devoured. They are a post-dinner dessert that feels like a celebration. They are a midnight snack that feels like a secret indulgence. Crumble one over a bowl of vanilla ice cream for a next-level sundae. Or, be a purist and eat it straight from the oven, slightly gooey and utterly divine. The experience is everything.
Leftovers? Here’s the Plan
Assuming you have any left (a big assumption), proper storage is key. For short-term bliss, keep them in an airtight container at room temperature for up to 5 days. Place a slice of bread in the container; it will keep the cookies soft. For long-term glory, you can freeze the baked cookies or the dough balls.
How to freeze Loaded NYC Style Chocolate Chip Cookies with Sea Salt
This is the ultimate meal-prep move for cookie emergencies. To freeze baked cookies, let them cool completely, then layer them in a freezer-safe container with parchment paper between layers. They’ll keep for 3 months. To freeze the dough, scoop the dough onto a baking sheet, freeze until solid, then transfer the frozen dough balls to a freezer bag. You can bake them straight from the freezer, adding 1-2 minutes to the baking time. This is the secret to a fresh-baked cookie on demand.
🍳 Used in this recipe
Get It on Amazon Basics✔ Free Delivery | ✔ Top Rated | ✔ Budget-FriendlyFAQ: Your Burning Questions, Answered
How many calories are in Loaded NYC Style Chocolate Chip Cookies with Sea Salt?
This is a decadent treat, so let’s be honest. One cookie (assuming the batch makes 24) is roughly 250-300 calories, depending on the exact size and chocolate-to-dough ratio. It’s worth every single one. Enjoy it mindfully, but don’t stress it.
Can I make Loaded NYC Style Chocolate Chip Cookies with Sea Salt gluten-free?
Absolutely! Swap the all-purpose flour for a 1:1 gluten-free baking blend. The results will be slightly different in texture—often a bit more crumbly—but still delicious. Make sure your blend contains xanthan gum for structure.
Why did my cookies spread into one giant, flat pancake?
The most likely culprit is warm dough. The chilling step is non-negotiable for a reason! If your butter was too warm when you mixed, or if you didn’t chill long enough, the fat will melt too fast in the oven. Also, ensure your baking soda is fresh. Old leavening agents lose their power.
🍳 Used in this recipe
Get It on Amazon Basics✔ Free Delivery | ✔ Top Rated | ✔ Budget-FriendlyCan I use only chocolate chips instead of chunks?
You can, but you’ll miss the glorious pockets of molten chocolate that chunks provide. The chips hold their shape better, while chunks melt into puddles. A mix is the ultimate compromise for texture.
What’s the best way to get that perfect crackly top?
That gorgeous, crackly top comes from the sugar dissolving into the fat and egg mixture. Beating the butter and sugars until they’re smooth and slightly pale is key. Also, using a combination of white and brown sugar helps create that beautiful texture.
The Final Bite
There you have it. The blueprint for a cookie that transcends its simple ingredients. It’s about the technique, the science, and the sheer joy of creating something wonderful from a handful of pantry staples. So preheat that oven, embrace the chaos of the chocolate chips, and get ready to fill your kitchen with the smell of pure happiness. Your NYC bakery experience is just a bake away.
🍳 Used in this recipe
Get It on Amazon Basics✔ Free Delivery | ✔ Top Rated | ✔ Budget-FriendlyFor more culinary adventures that don’t follow the rules, explore our collection of recipes at [Slapid.com](https://slapid.com/recipes//). Happy baking
Loaded NYC Style Chocolate Chip Cookies with Sea Salt
Ingredients
Ingredients
- 1 cup unsalted butter softened to room temperature
- 1 cup light brown sugar packed
- 0.5 cup granulated sugar
- 2 large eggs at room temperature
- 2 tsp vanilla extract
- 2.75 cups all-purpose flour
- 1 tsp baking soda
- 1 tsp fine sea salt
- 2 cups semi-sweet chocolate chips
- 1 tsp flaky sea salt for topping