The Cupcake That Forgot Its Pants (And We’re Here For It)
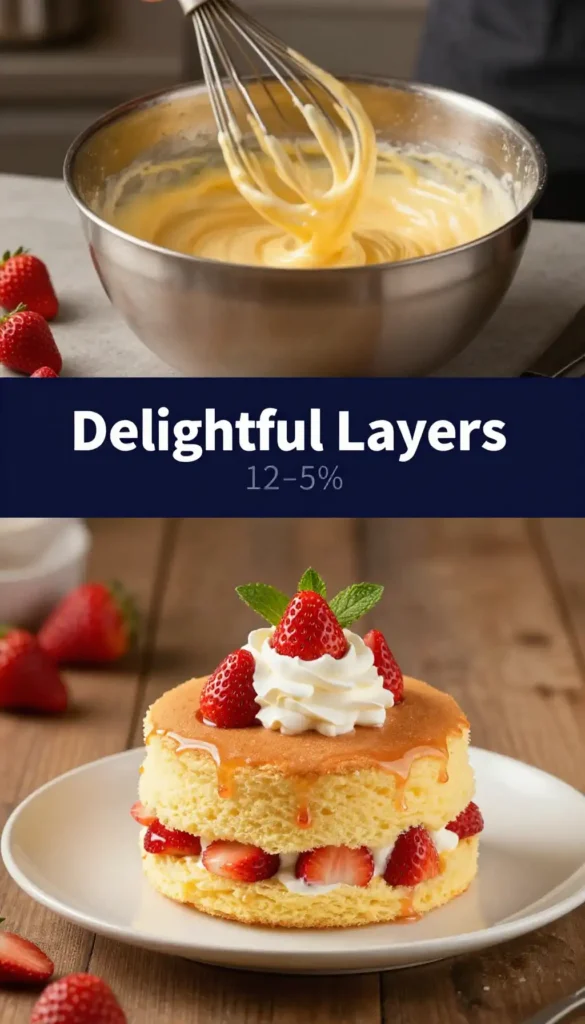
I’ll never forget the first time I laid eyes on a naked cupcake. It was at a friend’s rustic-chic wedding, perched on a wooden slab next to a tiny wildflower bouquet. No swoops of frosting, no glittery sprinkles, just pure, unadulterated cake. And I had to have it. The moment I took a bite, the world went quiet. It was all about the texture—the **insane tenderness** of the crumb, the subtle hint of vanilla, the way it practically melted on my tongue. It was a flavor revelation, stripping away the sugary facade to get to the good stuff. This, my friends, is what dessert should be: honest, beautiful, and ridiculously satisfying.

Why This Recipe is Your New Secret Weapon
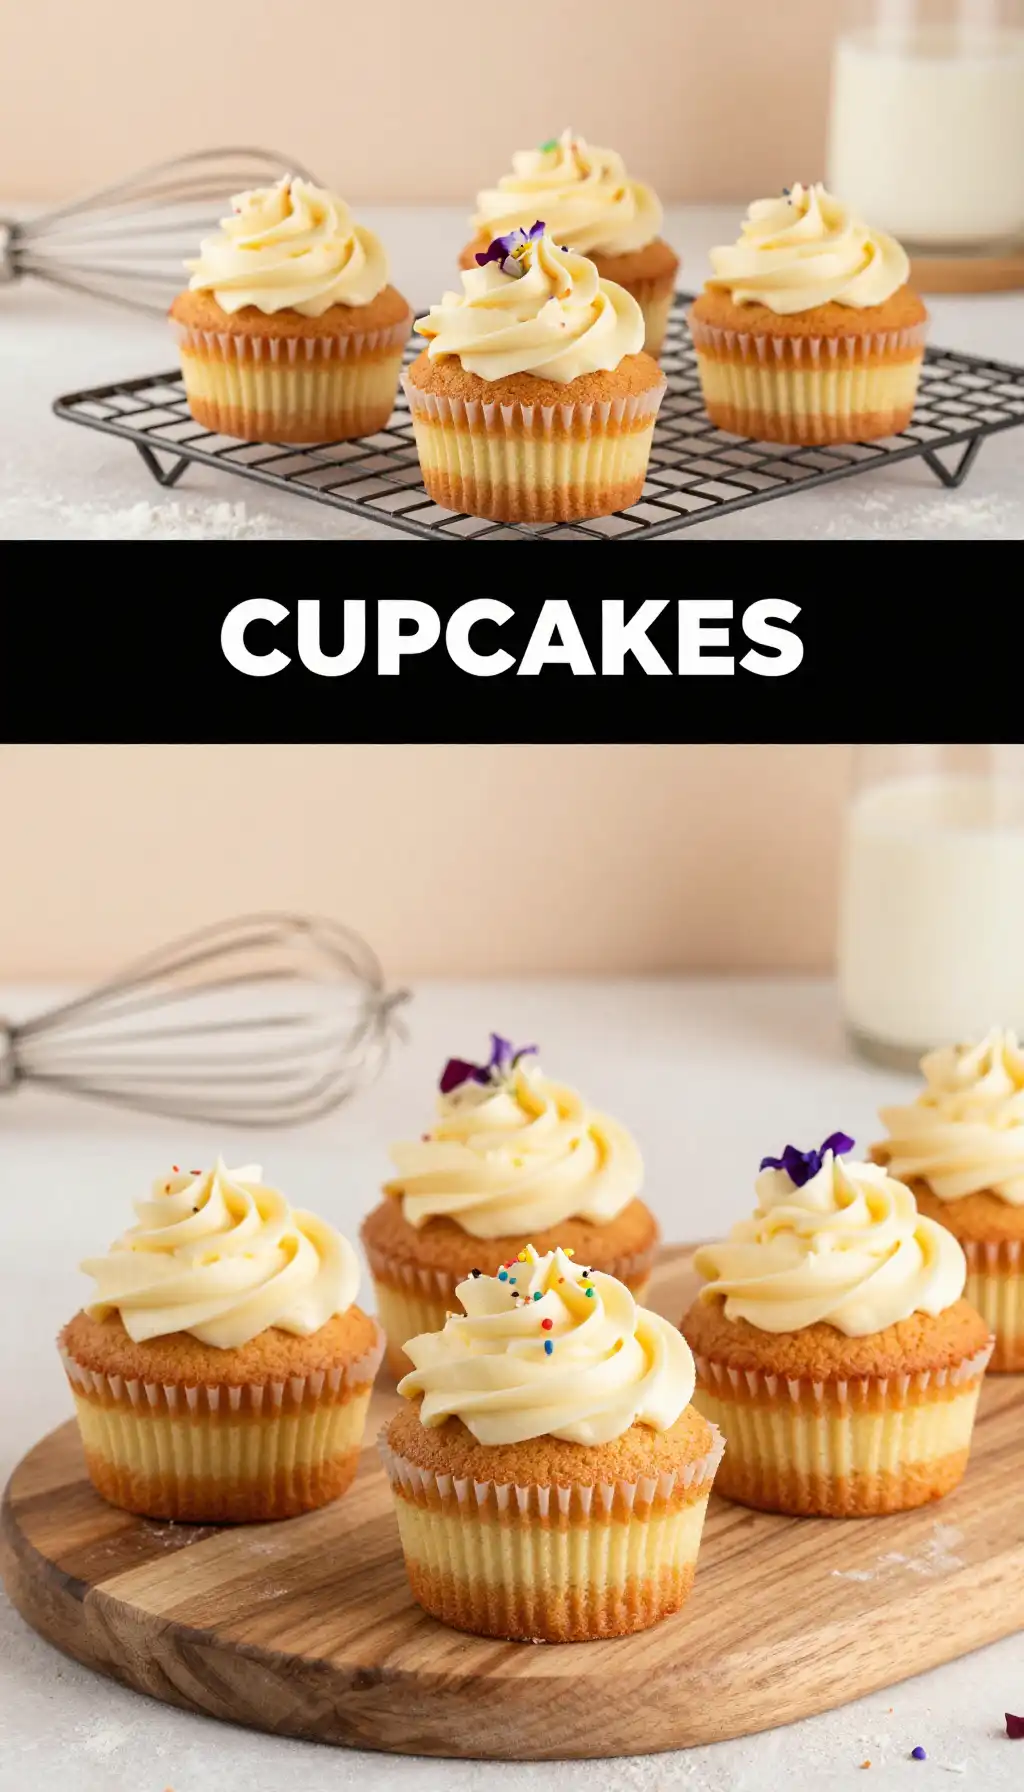
Let’s be real: frosting a cupcake perfectly is an art form that takes practice, patience, and a steady hand. But these **Naked Cupcakes with Exposed Cake Layers**? They’re the rebel in the bakery case. They laugh in the face of piping bags. The beauty is in the imperfection—the delicate, almost accidental-looking swirl of frosting that holds it all together. It’s the ultimate “I woke up like this” dessert, but with a magazine-cover finish.
Plus, the flavor profile is all about the cake itself. When you don’t have a half-inch of buttercream hiding the star, you get to truly appreciate the moist, tender crumb and the subtle, complex notes you built into it. It’s a dessert that’s both stunningly elegant and refreshingly simple to assemble. For more inspiration on letting ingredients shine, I often peek at the creative concoctions over at Indixer’s drinks section—it’s a great reminder that simplicity is always in style.
The Secret Life of Butter: A Mini Deep Dive
So, what’s the magic behind that impossibly moist crumb? It all comes down to the temperature of your butter. I know, it sounds fussy, but stick with me. When you start with **room-temperature butter** and sugar, you’re not just mixing—you’re creating a network of tiny air pockets. This is the foundation of a light, fluffy cake. Cold butter won’t cream properly, and melted butter makes for a denser, greasier crumb. The goal is a pale, almost fluffy mixture that looks like a cloud. This little bit of science is the difference between a good cupcake and a “holy-cow-where-have-you-been-all-my-life” cupcake.
What You Need to Raid From the Pantry
The Flavor Makers
* **2 cups all-purpose flour:** The backbone of our operation.
* **1 ½ cups granulated sugar:** For that sweet, sweet structure.
* **2 tsp baking powder:** The lift-off crew.
* **½ tsp baking soda:** For extra tenderness.
* **½ tsp salt:** Because flavor is everything.
* **¾ cup unsalted butter, room temperature:** The star of the show.
* **3 large eggs, room temperature:** For richness and binding.
* **1 cup whole milk:** For a tender, moist crumb.
* **2 tsp pure vanilla extract:** The soul of the cupcake.
The Naked Frosting (A Simple Buttercream)
* **1 cup unsalted butter, room temperature**
* **4 cups powdered sugar, sifted**
* **2-3 tbsp milk or heavy cream**
* **1 tsp vanilla extract**
* **Pinch of salt**
Let’s Get Cooking: The Step-by-Step
First, preheat your oven to 350°F (175°C) and line two standard muffin tins with cupcake liners. This is your prep station—get everything in its place.
In a medium bowl, whisk together the flour, baking powder, baking soda, and salt. This ensures no sneaky clumps of leavening agents create a weird tunnel in your cake. In a separate, larger bowl, beat the room-temperature butter and sugar together on medium-high speed until it’s pale, fluffy, and looks like a sweet cloud. This should take about 3-4 minutes. Don’t rush this step; it’s where the magic starts.
Now, add the eggs one at a time, beating well after each addition. Scrape down the sides of the bowl. Pour in the vanilla. Alternate adding the dry ingredients and the milk, starting and ending with the dry ingredients. Mix on low speed just until combined. Overmixing is the enemy of tenderness!
Scoop the batter into your liners, filling them about ⅔ full. Bake for 18-22 minutes, or until a toothpick inserted into the center comes out clean. Let them cool in the pan for 5 minutes, then transfer to a wire rack to cool completely. A warm cupcake will melt your frosting into a sad puddle.
While the cakes cool, make the frosting. Beat the butter until creamy. Gradually add the sifted powdered sugar, one cup at a time, alternating with a splash of milk. Beat on high until light and fluffy. Add the vanilla and a pinch of salt. Now, the fun part.
How NOT to Mess This Up: A Survival Guide
The biggest pitfall? **Frosting a warm cupcake.** I’ve seen the tragedy firsthand—the beautiful frosting sliding right off into a melted mess. Patience, my friend. Your cupcakes must be **completely cool** to the touch. Another common mistake is over-mixing the batter. Once you add the flour, mix on low and stop the second it’s incorporated. This is not the time to vent your frustrations on the mixer. Finally, don’t skimp on the butter for the frosting. Real butter gives you that perfect, spreadable consistency and rich flavor. Margarine will just make it greasy and sad.
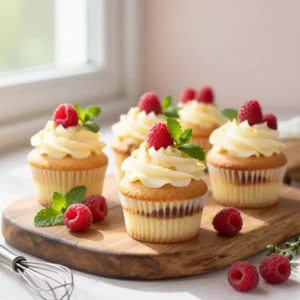
Serving Vibes: Setting the Scene
These cupcakes are the ultimate mood-setters. Picture this: a rainy afternoon, a stack of your favorite magazines, and a plate of these gorgeous creations with a strong cup of coffee. The steam rising from the cup, the scent of vanilla and butter in the air—it’s pure cozy. Or, imagine them as the centerpiece of a summer garden party, their rustic elegance shining alongside fresh berries and laughter. They are versatile, stunning, and always, always welcome.
Leftovers? Here’s the Plan
If you somehow have leftovers (a rare occurrence), store them in an airtight container at room temperature for up to two days. For longer storage, the freezer is your best friend. This leads to a very common question…
Your Burning Questions, Answered
How to freeze Naked Cupcakes with Exposed Cake Layers?
Freezing these beauties is a breeze. First, let them cool completely. Place the unfrosted cupcakes on a baking sheet and freeze until solid, about an hour. Then, transfer them to a freezer-safe bag or container. They’ll keep for up to 3 months. To serve, thaw them at room temperature before frosting. You can also freeze the frosted cupcakes, but place them on a tray first to harden the frosting, then wrap them individually. It’s a fantastic make-ahead strategy for parties.
How many calories are in Naked Cupcakes with Exposed Cake Layers?
While it varies based on exact size and frosting amount, a standard cupcake with a moderate swirl of buttercream typically lands between 250-350 calories. The beauty of the “naked” style is that you use less frosting than a fully frosted cupcake, so you can enjoy a slightly lighter treat without sacrificing flavor. The focus is on the cake, and that’s where the real joy is.
Can I make these cupcakes gluten-free?
Absolutely! Swap the all-purpose flour for a 1-to-1 gluten-free baking blend. Ensure your baking powder and vanilla extract are also certified gluten-free. The result will be just as delicious, though the crumb might be slightly more delicate.
What’s the best way to transport these to a party?
The naked style is actually quite sturdy for travel! Use a cupcake carrier with secure slots. If you’re stacking them, place a small piece of parchment paper between layers to prevent any sticking. They’re a transport-friendly showstopper.
Can I use a different flavor of cake?
Of course! This recipe is a fantastic base. Try adding a tablespoon of lemon zest to the batter for a citrus twist, or swap a half cup of the milk for strong brewed coffee to make a mocha version. The naked style highlights any flavor you choose to feature.
Ready to make your own stunning creation? Here’s the full recipe to save and cherish. For more recipe adventures, explore our collection here. Happy baking
Naked Cupcakes with Exposed Cake Layers
Ingredients
Ingredients
- 1.5 cups all-purpose flour spooned and leveled
- 1 cup granulated sugar
- 1.5 tsp baking powder
- 0.5 tsp salt
- 0.5 cup unsalted butter softened to room temperature
- 2 large eggs at room temperature
- 2 tsp vanilla extract
- 0.75 cup whole milk at room temperature
- 1 cup unsalted butter for frosting, softened
- 3 cups powdered sugar sifted
- 2 tbsp heavy cream or milk for frosting
- 1 tsp vanilla extract for frosting