The Lunchbox Flashback That Started It All
Remember that moment? The wax paper crinkles, the plastic clamshell peels back, and you’re staring at the most perfect, mass-produced little cake on the planet. The squishy white squiggle, the shiny dark shell, the secret cream heart. That, my friends, is a core memory. I’m taking that exact feeling and making it from scratch, because your taste buds deserve the real deal, not just a memory.
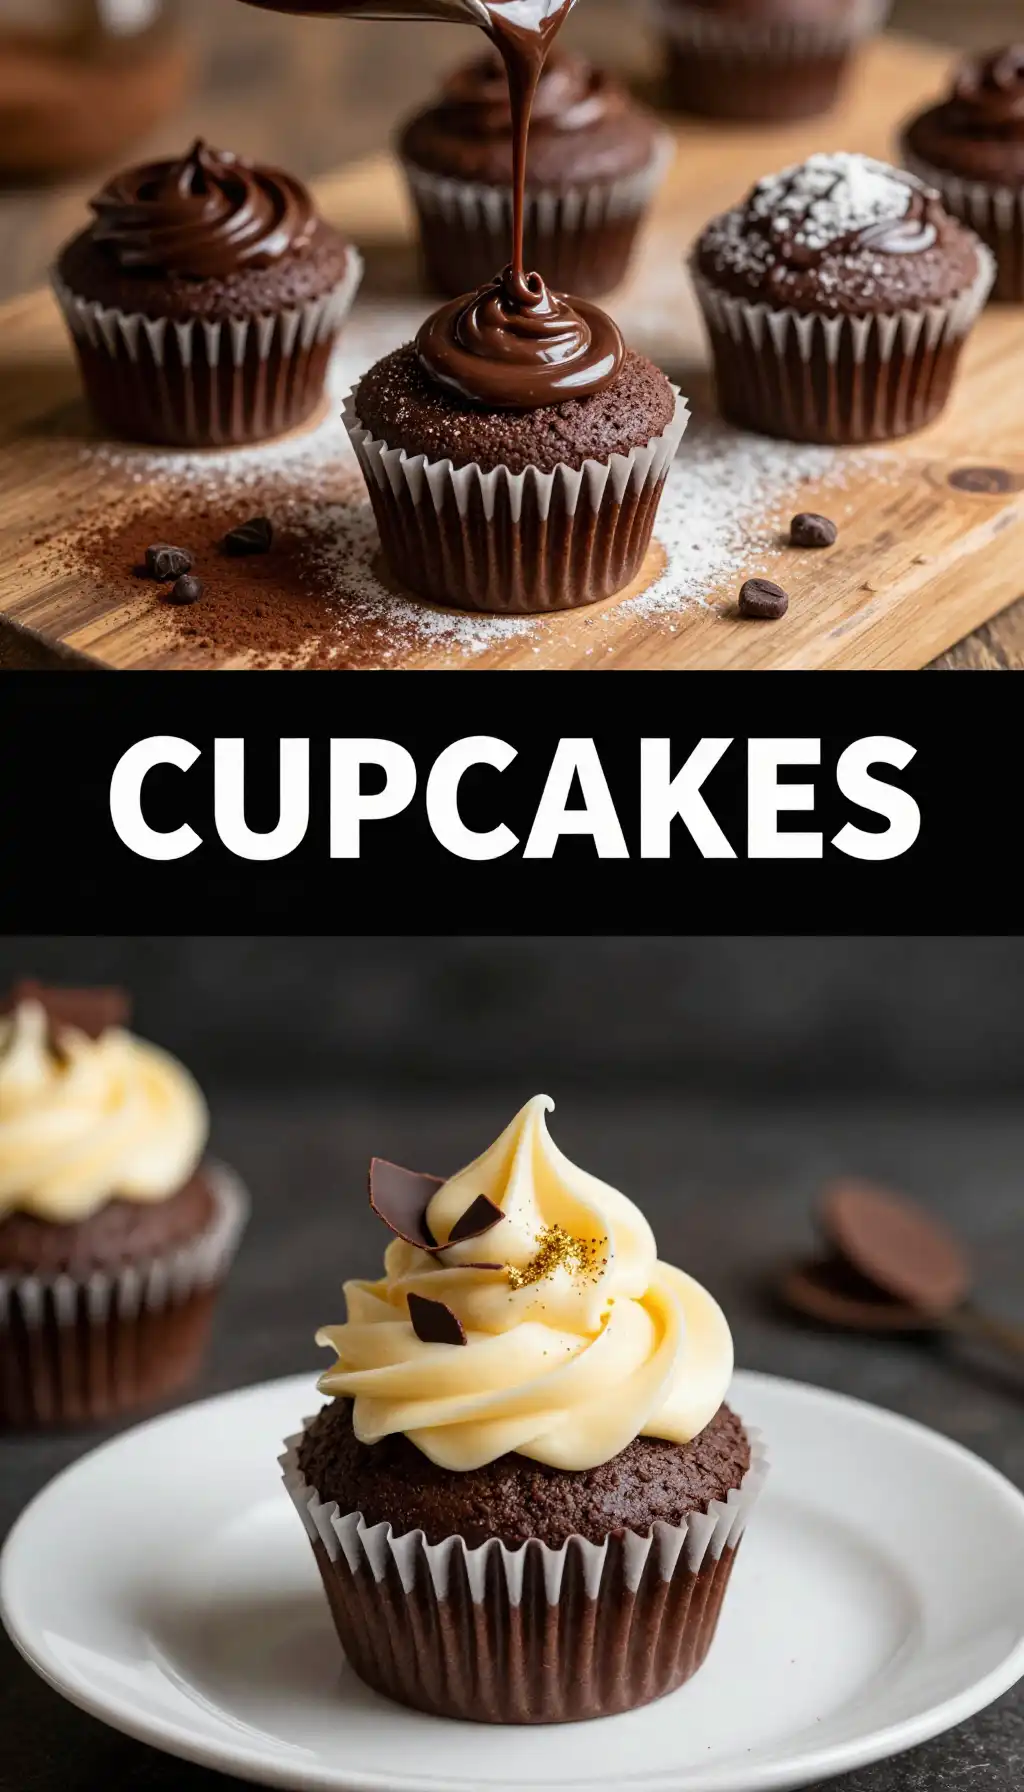
We’re talking about a moist, deeply chocolatey cupcake. A cloud of sweet vanilla cream that bursts when you bite. And a glossy, crackly chocolate ganache that shatters just right. It’s a textural rollercoaster, and you’re in the front seat. Let’s get nostalgic.
Recommended Product
 -40%
-40%
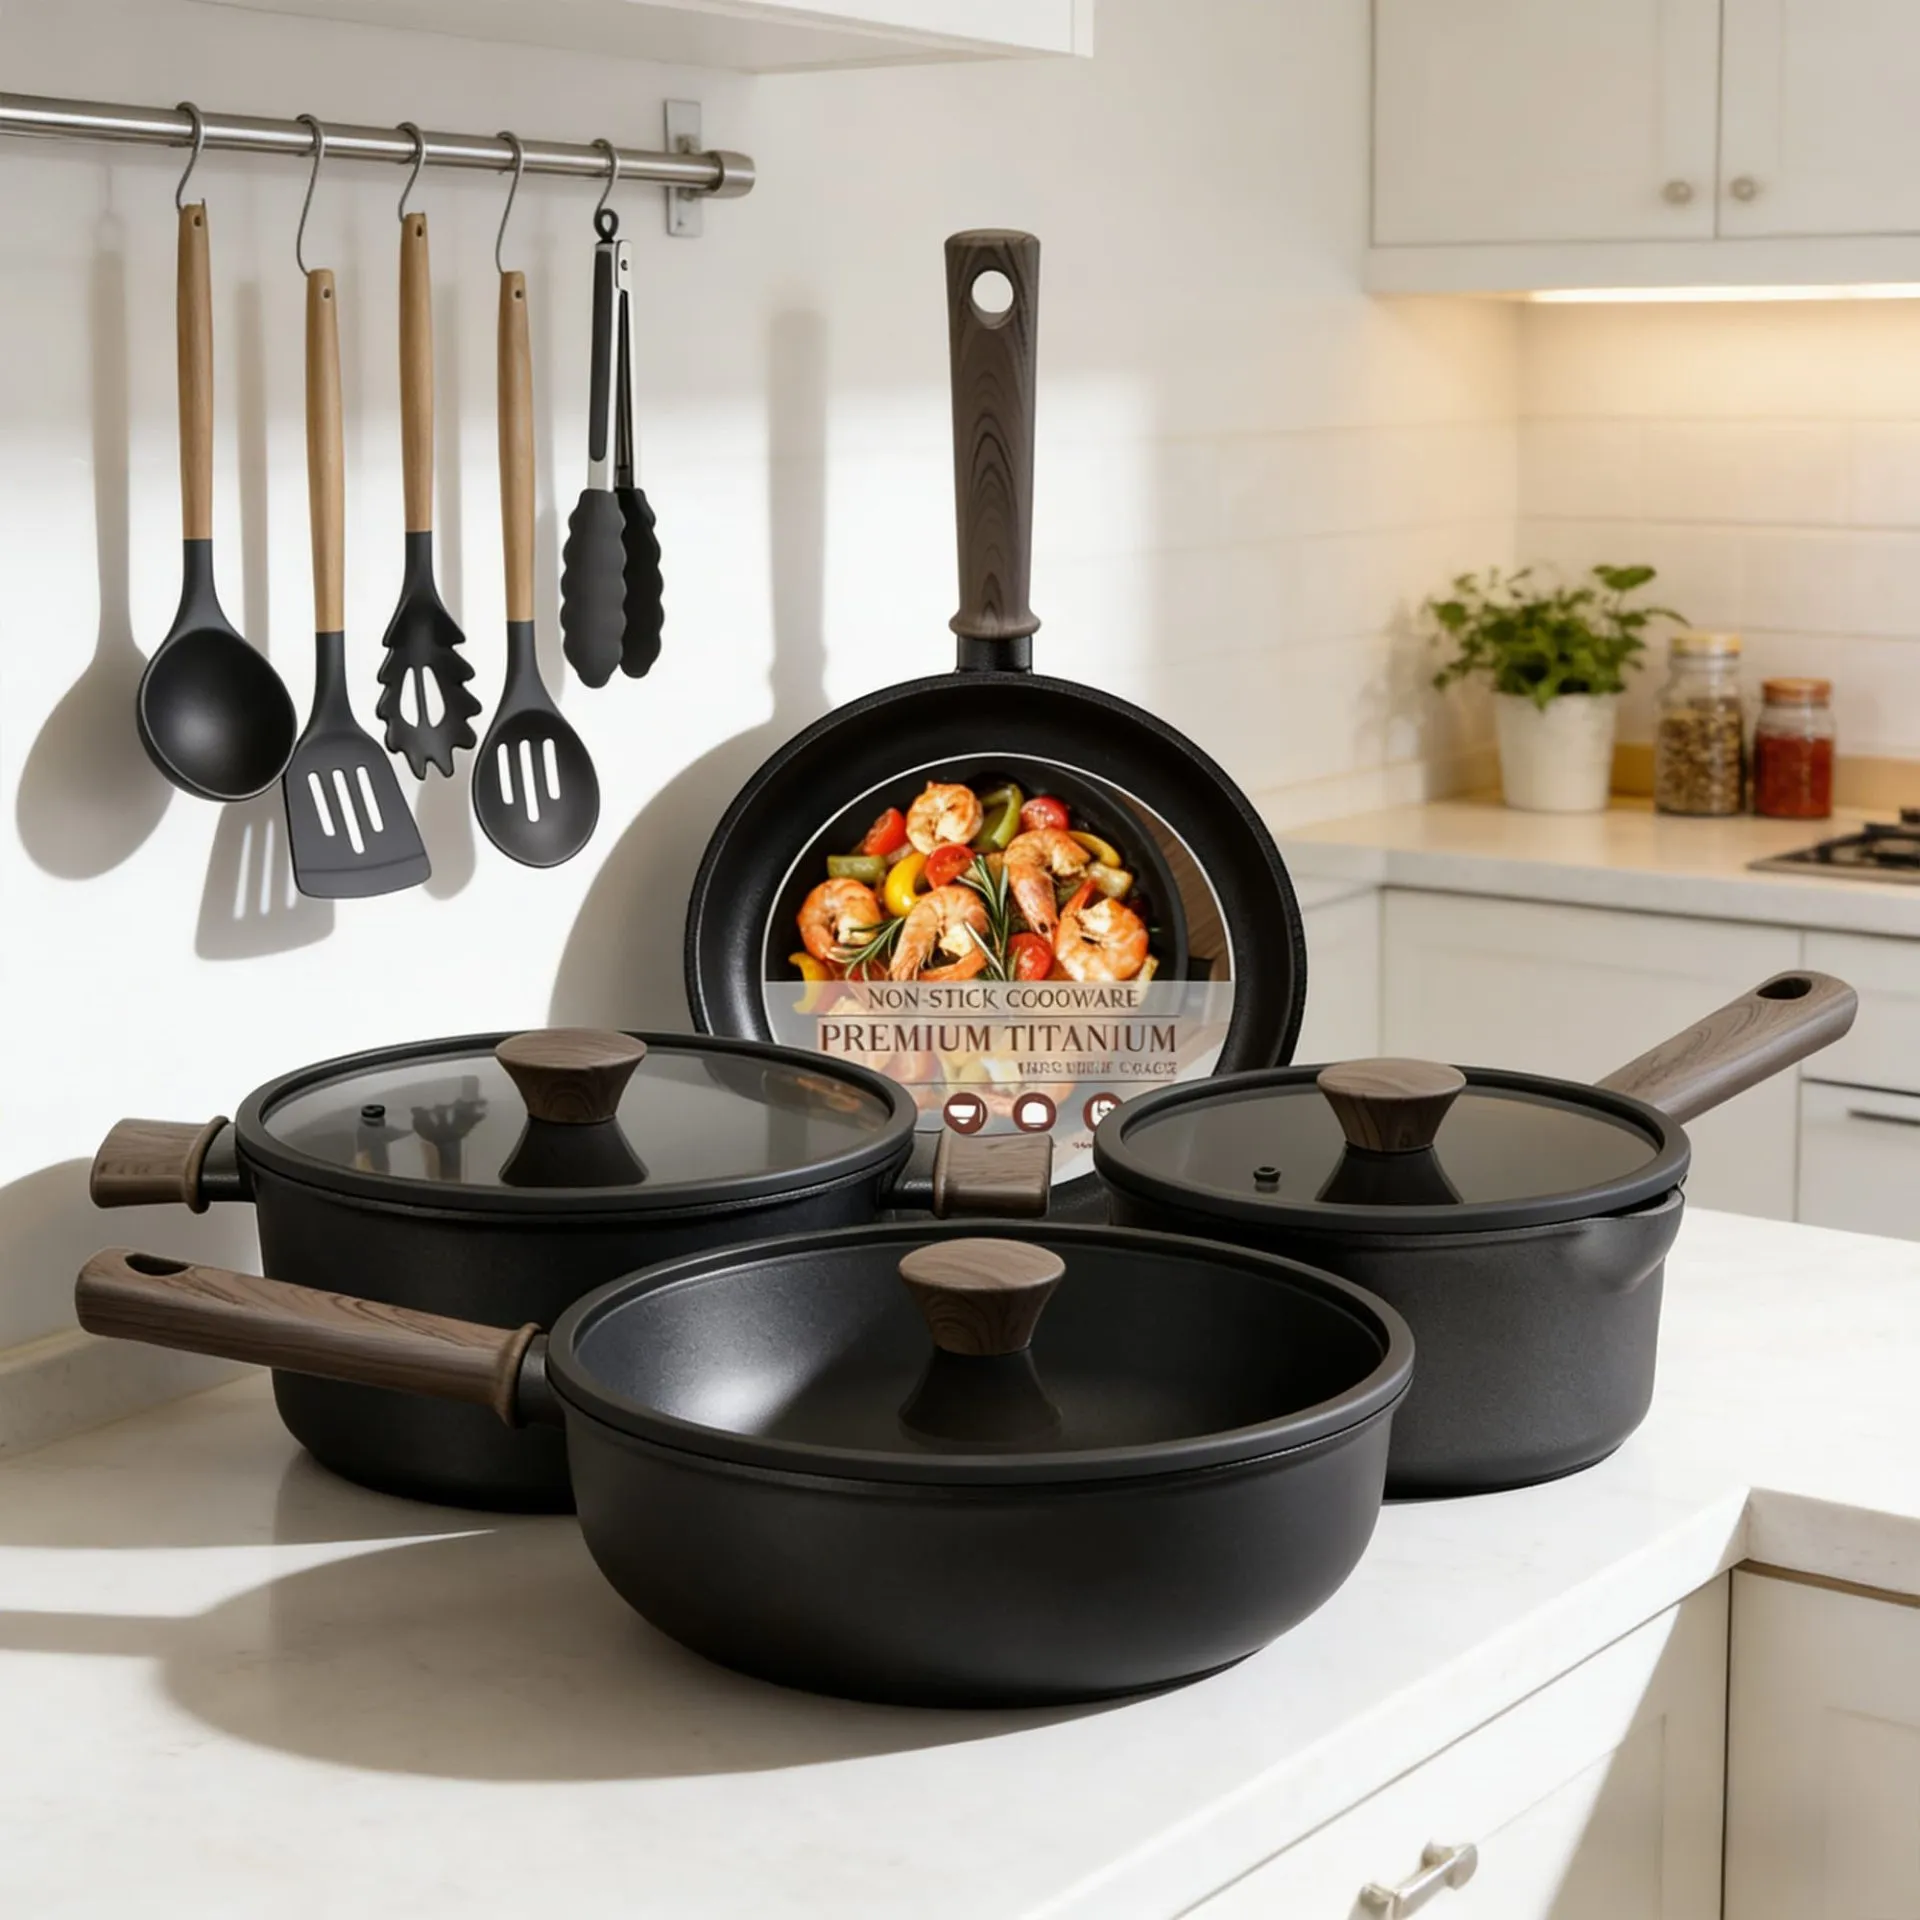
Astercook 21‑Piece Non‑Stick Ceramic Cookware Set with Detachable Handles
- Pieces →: 21‑piece set with pots, pans, lids & accessories
- Handles →: Secure removable/detachable handle system for space saving & oven use
- Non‑Stick Coating →: Premium ceramic non‑stick free of harmful PFOA chemicals for healthier cooking
- Cleanup →: Easy to clean thanks to non‑stick surface and detachable handles

Why This Recipe is a Total Game-Changer
First off, the cupcake itself. We’re not messing around with dry, crumbly disappointments. This is a buttermilk-and-sour-cream situation, which means an incredibly tender crumb that stays moist for days. It’s the kind of cupcake that makes you close your eyes when you take a bite.
🍳 Used in this recipe
Get It on Amazon Basics✔ Free Delivery | ✔ Top Rated | ✔ Budget-FriendlyThen, the filling. Forget that weird, stabilized goo from the store. We’re whipping up a cooked flour custard base, sweetened and flavored with pure vanilla. It’s light, it’s fluffy, and it pipes like a dream. It’s the soul of the cupcake.
And the ganache? It’s the crown jewel. Just two ingredients—good chocolate and heavy cream—transformed into a silky, pourable glaze that sets to a soft, fork-friendly finish. It’s the glossy, sophisticated finish that makes these look like they came from a fancy bakery, not a factory line. For more nostalgic dessert ideas, you can always peek at our collection on slapid.com/recipes.
The Secret Science of a Perfect Chocolate Cupcake
Let’s talk about the cocoa powder. For a truly deep, dark chocolate flavor, we’re using Dutch-process cocoa. It’s been treated to neutralize its acidity, which means it has a smoother, richer taste and a darker color. It’s the difference between a chocolate cupcake and a *chocolate* cupcake.
🍳 Used in this recipe
Get It on Amazon Basics✔ Free Delivery | ✔ Top Rated | ✔ Budget-FriendlyBut here’s the real trick: blooming the cocoa. We dissolve it in hot coffee. Don’t worry, the cupcakes won’t taste like a coffee shop! The heat simply wakes up the cocoa particles, releasing more of their flavor compounds. It’s a tiny step that makes a massive, chocolatey impact. The smell alone is worth it.
The Flavor Makers: What You Need to Raid the Pantry
For the cupcakes, you’ll need your usual suspects: all-purpose flour, more of that Dutch cocoa, leavening agents, and a pinch of salt. For the fat, we’re using a neutral oil for moisture and butter for flavor. And the magic liquids: buttermilk, sour cream, and that all-important hot coffee.
For the cream filling, it’s a simple but transformative mix: milk, flour, sugar, butter, and a big splash of vanilla extract. That’s it. For the ganache, grab your favorite semi-sweet or dark chocolate and some heavy cream.
🍳 Used in this recipe
Get It on Amazon Basics✔ Free Delivery | ✔ Top Rated | ✔ Budget-FriendlyLet’s Get Cooking: The Step-by-Step
First, preheat your oven to 350°F and line a cupcake tin. Whisk your dry ingredients together in one bowl. In another, combine your wet ingredients—making sure that sour cream and buttermilk are at room temperature to avoid curdling. Pour the wet into the dry, mix until just combined, and marvel at the thick, glossy batter. Fill your liners about 2/3 full.
Bake for 18-20 minutes. The tops should spring back when lightly touched. Let them cool in the pan for a few minutes, then transfer to a wire rack to cool completely. Patience is key here; a warm cupcake will melt our beautiful filling.
While they cool, let’s make the cream filling. In a saucepan, whisk milk, flour, and sugar over medium heat. It will start lumpy, but keep whisking! It will suddenly thicken into a pudding-like consistency. Take it off the heat and stir in the butter and vanilla. Let this cool completely—it needs to be thick to pipe.
🍳 Used in this recipe
Get It on Amazon Basics✔ Free Delivery | ✔ Top Rated | ✔ Budget-FriendlyFor the ganache, finely chop your chocolate and place it in a heatproof bowl. Heat the heavy cream until it just begins to simmer, then pour it over the chocolate. Let it sit for 5 minutes, then stir slowly from the center outwards until it’s a smooth, shiny pool of heaven.
How NOT to Mess This Up: Common Cupcake Catastrophes
The Dry Cupcake Despair: This usually happens from over-mixing or over-baking. Mix the batter until you no longer see streaks of flour, then stop. And set that timer! Oven temps vary, so start checking a few minutes early.
The Runny Filling Fiasco: If your cream filling is too thin, it’s because it didn’t cook long enough on the stove. You need it to thicken to a paste-like consistency that holds its shape. If it’s already cool and runny, you can try to re-whip it, but prevention is better.
🍳 Used in this recipe
Get It on Amazon Basics✔ Free Delivery | ✔ Top Rated | ✔ Budget-FriendlyThe Seized Ganache Glitch: If your ganache looks grainy or oily, the cream was too hot or you stirred too vigorously. Gently pour the cream over the chocolate and let it sit. Stir slowly and patiently. It will come together.
Serving Vibes: Set the Scene
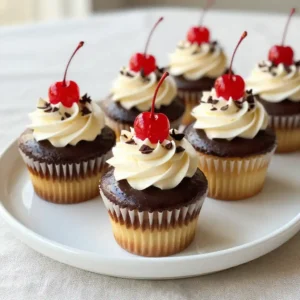
These cupcakes are the ultimate party trick. They look stunning arranged on a cake stand, their glossy tops catching the light. They’re perfect for birthday parties, bake sales, or any gathering where you want to be the hero. The smell of chocolate and vanilla filling a room is an instant mood-lifter.
But they’re also a solo act. A rainy afternoon, a cup of tea, and this cupcake? That’s self-care. The contrast of the tender cake, the creamy filling, and the crackly ganache is pure comfort. It’s a dessert that feels both indulgent and deeply familiar.
🍳 Used in this recipe
Get It on Amazon Basics✔ Free Delivery | ✔ Top Rated | ✔ Budget-FriendlyLeftovers? Here’s the Plan
These cupcakes are best enjoyed the day they’re made, but they keep beautifully. Store them in an airtight container at room temperature for up to 2 days. The ganache will set, and the flavors will meld even more.
For longer storage, you can freeze them. The key is to freeze them uncovered on a baking sheet first until solid, then wrap them tightly in plastic wrap and place them in a freezer bag. This prevents the ganache from sticking and smashing.
Your Cupcake Questions, Answered
Q: How to freeze Hostess Style Cupcakes with Cream Filling and Chocolate Ganache?
A: Freeze them individually! After the ganache has set, place each cupcake on a parchment-lined baking sheet and freeze until solid (about 2 hours). Then, wrap each one tightly in plastic wrap and place them in a freezer-safe bag. They’ll keep for up to 3 months. Thaw at room temperature for a few hours.
🍳 Used in this recipe
Get It on Amazon Basics✔ Free Delivery | ✔ Top Rated | ✔ Budget-FriendlyQ: What’s the calorie count for these cupcakes?
A: While every bakery is different, a rough estimate for a homemade Hostess Style Cupcake with Cream Filling and Chocolate Ganache is around 350-450 calories per cupcake. It’s a treat, so savor every bite!
Q: Can I make these cupcakes ahead of time?
A: Absolutely! You can bake the cupcakes and make the filling and ganache a day in advance. Store the cupcakes at room temp, the filling in the fridge (let it come to room temp before piping), and the ganache at room temp. Assemble the day you plan to serve them.
Q: My ganache is too thick to pour. What do I do?
A: Simply warm it gently! You can microwave it in 10-second bursts, stirring in between, or set the bowl over a pot of barely simmering water (a double boiler). Stir until it’s back to a pourable consistency.
🍳 Used in this recipe
Get It on Amazon Basics✔ Free Delivery | ✔ Top Rated | ✔ Budget-FriendlyQ: Can I use a different flavor for the filling?
A: Of course! Swap the vanilla extract for almond, mint, or even a little orange extract. You can also tint the filling with food coloring for a fun twist. The base recipe is wonderfully versatile.
So, what are you waiting for? It’s time to create your own lunchbox memory, one glorious, from-scratch cupcake at a time.
Hostess Style Cupcakes with Cream Filling and Chocolate Ganache
Ingredients
Ingredients
- 1.5 cups all-purpose flour sifted
- 1 cup granulated sugar
- 0.5 cup unsweetened cocoa powder
- 1 tsp baking soda
- 0.5 tsp salt
- 1 cup buttermilk room temperature
- 0.5 cup vegetable oil
- 2 large eggs room temperature
- 1 tsp vanilla extract
- 0.5 cup hot water
- 1 cup marshmallow fluff for cream filling
- 0.5 cup unsalted butter softened, for cream filling
- 1 cup powdered sugar for cream filling
- 4 oz semi-sweet chocolate chopped, for ganache
- 0.5 cup heavy cream for ganache
Notes
🍳 Used in this recipe
Get It on Amazon Basics✔ Free Delivery | ✔ Top Rated | ✔ Budget-Friendly