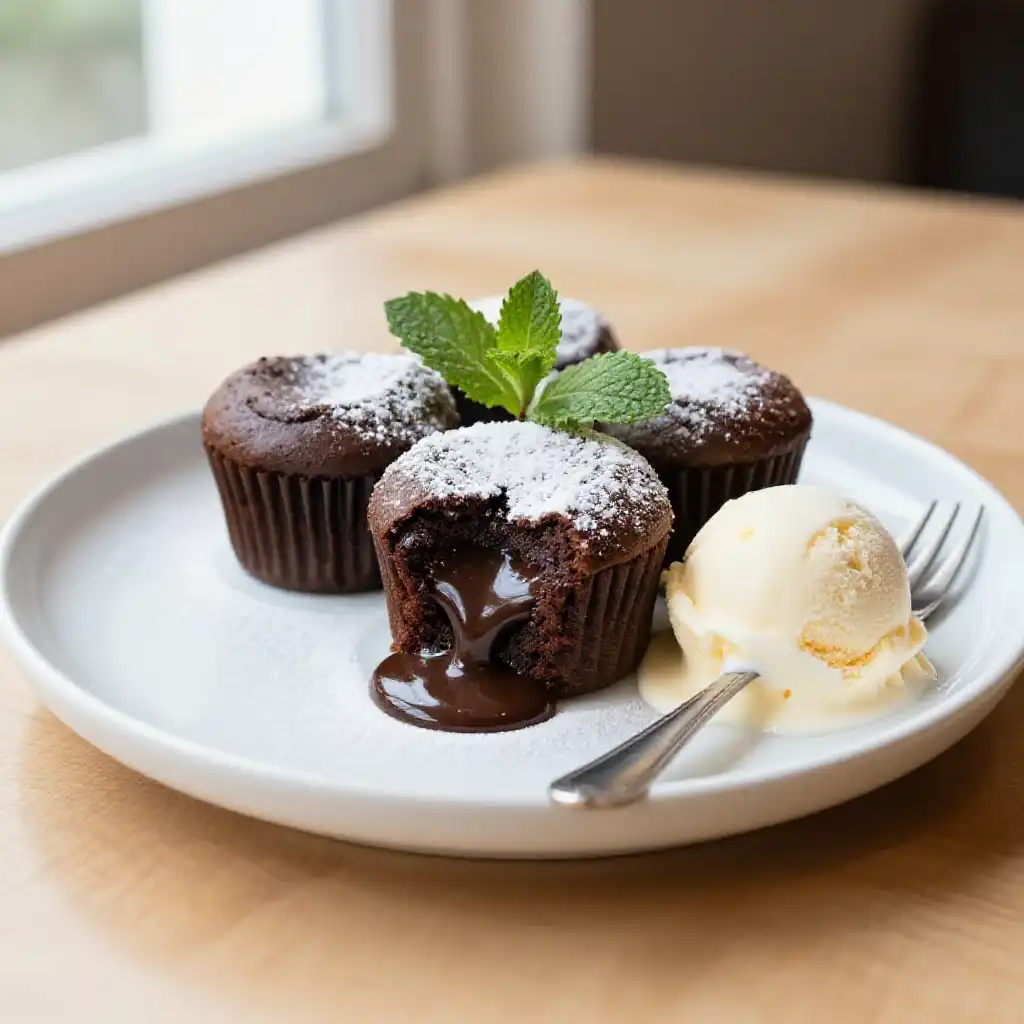
There are few moments in life more religious than the first crack of a warm Chocolate Lava Cupcake. The fork glides through the tender, dark crumb, seeking the resistance of the center. But instead of a dry, cakey finish, you hit a wall of molten, velvet chocolate that immediately surrenders, pooling onto the plate like a delicious accident. It’s the dessert equivalent of finding an extra twenty bucks in your winter coat pocket—a pure, unadulterated jolt of joy. These aren’t just cupcakes; they are little personal time-bombs of happiness, ready to erupt on command.
Forget the intimidating French patisserie vibe. We’re bringing that decadent bistro magic right into your kitchen, and the best part? It’s shockingly simple. No stand mixer? No problem. We’re talking a quick stir-and-pour situation that delivers a dessert far more impressive than the effort required.
Recommended Product
 -40%
-40%
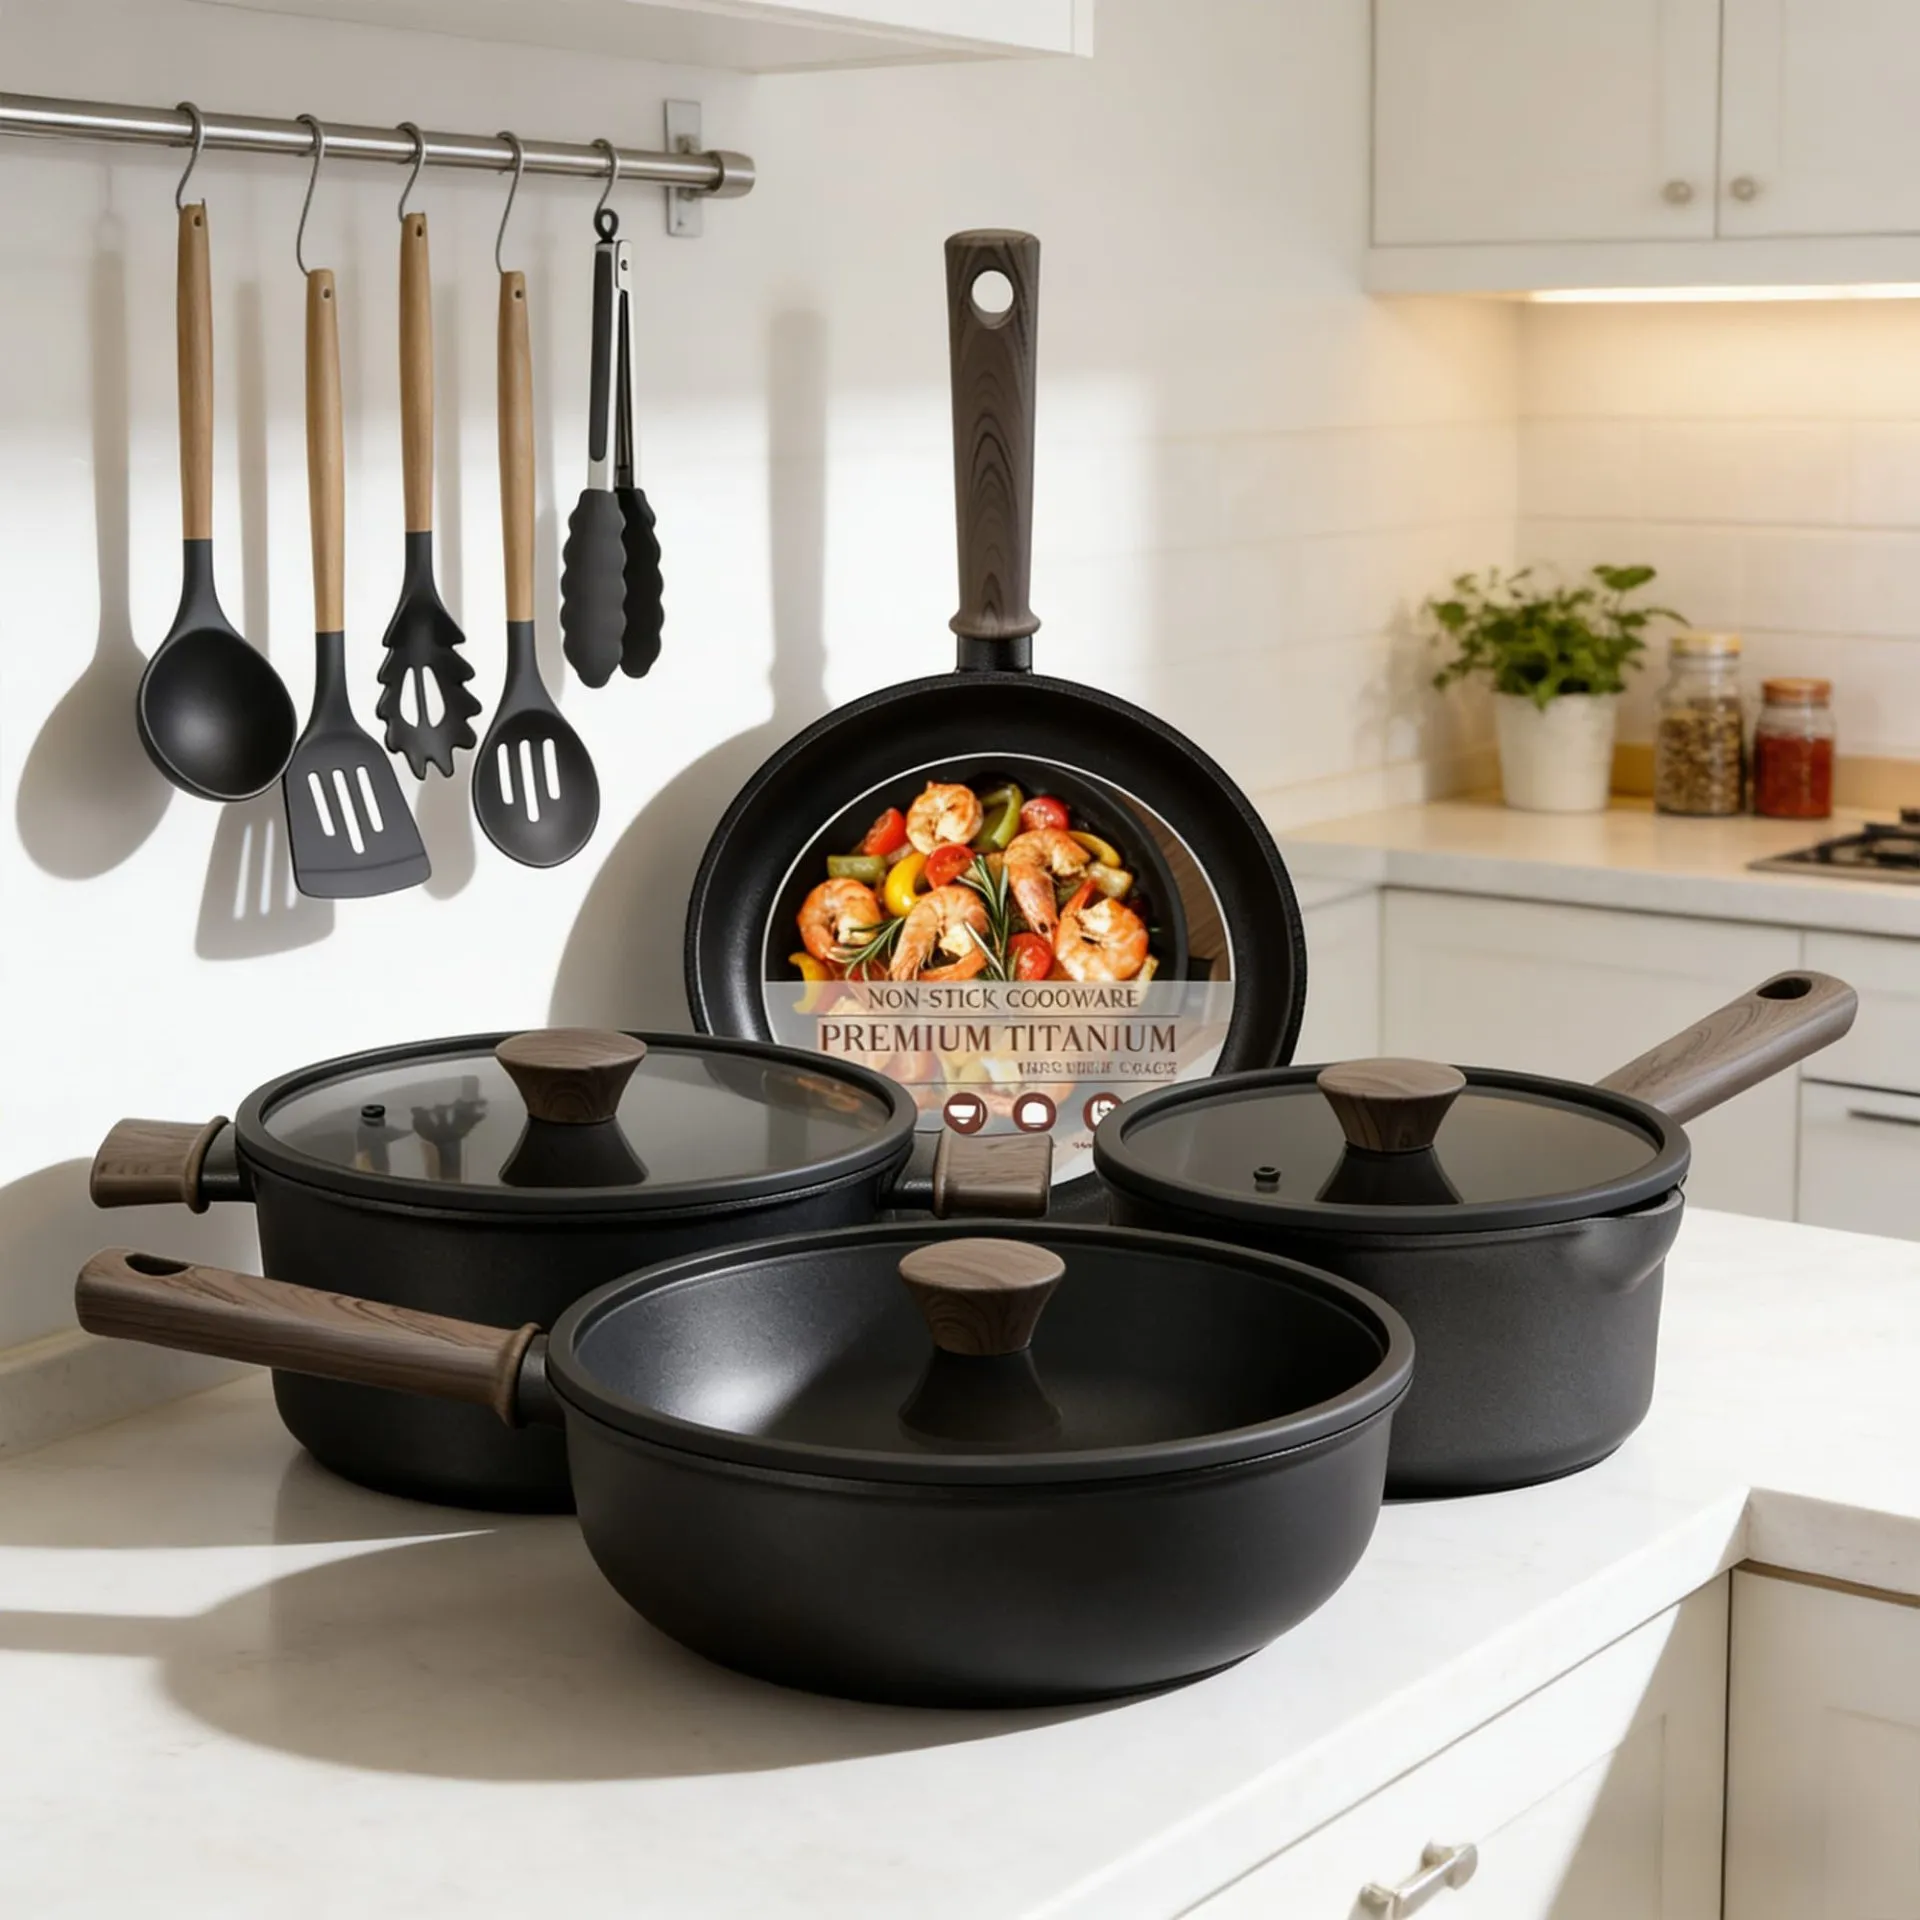
Astercook 21‑Piece Non‑Stick Ceramic Cookware Set with Detachable Handles
- Pieces →: 21‑piece set with pots, pans, lids & accessories
- Handles →: Secure removable/detachable handle system for space saving & oven use
- Non‑Stick Coating →: Premium ceramic non‑stick free of harmful PFOA chemicals for healthier cooking
- Cleanup →: Easy to clean thanks to non‑stick surface and detachable handles
Why This Recipe is Your New Secret Weapon
Let’s be real, a dessert that looks like a masterpiece but feels like a science experiment is the ultimate kitchen hack. The magic here lies in the timing. We’re baking these individual cakes just long enough for the outside to form a stable, fluffy structure, while the inside—the heart of the operation—stays in a liquid state. It’s a game of oven chicken, and you’re going to win. This recipe bypasses the fuss of traditional molten cakes that require special molds or intricate tempering. It’s all about a simple batter, a quick chill, and a bake time you can set with a simple timer. The result? A dessert that guarantees you look like a culinary genius, even if your primary cooking skill is microwaving leftovers.
🍳 Used in this recipe
Get It on Amazon Basics✔ Free Delivery | ✔ Top Rated | ✔ Budget-Friendly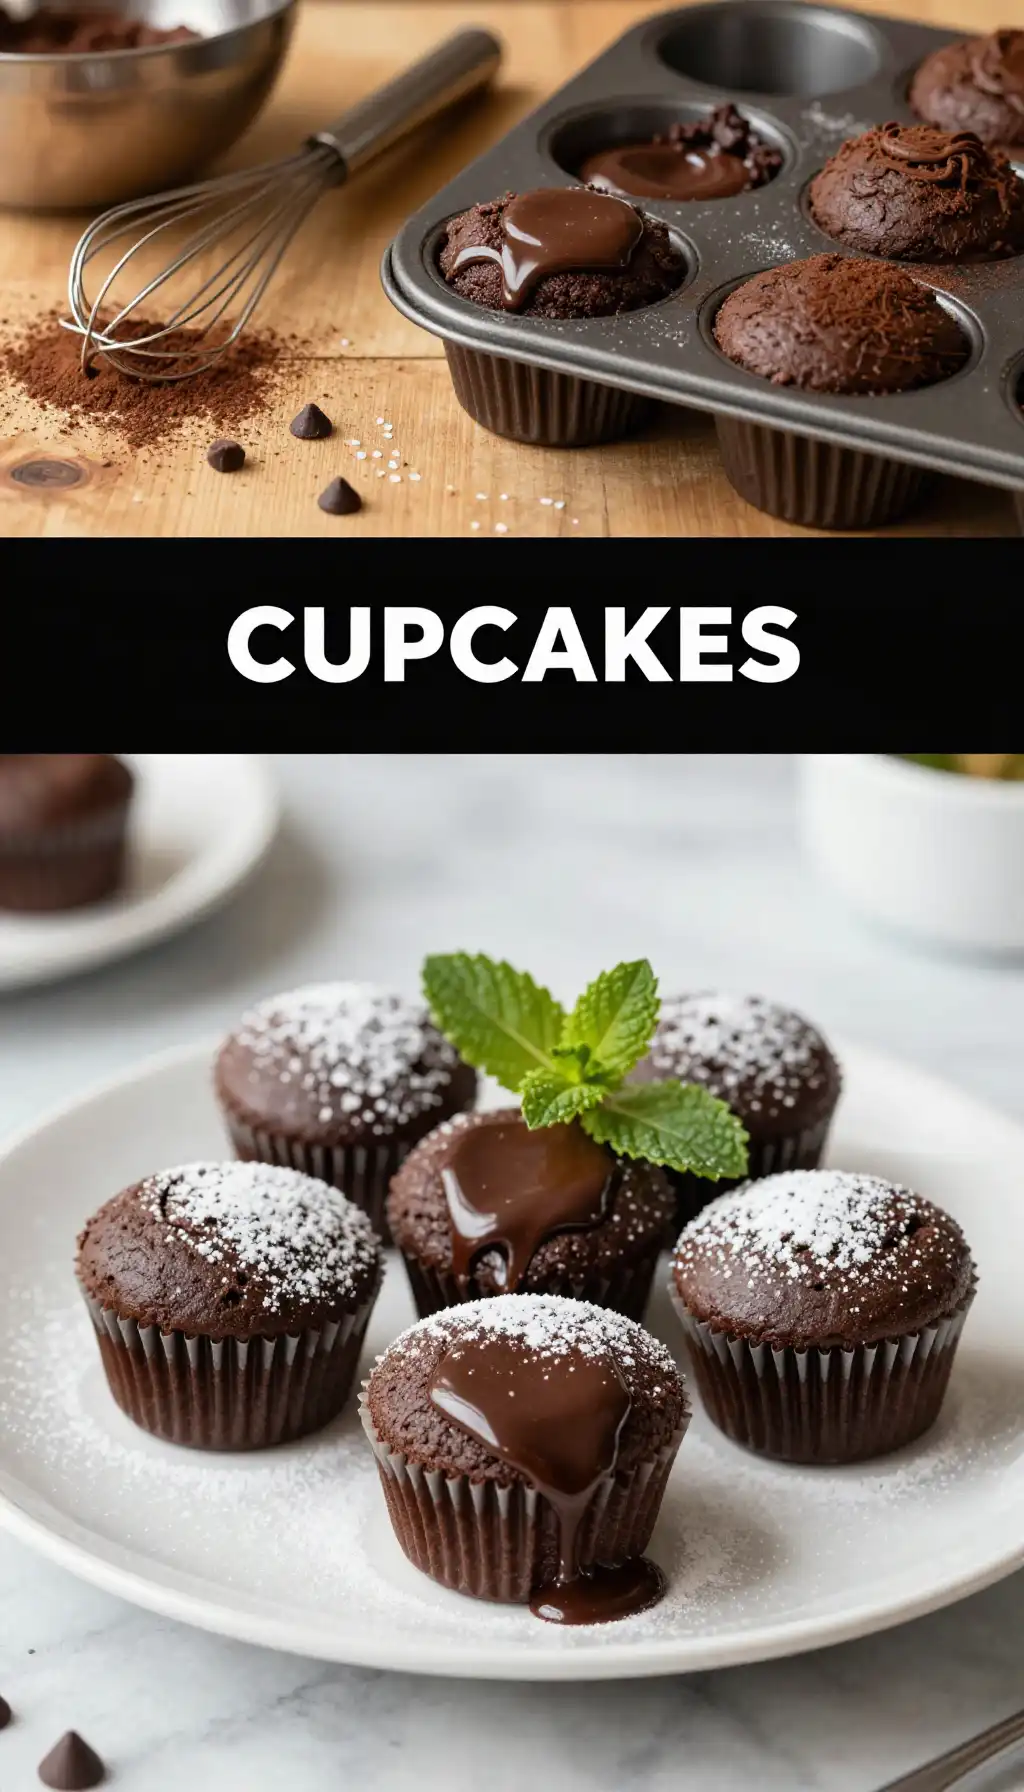
The Dark Arts of Chocolate: A Deep Dive
The entire soul of this dessert rests on one ingredient: the chocolate. Don’t you dare reach for those waxy, sugary candy bars. This is a job for good quality semi-sweet or bittersweet chocolate (think 60-70% cacao). Why? Because the fat and cocoa butter content in good chocolate is what creates that gloriously fluid “lava” center. Cheaper chocolates are packed with stabilizers and vegetable fats that don’t melt the same way; they’ll either seize up or turn greasy.
When you gently melt your chocolate with butter, you’re creating a suspension of solid cocoa particles in a sea of fat. When you add the eggs and sugar, you’re building an emulsion. The key is to not overheat this mixture. You want it smooth and glossy, not scrambled. This emulsion, combined with the minimal amount of flour, is what allows the outside to “set” in the oven while the center remains a molten pool of pure chocolate potential. It’s not magic, it’s just delicious chemistry.
The Flavor Makers
Quality is key here. Since the ingredient list is short, each one needs to pull its weight.
🍳 Used in this recipe
Get It on Amazon Basics✔ Free Delivery | ✔ Top Rated | ✔ Budget-Friendly- Good Chocolate: The star of the show. Bars, not chips. Chips have stabilizers to help them hold their shape, which is the opposite of what we want here.
- Unsalted Butter: For richness and that melt-in-your-mouth feel.
- Eggs: Straight from the fridge is fine. They provide structure and help create the emulsion.
- Granulated Sugar: For sweetness and that crackly top.
- All-Purpose Flour: Just a whisper. Too much and you get a muffin, not a lava cake.
- Vanilla Extract: A splash to round out the deep chocolate flavor.
- Salt: Don’t skip it. It makes the chocolate taste more… well, chocolatey.
Let’s Get Cooking: The Step-by-Step
This is where the fun begins. It’s a dance of melting, mixing, and a little bit of patience.
- The Melt: Grab a heatproof bowl and combine your chopped chocolate and butter. Melt them together gently, either in the microwave in 30-second bursts (stirring in between) or over a pot of simmering water. You want a smooth, glossy, irresistible puddle.
- The Whisk: In a separate bowl, whisk your eggs, sugar, vanilla, and a pinch of salt together until they’re pale and slightly fluffy. This introduces air, which helps the cupcakes rise.
- The Union: Pour the warm chocolate mixture into the egg mixture. Now, gently whisk them together until just combined. Don’t overdo it! You’re not trying to build a workout routine here.
- The Flour Dust: Sift in the flour. Fold it in gently with a spatula until no dry streaks remain. The batter should be thick, luscious, and smell divine.
- The Chill: This is a non-negotiable secret step. Grease and flour a standard muffin tin or use cupcake liners. Pour the batter in, filling them about ¾ of the way. Now, pop the whole tin in the refrigerator for at least 30 minutes. This solidifies the fat and helps the cakes hold their shape and cook evenly. You can even make these ahead and chill them overnight!
- The Bake: Preheat your oven to a hot 425°F (220°C). Bake the chilled cupcakes for 12-14 minutes. Watch them like a hawk. The edges should look firm and set, but the centers will still have a slight jiggle. That jiggle is your “go” signal. A minute too long and you’re in muffin territory.
- The Grand Finale: Let them cool in the tin for just 1-2 minutes. Then, carefully run a knife around the edges and invert them onto a plate. Serve immediately. The clock is ticking on that lava!
How NOT to Mess This Up (Common Pitfalls)
Even the best of us can have a kitchen fail. Here’s how to avoid the most common heartbreaks.
The Over-Bake Catastrophe
The number one reason for a “lava-less” cake is leaving it in the oven for too long. The residual heat will continue to cook the center even after you pull it from the oven. If the center looks completely solid in the oven, it will be a dense, cakey surprise on the inside. Remember: jiggle is good.
🍳 Used in this recipe
Get It on Amazon Basics✔ Free Delivery | ✔ Top Rated | ✔ Budget-FriendlyThe Chocolate Chip Debacle
Chocolate chips are convenient, but they are the enemy of true lava. Their stabilizers prevent them from melting into that beautiful, flowing river we’re after. Stick to a good quality baking bar, chopped up. It’s worth the extra 30 seconds of work.
The Sticking Nightmare
Don’t let your beautiful creations get trapped. Grease that muffin tin well and give it a dusting of flour, or use high-quality, non-stick cupcake liners. To be extra safe, you can place a small dollop of batter at the bottom of each cup before pouring in the rest.
Vibes: Setting the Scene for Your Lava Cakes
These cupcakes are mood-setters. They’re perfect for a romantic dinner where you want to impress without spending hours in the kitchen. They’re the ultimate “I had a terrible day and need a hug in dessert form” treat. Rainy Sundays were practically invented for this recipe—cozy sweaters, a good movie, and the promise of a warm, gooey chocolate center. They also shine at dinner parties. Imagine presenting these to your guests, their eyes widening as they crack them open. It’s a showstopper. For a truly decadent experience, serve them with a scoop of vanilla bean ice cream or a handful of fresh raspberries to cut through the richness. Pair it with a steaming mug of coffee or a pot of strong Earl Grey tea. If you’re looking for the perfect liquid companion, check out some fantastic smoothie and drink ideas over at Indixer’s drink category for a non-alcoholic pairing that slaps.
🍳 Used in this recipe
Get It on Amazon Basics✔ Free Delivery | ✔ Top Rated | ✔ Budget-FriendlyLeftovers? Here’s the Plan
Let’s be honest, a leftover Chocolate Lava Cupcake is a rare sight. But if you find yourself in this miraculous situation, here’s what to do. Store them in an airtight container in the refrigerator for up to 3 days. To revive them, pop them in the microwave for about 15-20 seconds. This will re-melt the center and bring back that molten magic. Do not, I repeat, do not reheat them in the oven, or you’ll lose the lava forever.
FAQ: Your Lava Cupcake Questions, Answered
How to make Chocolate Lava Cupcakes with Molten Center ahead of time?
The best way to prep these for a party is to prepare the batter, pour it into the muffin tin, and then cover the tin tightly with plastic wrap. You can refrigerate it for up to 24 hours. When you’re ready to bake, just preheat your oven and bake them straight from the fridge (you might need to add an extra minute to the bake time).
How to freeze Chocolate Lava Cupcakes with Molten Center?
Freezing is a fantastic option for make-ahead desserts. You have two choices. First, you can freeze the unbaked, chilled batter in the muffin tin. Once solid, pop them out and store them in a freezer bag. When ready to bake, place them back in the tin and bake from frozen, adding 3-5 minutes to the bake time. Second, you can bake them fully, let them cool completely, and then freeze the finished cakes. To serve, thaw them in the fridge and reheat in the microwave for 20-25 seconds to get the center flowing again.
🍳 Used in this recipe
Get It on Amazon Basics✔ Free Delivery | ✔ Top Rated | ✔ Budget-FriendlyWhat are the calories in Chocolate Lava Cupcakes with Molten Center?
Let’s not put a number on joy, but for the curious, one standard-sized Chocolate Lava Cupcake generally falls in the 350-450 calorie range. It’s a rich, decadent dessert meant for savoring, so every bite is worth it. The exact count will vary based on your chocolate and butter quality, but it’s pure indulgence.
Can I use milk chocolate instead of dark chocolate?
You can, but be prepared for a much sweeter result and a slightly less stable “lava.” Milk chocolate has a higher sugar and milk content and less cocoa butter. This means it melts faster and the center might be runnier. If you do this, consider reducing the sugar in the recipe slightly to balance the sweetness.
Why is my center not molten?
The most likely culprit is over-baking. As the cake sits, the heat from the outside continues to travel to the center, cooking it through. The window between a perfect molten center and a fully cooked cake is surprisingly small (sometimes just 60 seconds!). Make sure your oven is properly preheated and watch them like a hawk. Another reason could be chilling the batter for too long (like, a whole day), making it too dense.
🍳 Used in this recipe
Get It on Amazon Basics✔ Free Delivery | ✔ Top Rated | ✔ Budget-FriendlyNow you have everything you need to conquer the Chocolate Lava Cupcake. Your next special occasion is officially sorted. Go on, get your molten on! If you’re looking for more culinary adventures, you can always explore our full collection of recipes on our recipe hub.

Chocolate Lava Cupcakes with Molten Center
Ingredients
Ingredients
- 4 oz dark chocolate chopped, at least 60% cocoa
- 1/2 cup unsalted butter cut into pieces
- 1 cup powdered sugar
- 2 large eggs
- 2 large egg yolks
- 1/4 cup all-purpose flour
- 1/4 tsp salt
- 1/2 tsp vanilla extract
- 1 tbsp unsalted butter for greasing ramekins
- 1/4 cup cocoa powder for dusting ramekins