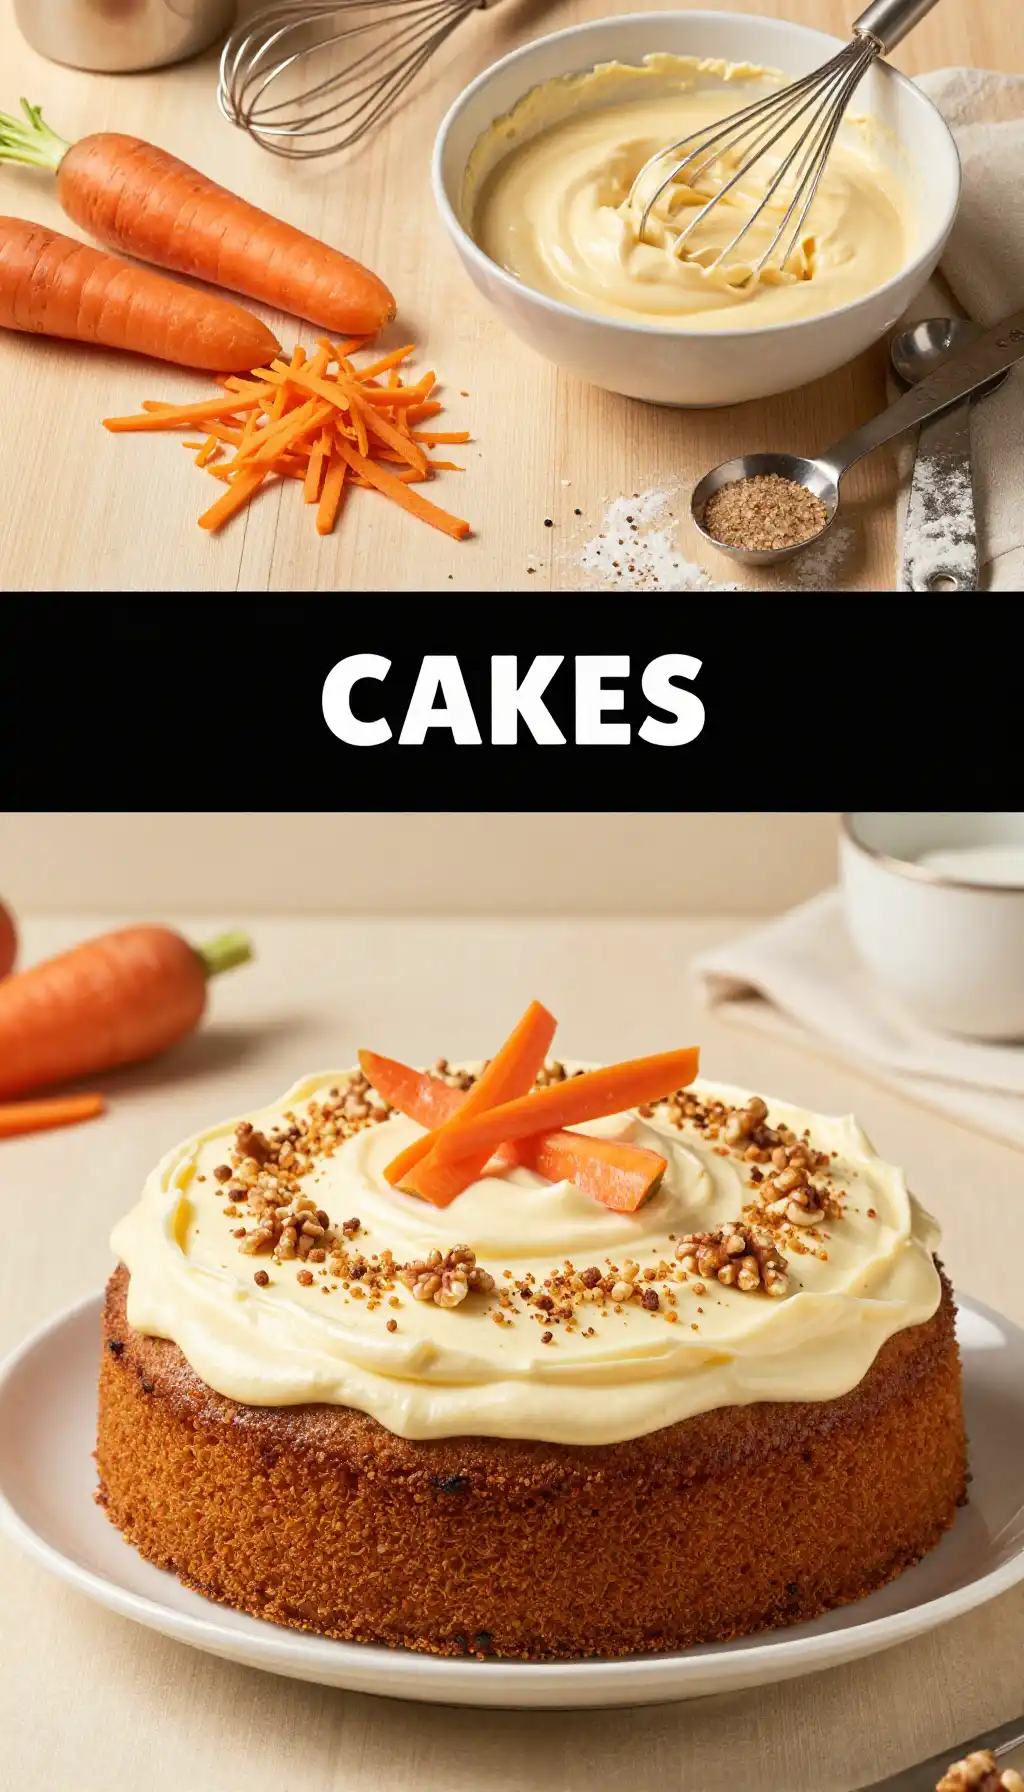
The Carrot Cake That Won’t Make You Miss the Sugar Rush
Let’s be real. Most carrot cakes are just Trojan horses for sugar. They promise veggie goodness but deliver a cloying, sticky-sweet punch that leaves you jittery and reaching for water. I wanted the soul of that cake—the warm spice, the tender crumb, the way the carrots melt into the batter—but without the sugar hangover. I wanted a cake that tasted like a cozy Sunday afternoon, not a candy shop explosion. The first time I pulled this Low-Sugar Carrot Cake with Stevia and Cream Cheese from the oven, the scent of cinnamon and toasted nuts filled my tiny kitchen. It was pure, unadulterated comfort. And the taste? Even better.

Why This Cake is Your New Kitchen Hero
This isn’t just another “healthy” swap that tastes like cardboard. This is a masterpiece of texture and flavor, engineered for maximum enjoyment with a minimal sugar footprint. The magic starts with the sweetener. Stevia, when used right, doesn’t just add sweetness; it lets the other flavors—the earthy carrots, the warm ginger, the bright citrus zest—actually shine through. No sugar-coated distractions here. We’re talking about a cake that stays incredibly moist for days, thanks to the natural oils in the carrots and a clever bit of yogurt. It’s the kind of dessert you can genuinely feel good about serving at a family gathering or, let’s be honest, eating for breakfast with a cup of strong coffee. It pairs beautifully with other low-sugar treats; if you’re on a roll, you might even find inspiration for a refreshing drink over at [indixer.com/category/smoothies-drinks/](https://indixer.com/category/smoothies-drinks/). But for now, let’s focus on the star.
Recommended Product
 -40%
-40%
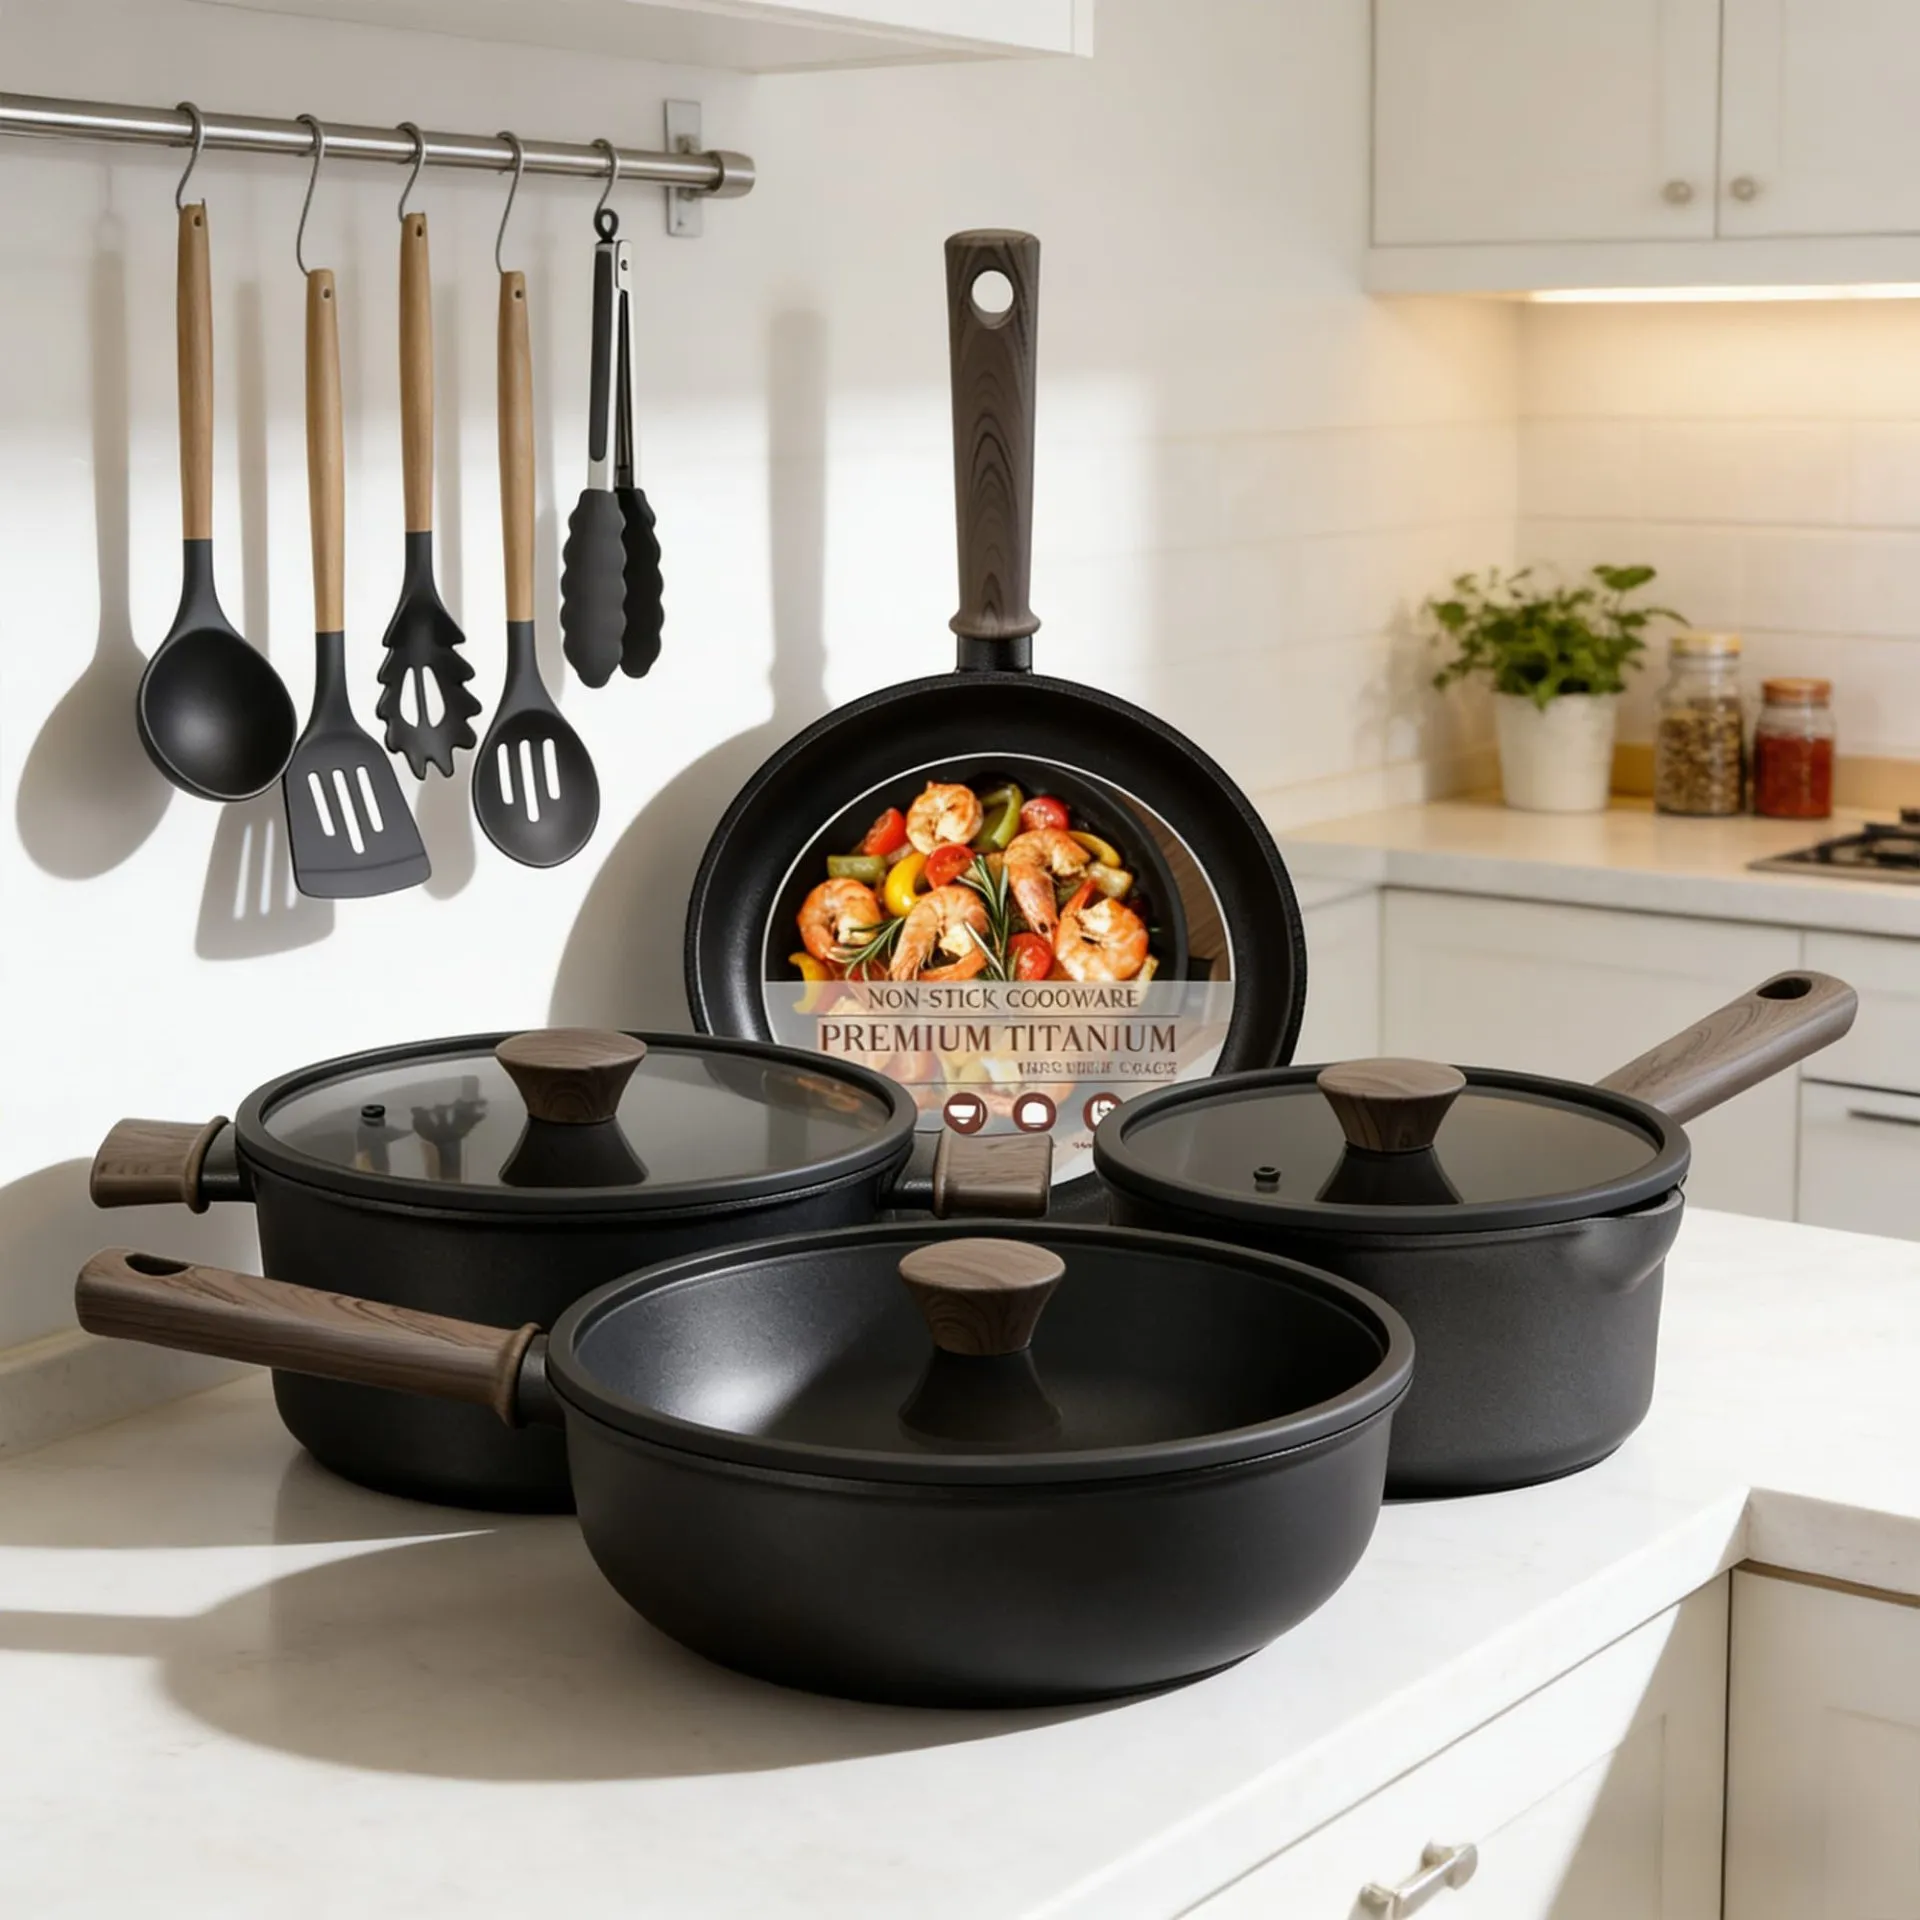
Astercook 21‑Piece Non‑Stick Ceramic Cookware Set with Detachable Handles
- Pieces →: 21‑piece set with pots, pans, lids & accessories
- Handles →: Secure removable/detachable handle system for space saving & oven use
- Non‑Stick Coating →: Premium ceramic non‑stick free of harmful PFOA chemicals for healthier cooking
- Cleanup →: Easy to clean thanks to non‑stick surface and detachable handles
The Secret Life of Stevia in Baking
Here’s the deep dive you didn’t know you needed. Using stevia in a cake isn’t a simple 1:1 sugar swap. Sugar provides volume and structure; stevia is a powerhouse sweetener but has zero bulk. So, how do we get that perfect, fluffy crumb? We play with chemistry. First, we use a blend. Pure stevia can have a slight aftertaste, but mixed with a bulking agent like erythritol or even a touch of fiber, it behaves more like sugar. It dissolves, it caramelizes (a tiny bit), and it helps with browning. Second, we rely on other moisture-retaining ingredients. Applesauce and Greek yogurt are our best friends here. They not only add natural sweetness but also bind the batter, ensuring every bite is tender and never dry. It’s a delicate dance, but when you nail it, you get a cake that rivals any traditional recipe.
🍳 Used in this recipe
Get It on Amazon Basics✔ Free Delivery | ✔ Top Rated | ✔ Budget-FriendlyThe Flavor Makers: What You Need to Raid the Pantry
Gather your troops. This is about layering flavors, not just dumping ingredients in a bowl.
* **The Dry Team:** All-purpose flour, a pinch of salt, and the non-negotiable spices. We’re talking cinnamon, a whisper of nutmeg, and a dash of ground ginger for a little kick. Baking powder and soda give it the lift.
* **The Wet Brigade:** Finely grated carrots (the star!), unsweetened applesauce, plain Greek yogurt, and a neutral oil like avocado or light olive oil. Eggs are the glue.
* **The Sweet & Zesty Crew:** This is where the magic happens. A high-quality stevia blend designed for baking is key. And don’t forget the zest of one orange—it’s the secret weapon that makes the whole cake sing.
* **For the Frosting:** Full-fat cream cheese (the tang is essential), a pat of butter, a splash of vanilla, and more of that stevia blend to taste. A squeeze of lemon juice cuts through the richness perfectly.
Let’s Get Cooking: The Step-by-Step
First, preheat your oven to 350°F (175°C) and grease two 8-inch round cake pans. This ensures a clean release and a perfect presentation. Next, whisk together all your dry ingredients in a large bowl. This includes the flour, spices, leavening agents, salt, and your stevia blend. Making sure they’re evenly distributed prevents pockets of intense sweetness or blandness.
🍳 Used in this recipe
Get It on Amazon Basics✔ Free Delivery | ✔ Top Rated | ✔ Budget-FriendlyIn a separate bowl, beat the eggs lightly, then mix in the applesauce, yogurt, oil, and that glorious orange zest. The mixture should look smooth and emulsified. Now, the pivotal moment: combine the wet and dry ingredients. Stir until *just* combined. A few lumps are fine; overmixing is the enemy of tenderness. Fold in the grated carrots last. They should be distributed like little orange confetti throughout the batter.
Divide the batter evenly between your prepared pans and smooth the tops. Bake for 25-30 minutes, or until a toothpick inserted into the center comes out clean or with a few moist crumbs. The smell in your kitchen at this point is a psychological victory. Let the cakes cool in the pans for 10 minutes before turning them out onto a wire rack to cool completely. Patience is a virtue here—a warm cake and frosting are a messy, tragic combo.
Common Pitfalls: How NOT to Mess This Up
We’ve all been there. The cake is dense, the frosting is runny, the flavor is… off. Let’s avoid that.
🍳 Used in this recipe
Get It on Amazon Basics✔ Free Delivery | ✔ Top Rated | ✔ Budget-Friendly* **The Soggy Carrot Crisis:** Don’t use pre-shredded carrots from the store. They’re too dry and thick. Grate your own carrots on the fine side of a box grater. This releases more moisture and integrates better into the batter.
* **The Frosting Flop:** Your cream cheese MUST be at room temperature. Cold cream cheese leads to a lumpy, unspreadable frosting. Let it sit out for at least an hour. Also, don’t skimp on the fat; low-fat cream cheese has too much water and will make your frosting slide right off the cake.
* **The Stevia Overload:** Start with less sweetener than you think you need. You can always add more to the frosting, but you can’t take it out. Taste as you go. Different stevia brands have varying sweetness intensities, so follow the package conversion chart if it has one.
Serving Vibes: Set the Scene
This Low-Sugar Carrot Cake with Stevia and Cream Cheese is the ultimate mood-setter. It’s perfect for a rainy day when you’re curled up with a book and need a hug in dessert form. The warm spices and tender crumb are pure comfort. But it’s also elegant enough for a brunch spread or a birthday party. Imagine it on a rustic wooden stand, a dusting of cinnamon on top, paired with mugs of freshly brewed coffee or a pot of Earl Grey tea. It’s a cake that feels both indulgent and wholesome, making it the star of any gathering where you want to impress without the sugar crash.
Leftovers? Here’s the Plan
If you somehow have leftovers (a rare occurrence), storage is simple. Keep the frosted cake in an airtight container in the refrigerator for up to 5 days. The frosting will firm up in the fridge, so let a slice sit at room temperature for 15 minutes before eating for the best texture. For longer storage, this cake freezes beautifully. Wrap individual slices or the whole unfrosted cake layers tightly in plastic wrap and then foil. They’ll keep for up to 3 months. Thaw overnight in the fridge before frosting.
🍳 Used in this recipe
Get It on Amazon Basics✔ Free Delivery | ✔ Top Rated | ✔ Budget-FriendlyYour Carrot Cake Questions, Answered
How to freeze Low-Sugar Carrot Cake with Stevia and Cream Cheese?
The best method is to freeze the cake layers separately before frosting. Once completely cool, wrap each layer tightly in two layers of plastic wrap, followed by a layer of aluminum foil. This prevents freezer burn. You can also freeze individual frosted slices. Place them on a parchment-lined tray to freeze solid, then transfer to a freezer bag. Thaw slices in the fridge overnight.
What are the calories in Low-Sugar Carrot Cake with Stevia and Cream Cheese?
While exact counts vary by brand, this recipe is significantly lower in calories than traditional versions. By swapping sugar for stevia and using mindful amounts of oil and yogurt, a typical slice (1/12th of the cake) comes in around 180-220 calories, compared to 350-450+ in a classic recipe. It’s all about the smart swaps.
Can I make this cake gluten-free?
Absolutely! Swap the all-purpose flour for a 1:1 gluten-free baking blend. Ensure it contains xanthan gum, or add 1/2 teaspoon yourself to help with structure. The texture will be slightly different but still deliciously moist.
🍳 Used in this recipe
Get It on Amazon Basics✔ Free Delivery | ✔ Top Rated | ✔ Budget-FriendlyWhy does my frosting taste bitter?
This usually happens with pure stevia extracts or if you’ve used too much. Always use a stevia blend designed for baking, which is cut with erythritol or another bulking agent. If it’s still bitter, add a tiny pinch of salt and a squeeze of lemon juice to balance the flavor.
How do I make the cake extra moist?
Don’t overbake it! Check a few minutes before the timer goes off. Also, the combination of applesauce and Greek yogurt is key. Make sure your carrots are freshly grated. For an even more decadent touch, you can soak the grated carrots in a tablespoon of orange juice for 10 minutes before adding them to the batter.

Low-Sugar Carrot Cake with Stevia and Cream Cheese
Ingredients
Ingredients
- 1.5 cups whole wheat flour or all-purpose for lighter texture
- 1 tsp baking soda
- 1 tsp ground cinnamon
- 0.5 tsp ground nutmeg
- 0.25 tsp salt
- 3 large eggs room temperature
- 0.5 cup unsweetened applesauce for moisture
- 0.33 cup vegetable oil
- 0.5 cup granulated stevia blend or to taste
- 2 cups grated carrots packed, about 3-4 medium carrots
- 0.5 cup chopped walnuts optional, for topping
- 8 oz cream cheese softened, for frosting
- 0.25 cup powdered stevia blend for frosting